
Go dig through your yarn stash right now. I know you have that perfect skein of navy blue tucked away, waiting for something special. This structured handbag pattern is exactly what it has been waiting for.
Get the Ad-Free PDF Pattern
You can find the free pattern below, or you can purchase the ad-free printable PDF from my shop.
Get the Printable PDF →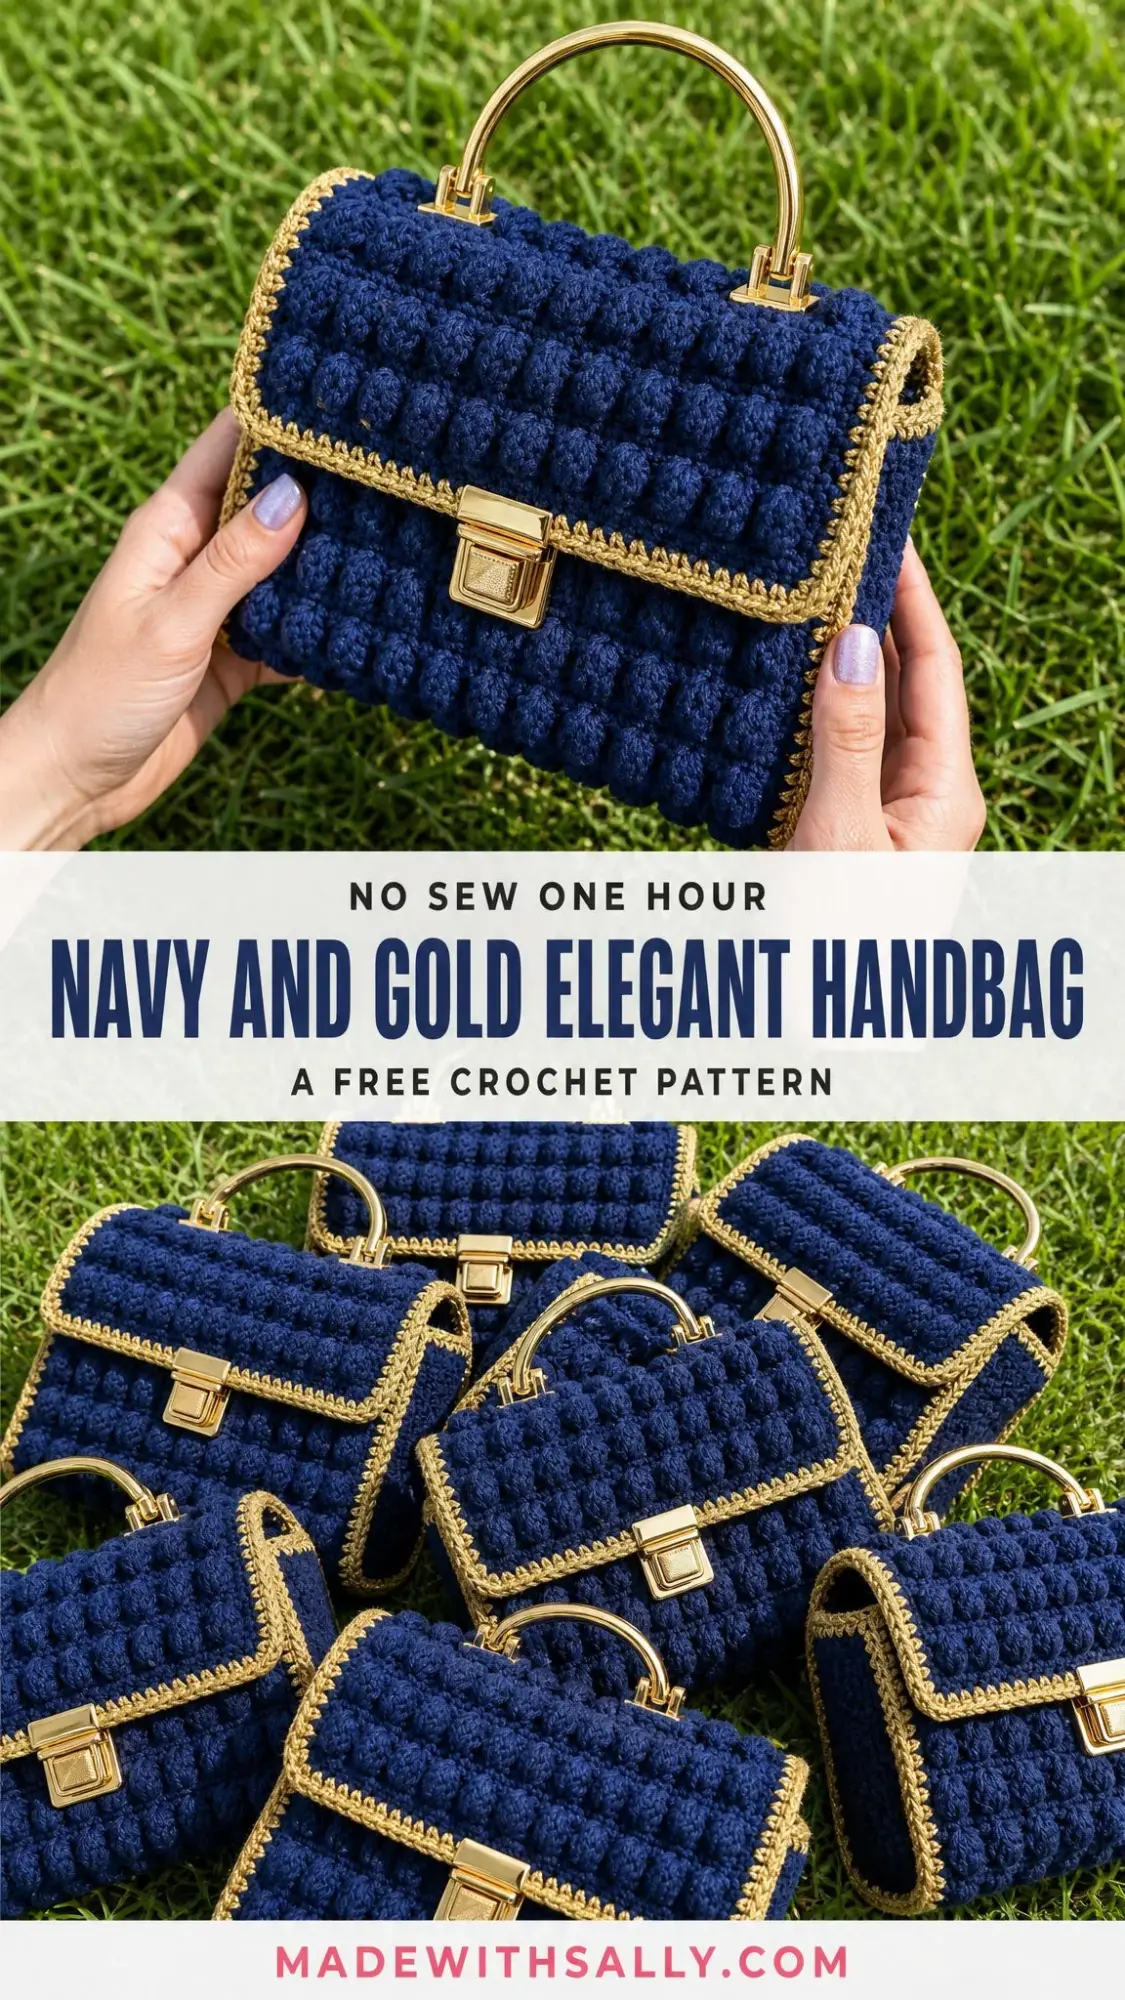
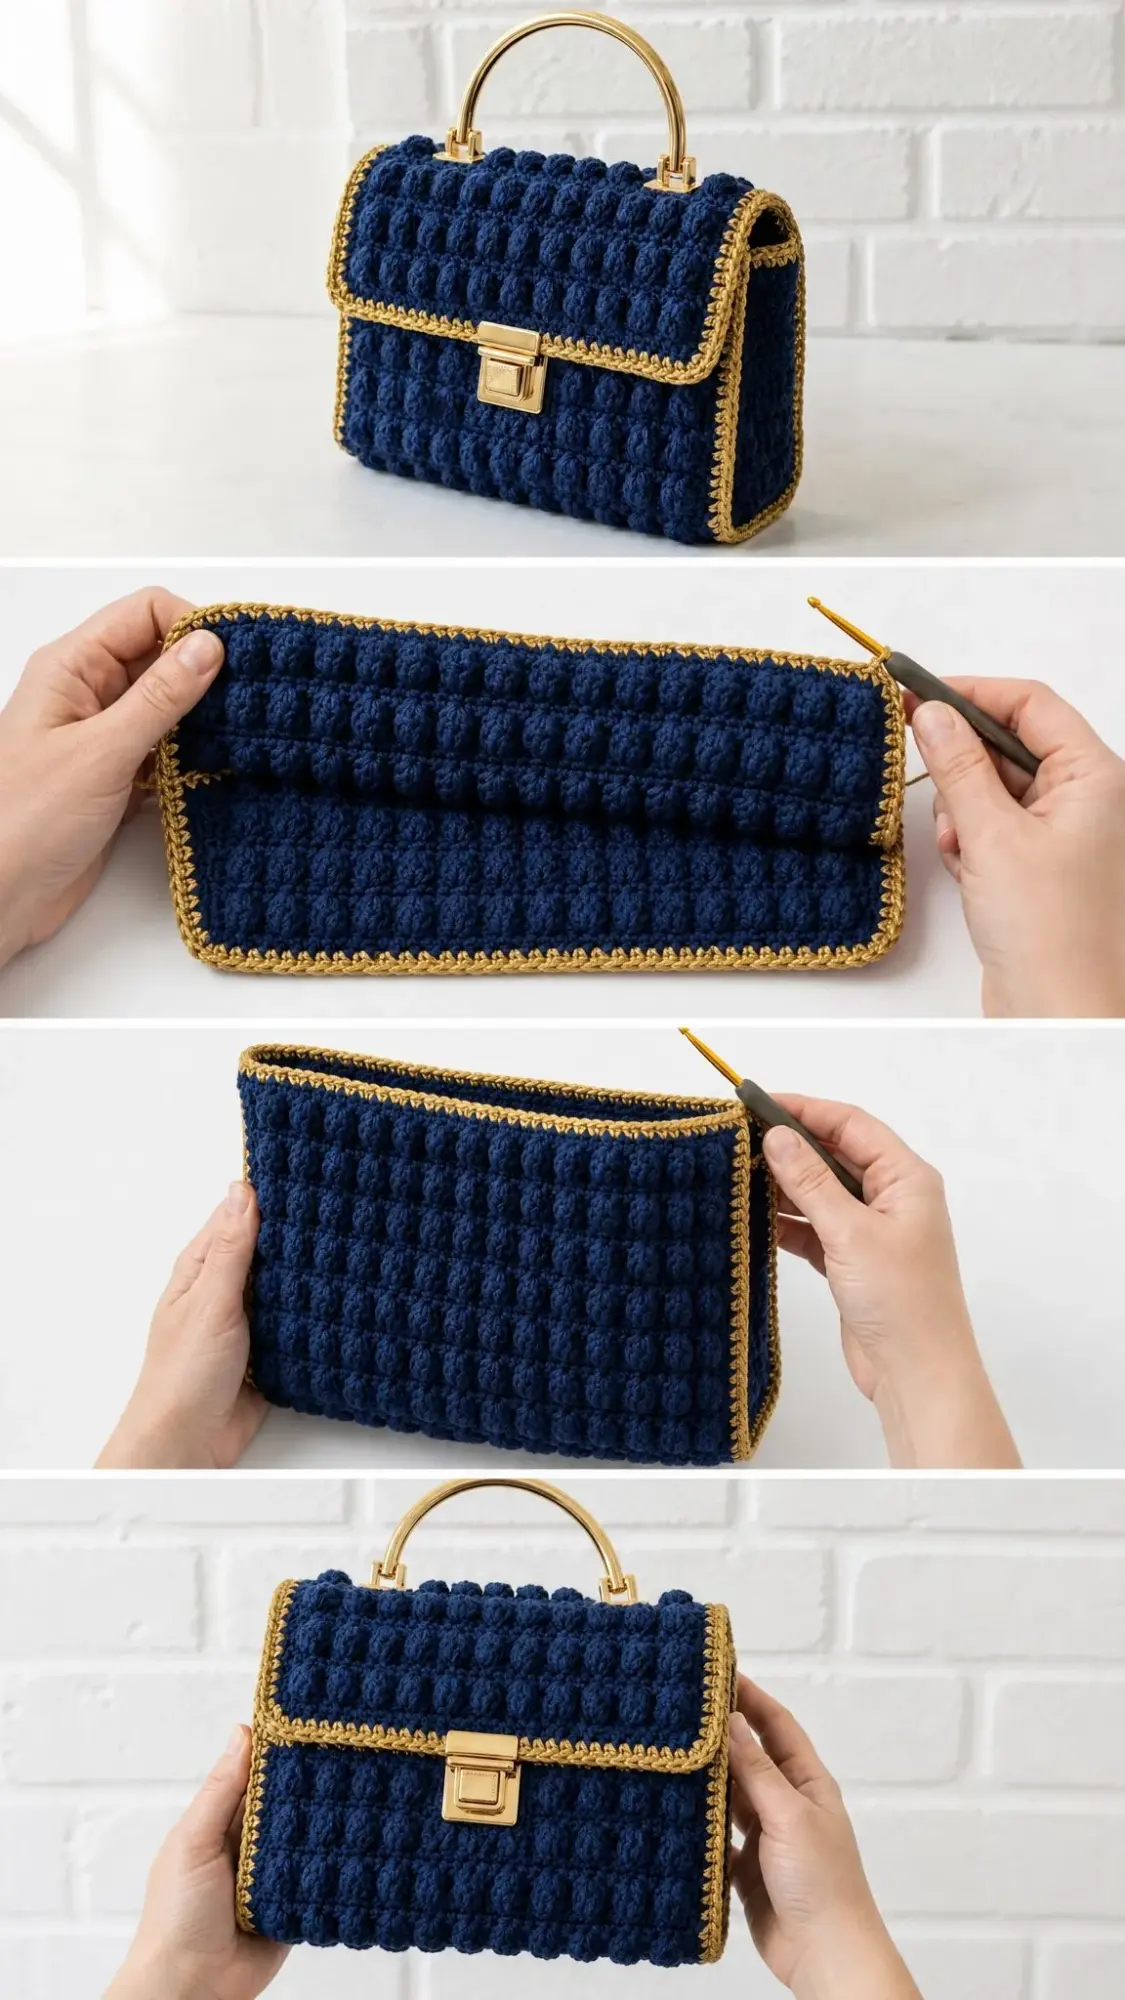
The construction here is genuinely interesting. You will crochet six flat panels using a plush bobble stitch, then seam them together into a boxy shape that looks like it came straight from a boutique window. The metallic gold edging frames every seam and gives the whole piece that polished, designer finish.
I will be honest with you about the skill level. This is an intermediate project. The individual techniques are not difficult, but you will need patience for the bobbles, attention to detail during assembly, and some comfort with installing hardware. If you have made a few scarves and maybe a hat or two, you are ready to level up with this one.
Why This Handbag Pattern Works
The secret to this bag’s structured look is all about yarn choice and tension. Unlike floppy market bags, this handbag stands upright on its own. The bobble stitch creates that gorgeous textured surface you see in the photos, while the firm single crochet base keeps everything stable.
What I love most is the contrast between the navy body and the gold trim. It feels luxurious without being over the top. You could carry this to brunch, to work, or out for dinner. It looks expensive, but you made it yourself.
The finished dimensions are approximately 7.9 inches wide by 5.7 inches tall by 3.1 inches deep (20 x 14.5 x 8 cm). With the handle attached, the total height reaches about 7.3 inches (18.5 cm). This is a true handbag size, perfect for your phone, wallet, keys, and a few essentials.
Materials You Will Need
Before you start, gather everything on this list. Having all your supplies ready makes the process so much smoother.
Yarn:
Hook:
Hardware:
Lining:
Tools:
Yarn Suggestions That Work Beautifully
Not sure what yarn to grab? Here are some options that create the firm, structured fabric this pattern needs:
Lion Brand 24/7 Cotton gives you a firm, smooth finish that holds its shape perfectly. Paintbox Yarns Cotton Aran offers crisp stitch definition and comes in gorgeous navy and gold options. Scheepjes Catona held double creates a polished cotton finish with excellent color control.
The key is choosing yarn that does not stretch. Cotton, cotton blends, and dense acrylics work best. Stay away from loose or fuzzy yarns unless you plan to add a very firm lining inside.
Gauge Information
Getting your gauge right matters more than usual here. A fabric that is too loose will make your bag slouch and lose its structure.
Bobble pattern gauge: 16 stitches x 14 rows = 4 inches (10 cm) square after light blocking
Single crochet gauge: 16 stitches x 15 rows = 4 inches (10 cm) square
I strongly recommend making a swatch in the bobble pattern before you start. If your swatch is larger than the measurements above, go down a hook size. If it is smaller, go up. A firm fabric is what keeps this handbag standing upright like a proper structured bag.
Stitch Guide and Abbreviations
This pattern uses US crochet terminology throughout. If you typically work from UK patterns, remember that US single crochet equals UK double crochet.
| Abbreviation | Meaning |
|---|---|
| ch | chain |
| sc | single crochet |
| sl st | slip stitch |
| st/sts | stitch/stitches |
| RS/WS | right side/wrong side |
| yo | yarn over |
| B | bobble stitch |
| rep | repeat |
| approx | approximately |
How to Work the Bobble Stitch
The bobble stitch (B) creates those gorgeous raised bumps across the fabric. Here is exactly how to make one:
1. Yarn over, insert your hook in the next stitch, yarn over and pull up a loop, yarn over and pull through 2 loops. You now have 2 loops remaining on your hook.
2. Repeat step 1 in the same stitch four more times. You should have 6 loops on your hook now.
3. Yarn over and pull through all 6 loops at once. Do not add an extra chain unless the pattern specifically tells you to.
4. Work the following single crochet firmly. This pushes the bobble to the right side of your fabric where it belongs.
The bobble naturally wants to pop toward whichever side is facing away from you as you work. By working your single crochets firmly after each bobble, you encourage them all to stay on the RS.
Gold Edge Stitch Technique
For the gold edging, join your gold yarn with a standing single crochet or chain 1 and single crochet. Work 1 single crochet in each stitch or row end, placing 3 single crochets in each corner to keep everything flat.
If you want that raised cord look visible in the photos, add a second round of reverse single crochet. Just keep your tension relaxed so the edges do not curl inward.
A Note for Left Handed Crocheters
Work all the same instructions in the opposite direction. When placing markers and hardware, measure from the center line rather than from the left or right edge. This keeps everything symmetrical.
Pattern Instructions
Now for the fun part. You will make six separate panels, add gold edging to each one, then seam them together into the finished bag.
Front Panel (Make 1 in Navy)
Chain 33.
Row 1 (WS): Single crochet in 2nd chain from hook and in each chain across. Turn. (32 sc)
Row 2 (RS): Chain 1, bobble in next stitch, single crochet in next stitch; repeat from across. Turn. (16 B, 16 sc; 32 sts)
Row 3: Chain 1, single crochet in each stitch across. Turn. (32 sc)
Row 4: Chain 1, single crochet in next stitch, bobble in next stitch; repeat from across. Turn. (16 B, 16 sc; 32 sts)
Rows 5-20: Repeat Rows 3-4 eight more times. Fasten off. (32 sts each row)
Checkpoint: Your panel should measure about 7.9 inches (20 cm) wide and 5.7 inches (14.5 cm) tall. If it does not, check your gauge.
Back Panel (Make 1 in Navy)
Repeat the Front Panel instructions exactly. (32 sts each row)
Side Panels (Make 2 in Navy)
Chain 14.
Row 1: Single crochet in 2nd chain from hook and in each chain across. Turn. (13 sc)
Row 2: Chain 1, single crochet in first stitch, bobble in next stitch, single crochet in next stitch; repeat from across. Turn. (6 B, 7 sc; 13 sts)
Row 3: Chain 1, single crochet in each stitch across. Turn. (13 sc)
Row 4: Chain 1, bobble in first stitch, single crochet in next stitch, bobble in next stitch; repeat from across. Turn. (7 B, 6 sc; 13 sts)
Rows 5-20: Repeat Rows 3-4 eight more times. Fasten off. (13 sts each row)
Base Panel (Make 1 in Navy)
Chain 33.
Rows 1-11: Single crochet in 2nd chain from hook and in each chain across on Row 1. For each following row, chain 1 and single crochet across. Turn after each row. (32 sc)
Fasten off. Your base should measure about 7.9 x 3.1 inches (20 x 8 cm).
Flap Panel (Make 1 in Navy)
Chain 33.
Row 1: Single crochet in 2nd chain from hook and in each chain across. Turn. (32 sc)
Row 2: Chain 1, bobble in next stitch, single crochet in next stitch; repeat from across. Turn. (32 sts)
Row 3: Chain 1, single crochet in each stitch across. Turn. (32 sc)
Row 4: Chain 1, single crochet in next stitch, bobble in next stitch; repeat from across. Turn. (32 sts)
Rows 5-14: Repeat Rows 3-4 five more times. Do not fasten off until the edge round is complete, or rejoin gold at the corner later. (32 sts each row)
Checkpoint: Your flap should measure about 7.9 inches (20 cm) wide and 4 inches (10 cm) deep before adding the edging. It will fold softly over the front panel.
Adding the Gold Edging
This is where your bag starts looking really polished. The gold trim frames every panel beautifully.
Front and Back Panels: Join gold yarn at any corner. Work 1 single crochet in each stitch across each long edge, 1 single crochet in each row end along each side, and 3 single crochets in each corner. Join with a slip stitch. (112 sc)
Flap: Edge all 4 sides the same way. Join. (100 sc)
Base: Edge all 4 sides the same way. Join. (94 sc)
Each Side Panel: Edge all 4 sides the same way. Join. (74 sc each)
Optional Raised Trim: Work 1 round of reverse single crochet around the visible flap, front, and side edges only. Keep your tension relaxed so the edges stay flat.
The gold edging serves two purposes here. It looks gorgeous, and it creates a sturdy frame for seaming. Keep each corner rounded with those 3 single crochets, and ease your yarn over the bobbles without pulling too tight.
Assembly Instructions
Time to put all your pieces together. Take your time with this part. Neat seaming makes all the difference in the finished look.
Step 1: Pin or clip the base to the lower edge of the front panel, matching corners. Using gold yarn and your yarn needle, sew through the inside loops of the gold edging. Repeat to attach the base to the back panel.
Step 2: Attach one side panel between the front and back, aligning the bottom edge with the base. Sew through the gold edging. Repeat for the second side panel.
Step 3: Position the flap along the top edge of the back panel, centered across the width. Sew the flap securely across its top edge only. This allows it to fold over the front.
Step 4: Fold the flap over the front and mark where the clasp should go at the center. Attach the push lock clasp following the hardware instructions. Reinforce with lining fabric if needed.
Step 5: Attach the metal handle at the top center of the flap and back area using the hardware feet or D-rings. Reinforce the inside before closing up the lining.
Assembly Checkpoint: Your bag body should stand as a rectangular box measuring about 7.9 inches wide x 5.7 inches tall x 3.1 inches deep (20 x 14.5 x 8 cm) before attaching the handle.
Finishing Your Handbag
Almost done! These final steps give your bag that professional finish.
Weave in all your ends on the inside of the bag. Use your yarn needle to tuck navy ends into the bobble texture and gold ends into the edging where they will not show.
Cut your lining fabric to fit inside: front and back rectangle, base gusset, and side depth. Sew or glue the lining into place. Keep any adhesive away from the clasp so it can move freely.
Lightly steam your panels from the wrong side if needed. Avoid direct heat on the metallic trim and hardware.
Before using your bag, check that the clasp opens and closes smoothly and that the handle hardware is firmly attached.
Size Customization Tips
Want a different size? Here is how to adjust:
To change width: Add or subtract chains in multiples of 2 so the bobble repeat stays even.
To change height: Add or remove pairs of rows after Row 4. End with a single crochet row for easier edging.
To change depth: Adjust the side panel starting chain and base row count together so both remain the same depth.
For a longer flap: Add pairs of rows before edging.
For a shorter flap: Remove pairs of rows.
Troubleshooting Common Issues
| Problem | Solution |
|---|---|
| Edges curl | Loosen your gold edging or skip the reverse single crochet round |
| Bag slouches | Use firmer yarn, a smaller hook, or add a sturdy lining |
| Bobbles lean to the wrong side | Work the single crochet after each bobble firmly and keep bobbles on the RS |
| Flap pulls the clasp upward | Reposition the clasp after installing the lining and reinforce the back of the hardware |
Care Instructions
Your finished handbag deserves gentle care to keep it looking beautiful.
Spot clean with cool water and mild soap. Avoid soaking the metal hardware. Lay flat to dry, reshaping the bag while it is still damp. Keep the clasp open until everything is fully dry.
Store your bag stuffed with tissue or soft fabric to protect that gorgeous box shape. Do not machine wash if your bag includes metal hardware, glued lining, or metallic yarn.
Time Estimate
Expect to spend 8 to 12 hours on this project, depending on your bobble speed, finishing style, and how long hardware installation takes you. It is perfect for a weekend project or something to work on over several evenings.
I really hope you love making this elegant handbag as much as I enjoyed designing it. The combination of that plush bobble texture with the crisp gold trim creates something truly special. If you make one, I would absolutely love to see it! Tag me on Instagram or share a photo in my Facebook group.
Save this pattern to your Pinterest boards so you can find it when you are ready to start. And please drop a comment below if you give it a try. I love hearing how your projects turn out!
Want a Quick & Easy Printable Version?
Get a clean, beautifully formatted PDF of this pattern — easy to follow step by step, ready to print or save on any device. No scrolling, no distractions, just the pattern.
Get the Printable PDF →