
I don’t know about you, but I have a serious weakness for anything nautical. Give me crisp navy and white, wave motifs, and that fresh coastal vibe, and I’m completely sold.
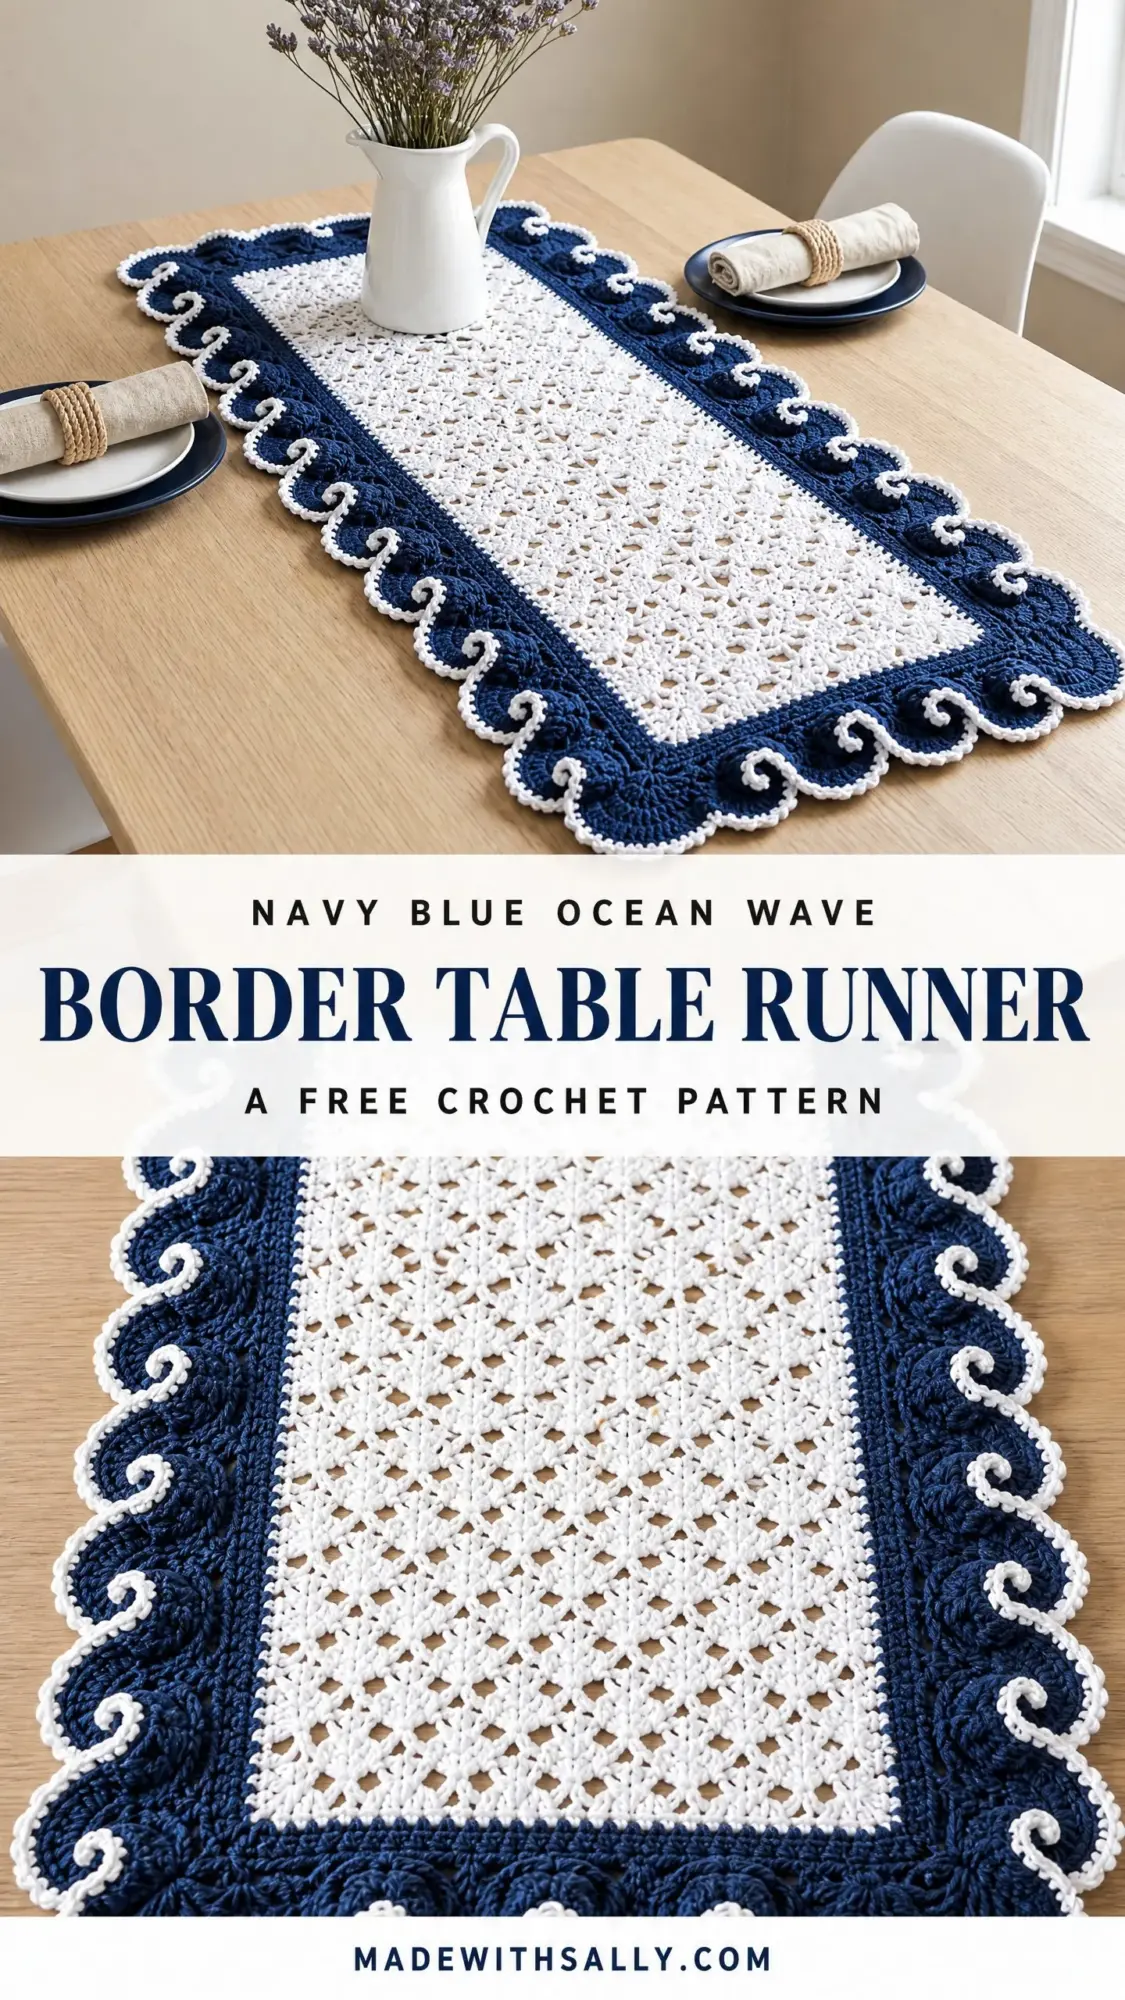
This table runner scratches that itch perfectly. The combination of delicate lace and bold dimensional waves creates something that looks far more complicated than it actually is. Plus, it transforms any table into a seaside escape without a single seashell in sight.
If you’ve been wanting to try filet crochet or just need a stunning centerpiece for your dining room, this pattern delivers on both fronts. Let me walk you through every stitch.
About This Navy Blue Ocean Wave Table Runner Pattern
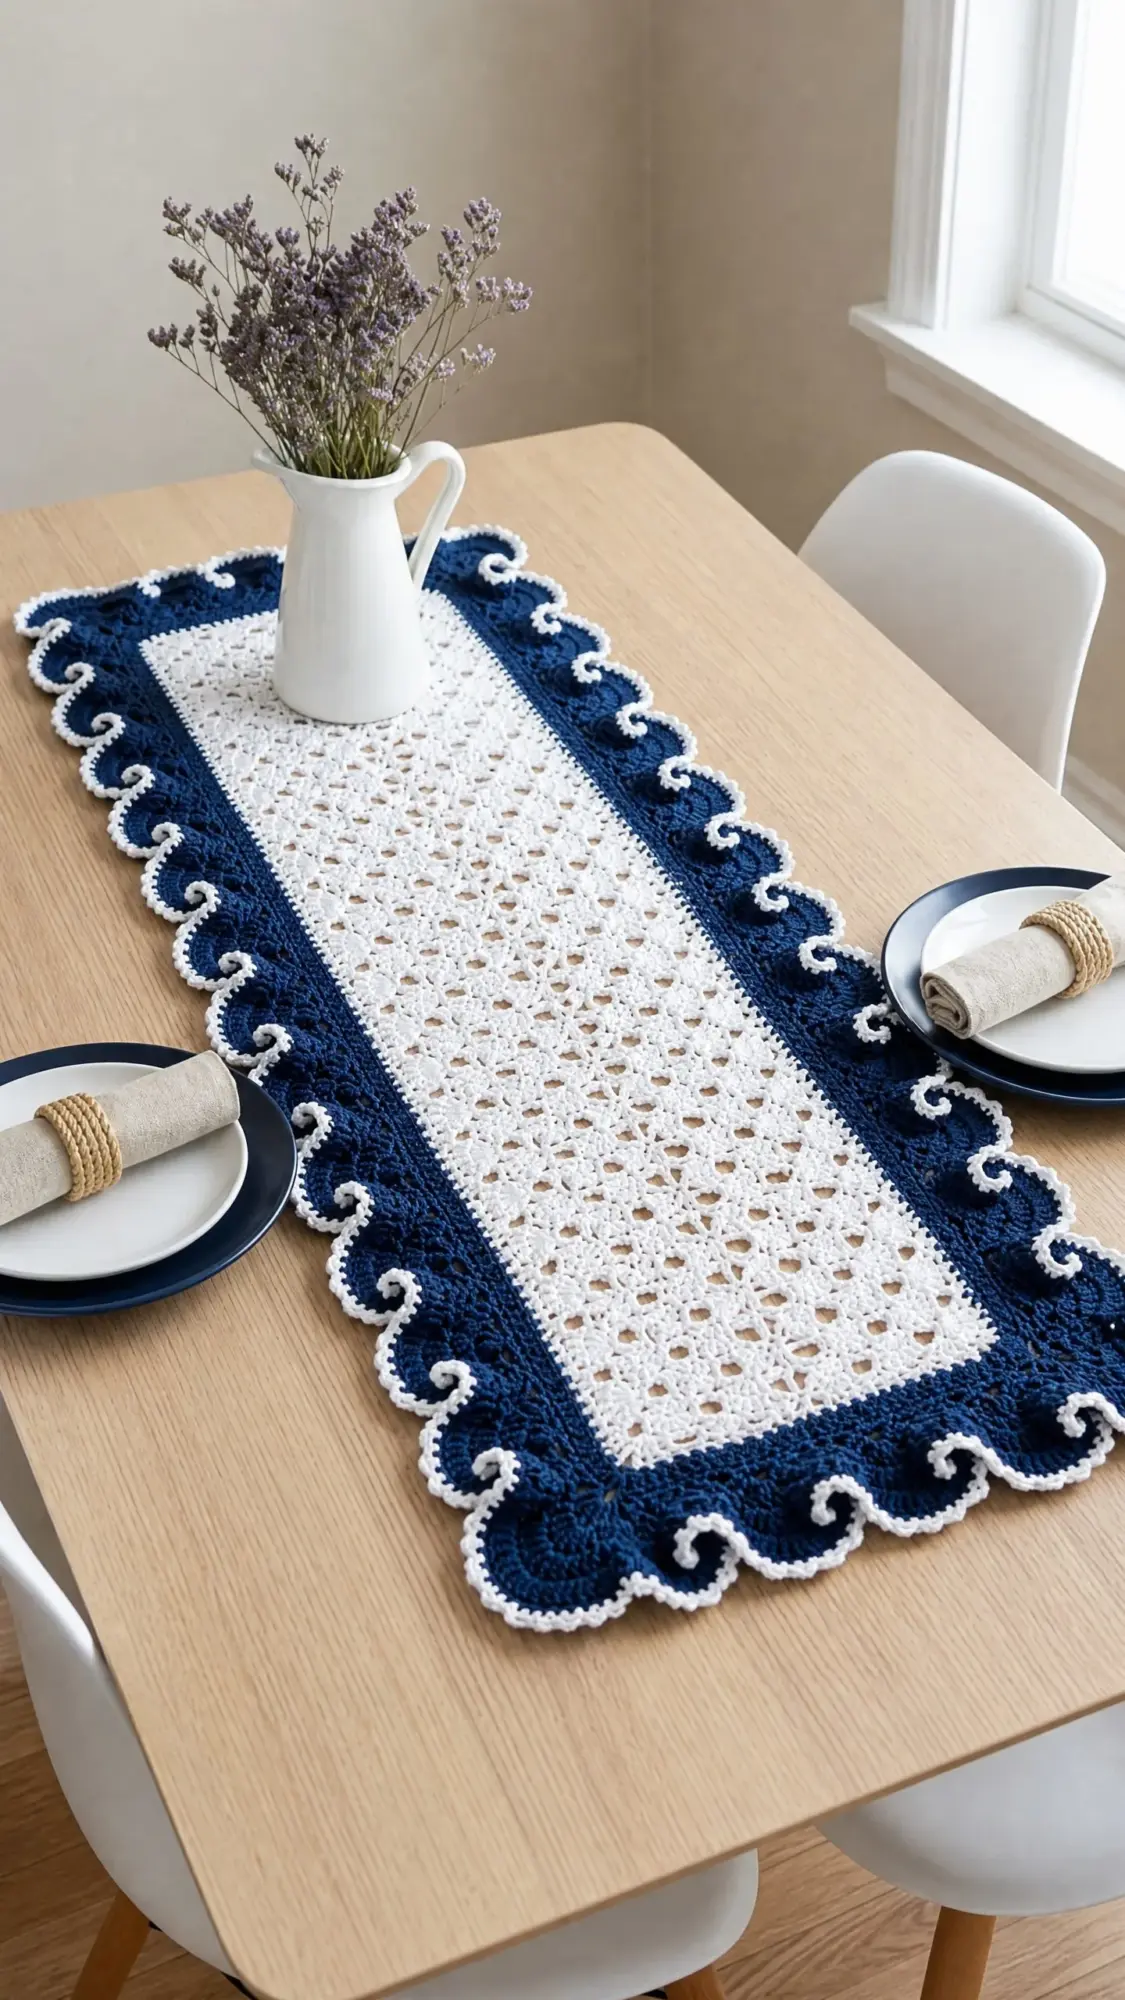
This rectangular table runner features three distinct sections that come together beautifully. You’ll start with a crisp white filet lace center panel that creates an airy diamond texture. Then you’ll add a dense navy blue border worked in rounds directly onto the center. Finally, you’ll finish with those showstopping spiral wave curls tipped in white to mimic ocean crests.
The finished piece measures approximately 14 inches wide by 36 inches long after blocking. That’s the perfect size to grace a dining table, sideboard, or console table.
I’ll be honest with you. This pattern sits in the intermediate to advanced intermediate range. You’ll need comfort with filet mesh construction and good tension control for those wave spirals. But if you’ve completed at least one lace project before, you’re ready for this challenge.
Plan for about 12 to 18 hours of crochet time, plus blocking. Yes, blocking is essential here. Don’t skip it.
Materials You’ll Need
Yarn
Color A (White): Approximately 400 yards (366 m) of size 10 crochet cotton thread or fine weight (weight 1) mercerized cotton yarn
Color B (Navy Blue): Approximately 350 yards (320 m) of the same weight and fiber as Color A
Recommended Yarn Brands
Aunt Lydia’s Classic Crochet Thread Size 10 in White (001) and Navy (486) works beautifully. This option produces a crisp, stiff result that holds its shape well after blocking.
DMC Traditions Crochet Thread Size 10 in Ecru and Navy offers a slightly softer hand with a subtle sheen that highlights the filet openwork.
Lizbeth Crochet Thread Size 10 by Handy Hands in White and Navy is Egyptian cotton with excellent stitch definition and a lovely luster.
Important: Avoid synthetic threads for this project. The piece requires wet blocking, and synthetics don’t block to shape reliably.
Hook
US Steel Hook size 7 (1.65 mm) for thread cotton, or US B-1 / 2.25 mm hook if using light fingering/fine weight cotton yarn
Additional Supplies
Gauge
With Color A and 1.65 mm steel hook, after blocking:
18 mesh spaces and 14 rows = 4 inches (10 cm) in Filet Mesh pattern
One mesh space equals one double crochet (dc), chain 1 unit. Gauge is critical for reaching the stated dimensions, so please swatch.
How to Make a Gauge Swatch
Chain 39. Row 1: Dc in 5th ch from hook (counts as dc, ch 1, dc), (ch 1, skip 1, dc in next ch) across. Rows 2 through 15: Ch 4, turn, (dc in next dc, ch 1) across, dc in top of turning ch. Block your swatch, then measure the center 18 mesh spaces across and 14 rows down. Adjust hook size as needed.
Abbreviations
Special Stitches and Techniques
Filet Mesh
A repeating unit of (dc, ch 1, skip 1 stitch or ch, dc) that creates an open grid. Each mesh unit occupies 2 stitches. Think of it as creating little windows in your fabric.
Filet Closed Block
Work dc in next ch-sp, dc in next dc instead of ch 1, skip. This fills a mesh opening with solid fabric and creates the accent motif rows in the center panel.
Wave Curl (The Star of the Show)
This special edging stitch creates the ocean wave effect. Here’s how:
Chain 12 tightly. Working back along those 12 chains (not along the main fabric), sc in 2nd ch from hook, sc in each of the next 3 chs, hdc in next ch, dc in next ch, tr in next ch, dc in next ch, hdc in next ch, sc in last 2 chs.
This creates a naturally curling spiral that mimics a breaking wave. The curl attaches at its base to the border edge.
White Tip Single Crochet
After completing each Wave Curl in navy, you’ll add white tips using surface stitches. Insert hook from front to back along the top rolled edge of the curl, yo with Color A, draw through, yo, draw through both loops. Work 3 to 4 surface sc along the tip of each curl to create that gorgeous white crest effect.
Pattern Notes Before You Begin
1. The center panel is worked flat with Color A from a foundation chain, turning at the end of each row. A ch-4 turning chain counts as dc plus ch 1 throughout.
2. The navy border is worked in joined rounds, not turned. The RS of the center panel faces you throughout.
3. Corners in the border rounds use 3 dc with ch 1 separations to keep the work flat.
4. The wave edging attaches to every 4th dc post around the outer border edge.
5. To maintain consistent center panel texture, never skip more than 1 chain in the filet mesh. If your tension runs tight, go up one hook size.
6. Block aggressively. The lace center must be pinned open to show the filet diamond structure.
Section 1: White Filet Center Panel Instructions
Foundation Chain
With Color A and 1.65 mm hook, ch 147.
Row 1 (RS)
Dc in 5th ch from hook (the skipped 4 chs count as dc, ch 1). (Ch 1, skip next ch, dc in next ch) across. Turn. (72 mesh units)
Stitch count clarification: You should have 73 dc posts and 72 ch-1 spaces for a total of 145 worked stitches, plus the starting ch-4 base.
Row 2
Ch 4, turn. (Dc in next dc, ch 1) 71 times, dc in top of tch. (72 mesh units)
Row 3
Ch 4, turn. (Dc in next dc, ch 1) 71 times, dc in top of tch. (72 mesh units)
Rows 4 through 7
Rep Row 2. (72 mesh units each row)
Row 8 (Accent Row)
Ch 4, turn. (Dc in next dc, ch 1) 5 times. Dc in next ch-sp, dc in next dc (closed block made). (Ch 1, dc in next dc) 3 times. Ch 1. (Dc in next ch-sp, dc in next dc) closed block. (Ch 1, dc in next dc) 3 times. Ch 1.
Continue in this manner, alternating 6 mesh units, 1 closed block, 3 mesh units, 1 closed block, 3 mesh units, 1 closed block, 6 mesh units to end, dc in top of tch.
This creates a subtle diagonal accent visible in the center field. (72 mesh units, with closed blocks substituting some open spaces)
Note: Each closed block replaces 1 open mesh unit. Net stitch count remains equivalent because you’re filling spaces, not adding or removing posts.
Rows 9 through 13
Rep Row 2. (72 mesh units each row)
Row 14 (Accent Row)
Mirror Row 8 with the closed block positions shifted 3 units to the right. This offset creates the diamond lace visual in the center.
Work (dc in next dc, ch 1) 8 times, closed block, (ch 1, dc in next dc) 3 times, ch 1, closed block. Continue the offset repeat across. (72 mesh units equivalent)
Rows 15 through 19
Rep Row 2. (72 mesh units each row)
Continuing the Pattern
Alternate 5 plain mesh rows with 1 accent row in the staggered offset pattern for the full length.
Total rows: Work until piece measures 32 inches (81 cm) from foundation chain, ending with a plain mesh row. This requires approximately 112 rows total.
Checkpoint: Your white filet piece should measure approximately 10 inches wide and 32 inches long, unblocked. It may look slightly smaller before blocking.
Fasten off Color A leaving a 6-inch tail. Weave in end.
Section 2: Navy Blue Border Instructions
Setup
With RS of center panel facing you, join Color B with sl st to any corner mesh space.
Round 1
Ch 3 (counts as dc). Working around the entire perimeter, work dc evenly along all 4 sides, placing 3 dc in each corner mesh sp.
Along the long sides, work 1 dc in each dc post and 1 dc in each ch-1 sp (approximately 2 dc per mesh unit). Along the short ends, work the same way along the foundation chain and final row edge.
Join with sl st to top of beg ch-3. (444 dc)
Note: The center dc of each 3-dc corner group is the true corner stitch. Mark with a stitch marker if helpful.
Round 2
Ch 3, turn. Work 1 dc in each dc around, placing 3 dc in each marked corner dc. Join with sl st to top of beg ch-3. (452 dc)
Round 3
Ch 3, turn. Work 1 dc in each dc around, placing 3 dc in each corner dc. Join. (460 dc)
Round 4
Ch 1, do not turn. Work 1 sc in each dc around, placing 3 sc in each corner dc. Join with sl st to beg ch-1. (468 sc)
Round 5 (Preparation Round for Wave Edging)
Ch 1, do not turn. Work 1 sc in each sc around, placing 3 sc in each corner sc. Join with sl st. (476 sc)
Do not fasten off. Continue to Section 3.
Checkpoint: Your piece should now measure approximately 14 inches wide and 36 inches long. The navy border should be dense and even. Corners should lie flat without puckering or ruffling.
Section 3: Ocean Wave Edging Instructions
With 476 sc around the perimeter, waves attach every 4 sc. 476 divided by 4 equals 119. You’ll create 119 wave curls total.
Wave Edging Round (Color B)
With Color B still attached from Round 5, do not turn. Begin at any point along the edge.
Step 1: Sl st into the first sc of Round 5.
Step 2: Work Wave Curl as follows: Ch 12 tightly. Working back along the chain just made, sc in 2nd ch from hook, sc in each of next 3 chs (4 sc total), hdc in next ch, dc in next ch, tr in next ch, dc in next ch, hdc in next ch, sc in last 2 chs.
Sl st back into the same sc of the border where the ch-12 originated to anchor the base. (Wave Curl 1 complete)
Step 3: Sl st in each of the next 3 sc of Round 5 (moving 4 sc along the border).
Step 4: Rep Steps 2 and 3 around the entire border until all 119 Wave Curls are complete. On the final curl, sl st to the very first sl st of the round to close.
Adding the White Tips
Step 5: With Color A, join with sl st to the tip (outermost rolled point) of Wave Curl 1. Work 3 surface sc along the rolled tip of the curl. Insert hook under the top loop of the outermost rolled portion, yo with Color A, draw through, yo, draw through both loops. Rep twice more for 3 surface sc. Fasten off Color A.
Rep Step 5 on each of the remaining 118 Wave Curls. (119 curls tipped in white)
After completing all curl tips, fasten off Color B. Weave in all ends securely.
Checkpoint: You should have a continuous row of navy curls around the entire perimeter, each tipped in white. Curls should face upward and outward. Any that fold downward will open during blocking.
Size Customization Tips
For a smaller placemat (approximately 12 inches by 16 inches): Start with ch 75 and work 45 rows for the center panel. Border and wave edging instructions stay the same.
For a longer runner (up to 48 inches): Add approximately 14 rows per 4 inches of additional length to the center panel. Add approximately 24 dc to each long side of the border per additional 4 inches. Recalculate wave curl count by dividing the new total sc count by 4.
To adjust width: Each additional mesh unit adds approximately 2 dc to the short ends. Add or subtract mesh units in pairs to maintain accent row symmetry.
Finishing and Blocking Your Table Runner
Weave in all remaining yarn ends, running each tail through at least 1 inch of stitches in two directions.
Wet Blocking Method (Strongly Recommended)
Submerge the finished runner in cool water for 15 to 20 minutes. Gently squeeze out excess water without wringing. Roll in a clean towel and press to remove moisture.
Lay on a blocking board. Pin the center panel open aggressively, stretching the filet mesh to reveal the diamond lace pattern. Pin the navy border edges straight. Shape each wave curl to stand slightly upward, curling forward. Pin the base of each curl flat while allowing the tip to curl freely.
Allow to dry completely, at least 24 hours. Remove pins only after fully dry.
A light starch spray applied while damp adds extra body and helps the wave curls hold their dimensional shape.
Care Instructions
Hand wash in cool water with gentle detergent. Do not machine wash. The agitation will distort the filet mesh and tangle the wave curls.
Rinse thoroughly. Roll in a towel to remove water. Lay flat to dry. If pressing is needed, place a damp cloth over the runner and use a cool iron. Avoid bleach. Store folded or rolled without heavy items on top to preserve the wave edging.
You Did It!
Creating this navy blue ocean wave border table runner is genuinely satisfying work. The combination of techniques pushes your skills while producing something absolutely stunning for your home. Every time you set your table, you’ll feel that little burst of pride knowing you made this.
Thank you so much for choosing this pattern. I’d love to see your finished runners! Tag me on Instagram or share in my Facebook group. Seeing your beautiful work truly makes my day.
If this pattern caught your eye, go ahead and pin it to your Pinterest boards so you can find it when you’re ready to start. And please drop a comment below if you make one. I love hearing how projects turn out and answering any questions along the way. Happy crocheting!
