
Last summer, I lost my favorite headscarf somewhere between the beach and the parking lot. I retraced my steps twice, asked at the lifeguard station, even checked the lost and found a week later. Gone forever. That little triangle of fabric had kept my hair out of my face through countless windy afternoons, and I was genuinely sad to see it go.
Get the Ad-Free PDF Pattern
You can find the free pattern below, or you can purchase the ad-free printable PDF from my shop.
Get the Printable PDF →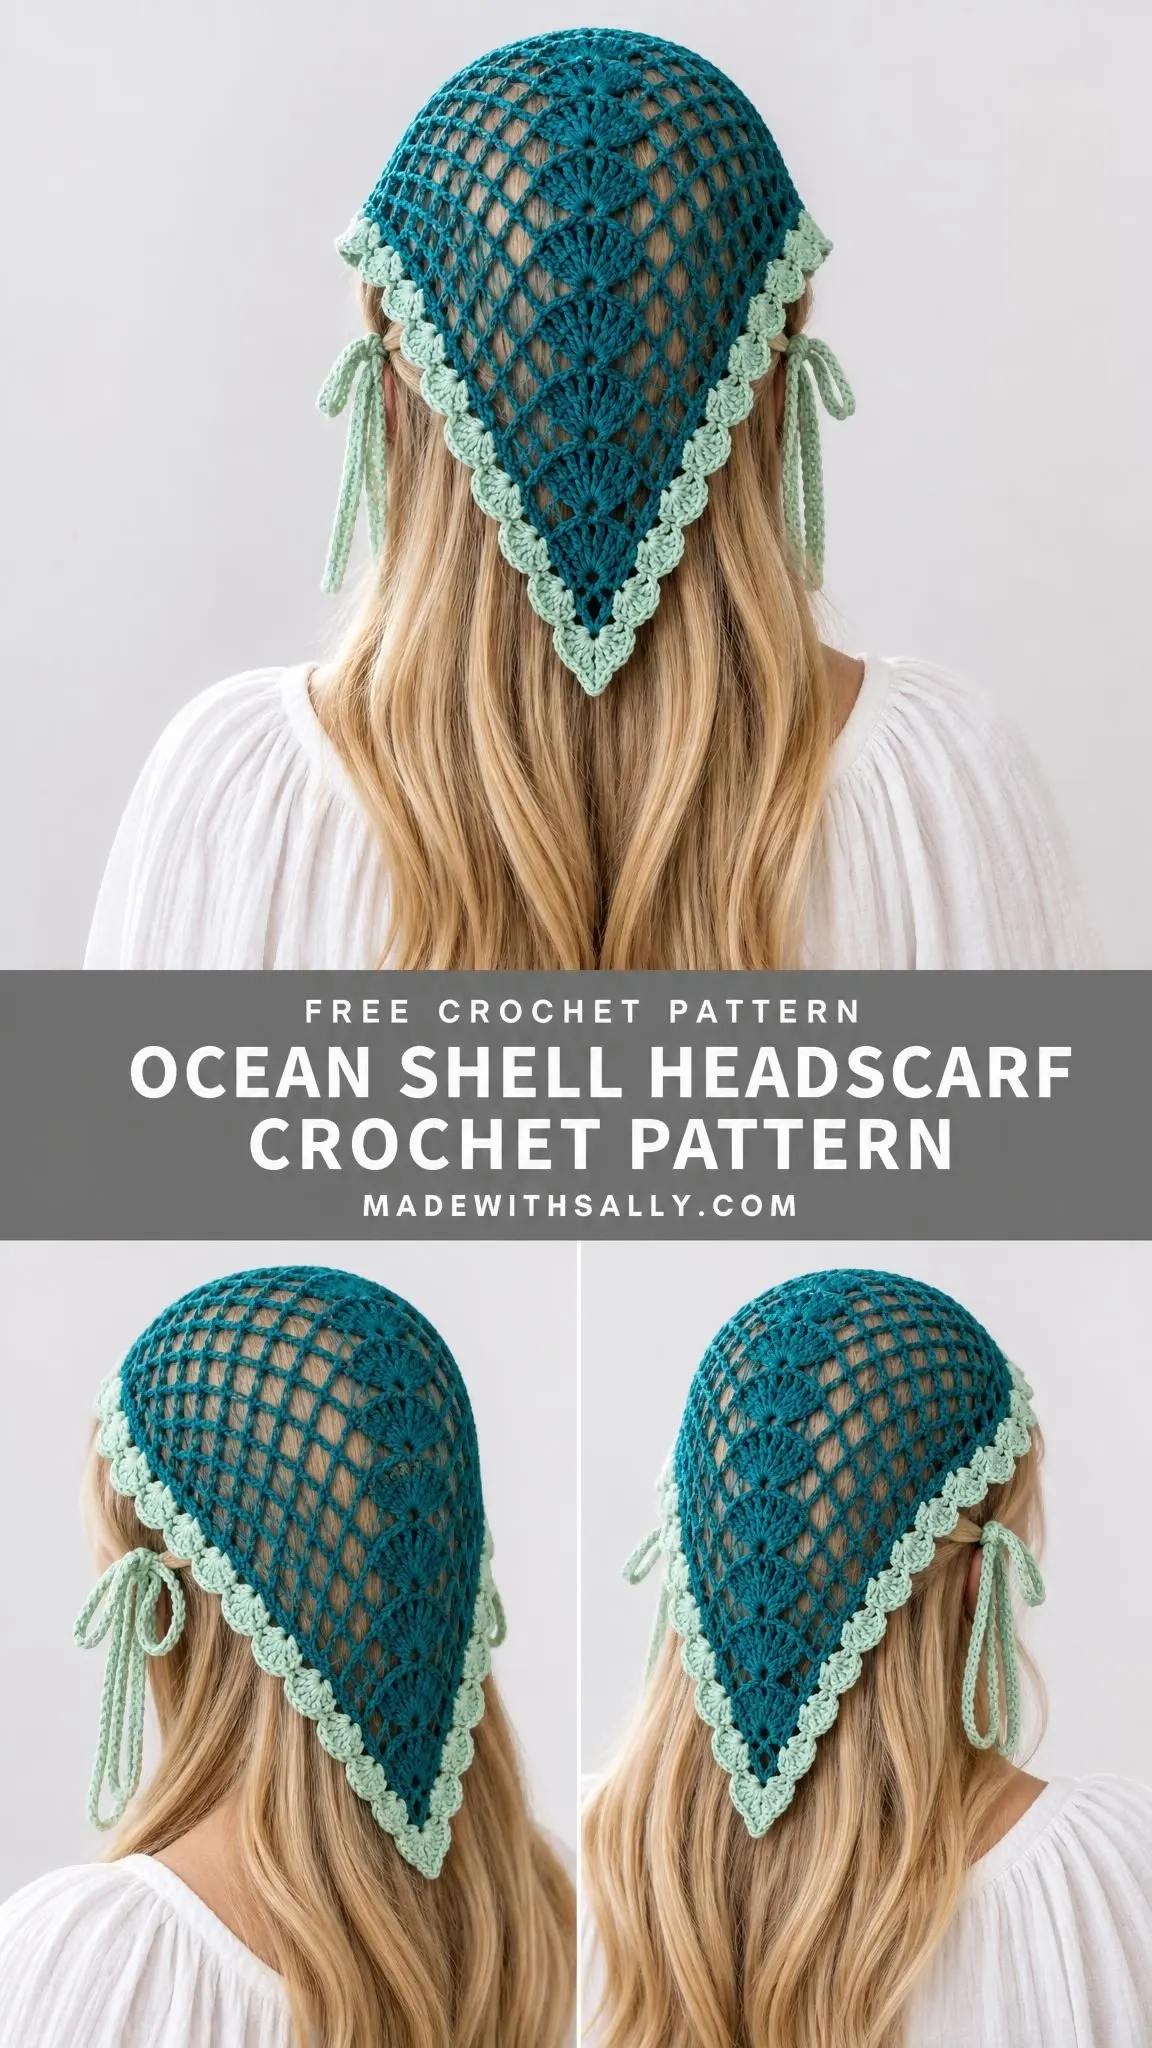
So I decided to make my own replacement. Something lightweight and open for warm weather. Something with a bit of texture and visual interest. Something that wouldn’t just disappear into the sand if I set it down.
This Ocean Shell Headscarf is what I came up with, and I honestly love it even more than the one I lost. The mesh construction keeps your head cool while still holding your hair back, and those sweet little fan motifs down the center add just enough detail to make it feel special. If you’ve been looking for a pretty summer accessory that works up relatively quickly in fingering weight cotton, this one might be exactly what you need.
About This Pattern
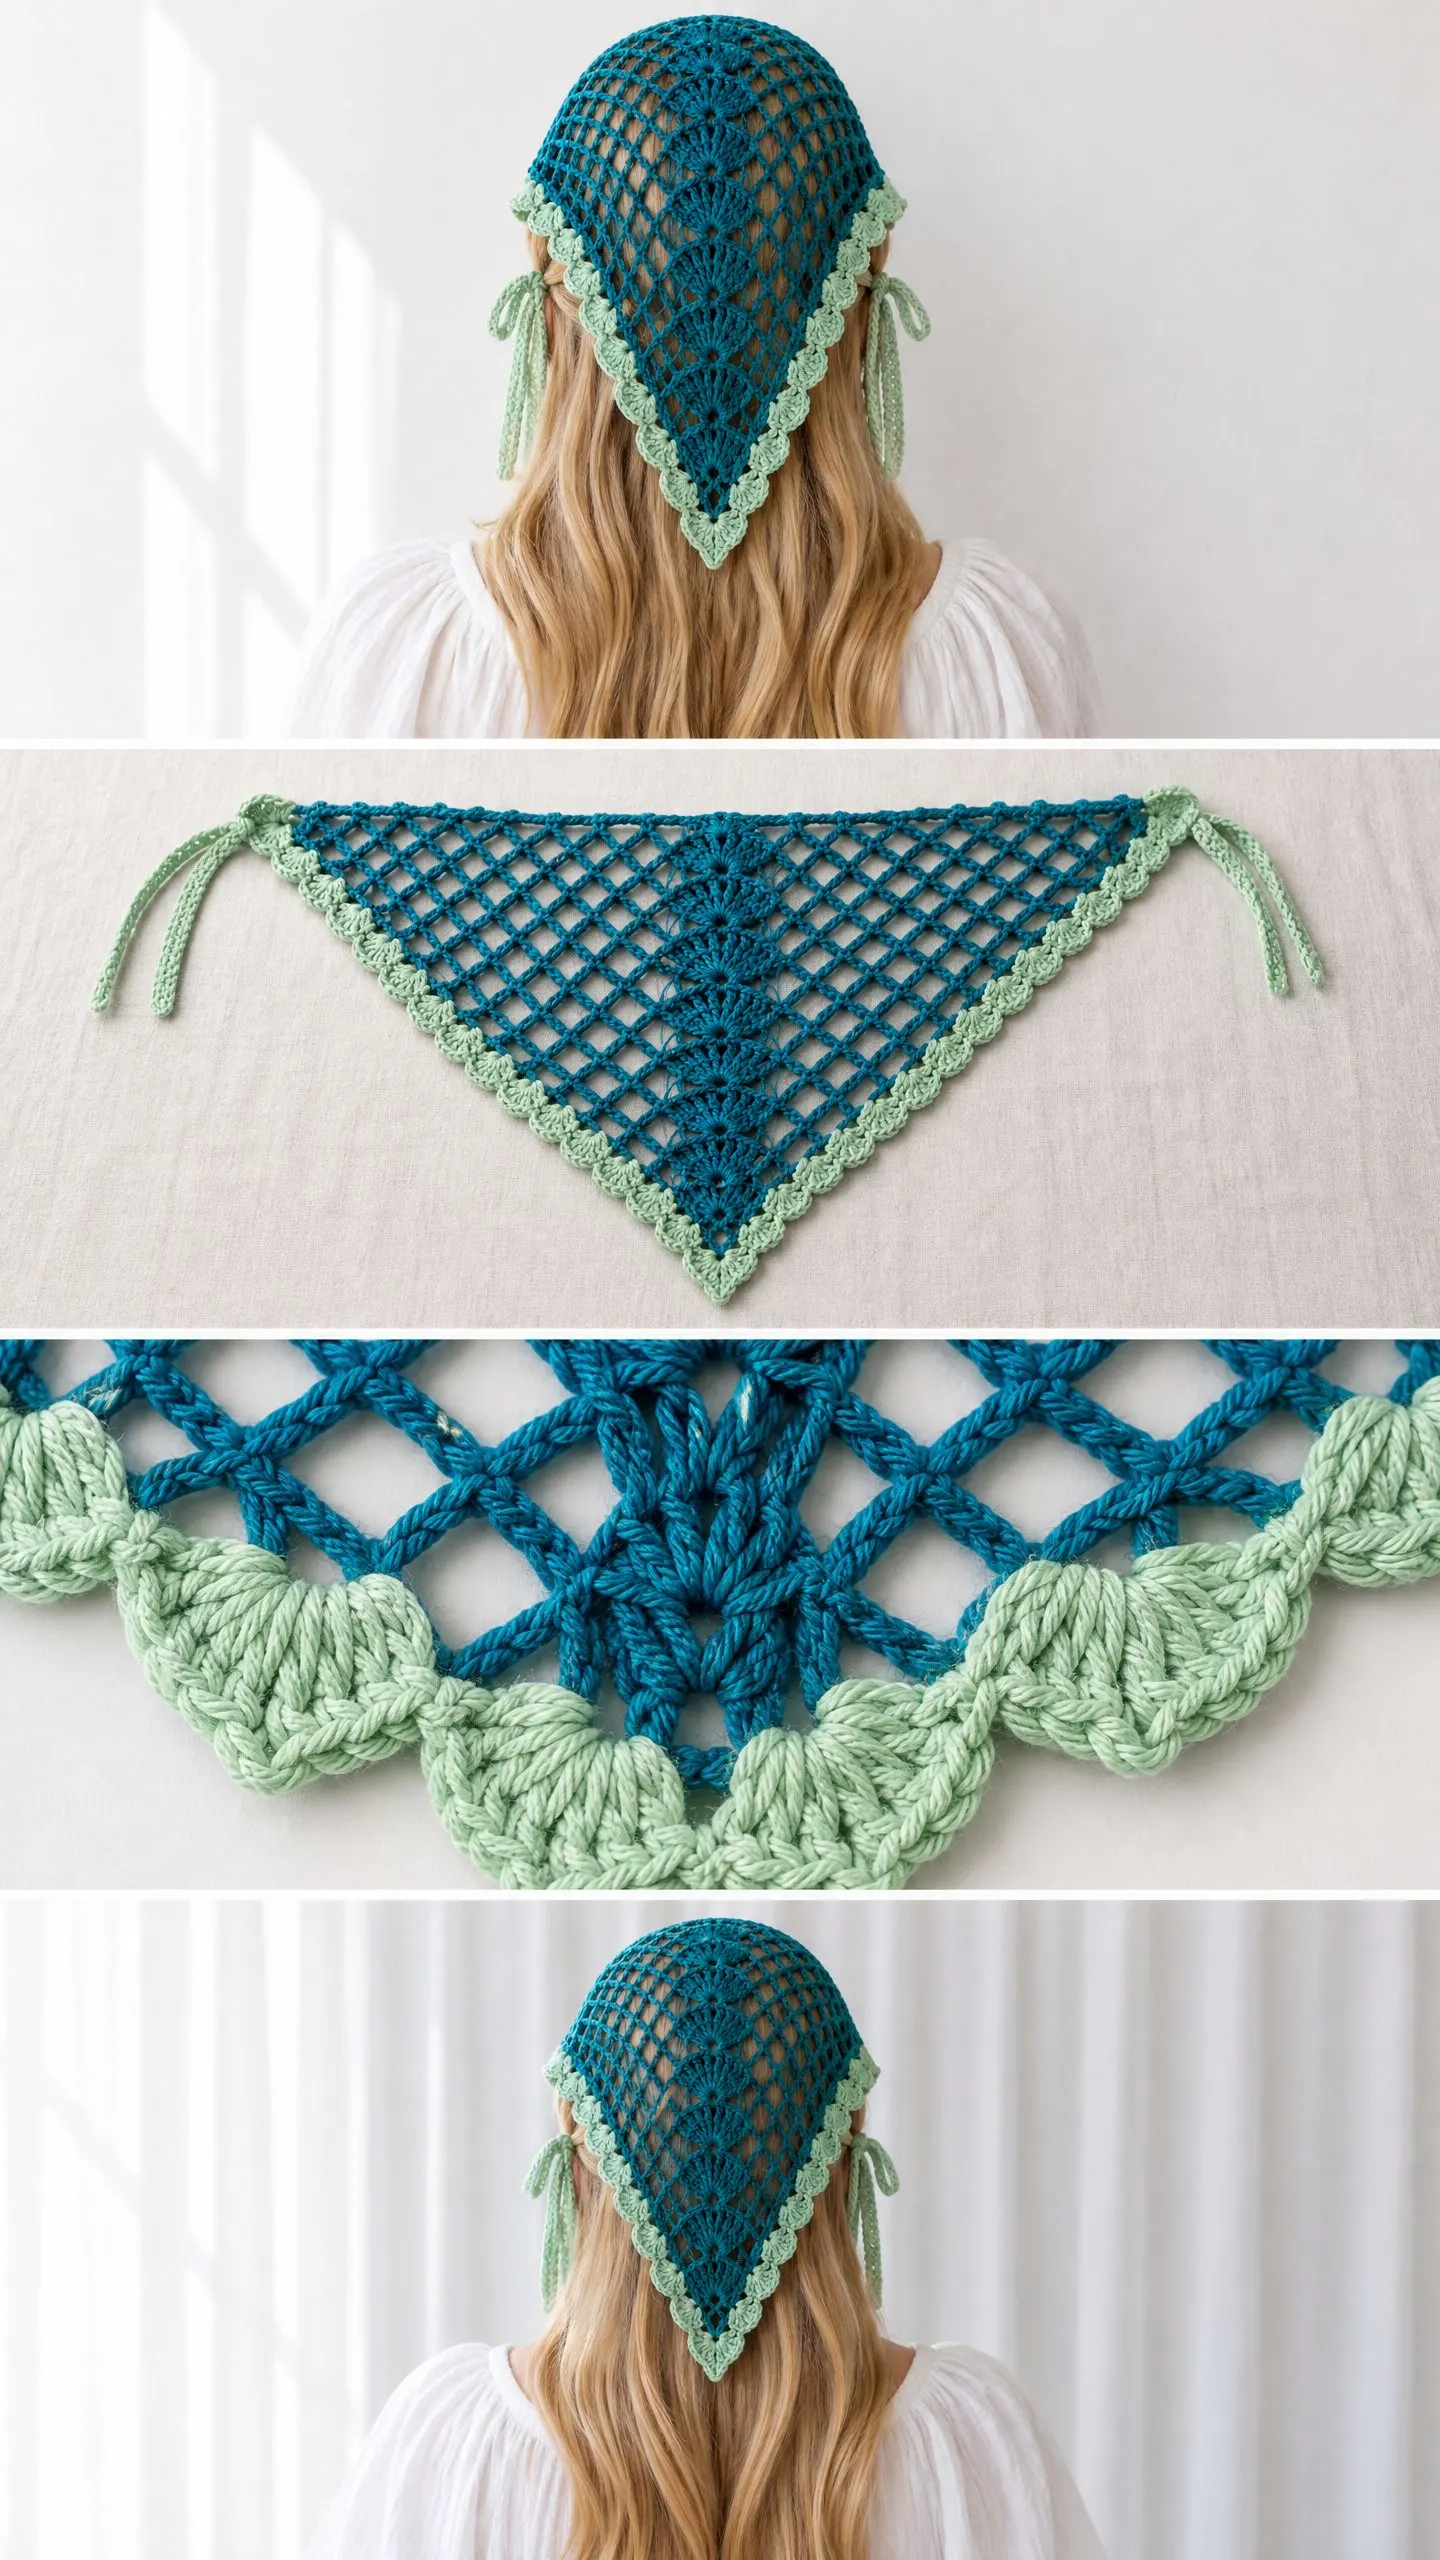
This headscarf combines two techniques that work beautifully together. First, you’ll create an open mesh triangle by increasing chain arches row by row. Then you’ll add a scalloped border and ties in a contrasting color. Finally, you’ll make separate fan motifs and sew them down the center of the triangle for that gorgeous shell-like spine effect.
The finished piece measures approximately 48 cm (19 inches) across the top edge, with a depth of about 30 cm (12 inches) from forehead to point. The two ties are each roughly 25 cm (10 inches) long. This sizing works for an adult head circumference of approximately 54 to 58 cm, though you can easily adjust by adding or removing rows before finishing.
Skill level: Intermediate beginner. If you can work basic stitches and count your chains, you can absolutely handle this project. The mesh section is wonderfully repetitive and almost meditative once you get the rhythm down.
Materials You’ll Need
Yarn: Fingering weight cotton, approximately 350 to 400 meters per 100 grams. You’ll need about 75 grams of your main color (Color A, teal in the original) plus 15 grams of your accent color (Color B, seafoam in the original). These amounts are estimates, so having a little extra on hand is always smart.
Hook: 2.5 mm crochet hook, or whatever size you need to achieve gauge.
Notions: Blunt tapestry needle for weaving in ends and sewing on the fan motifs, scissors, stitch markers, tape measure, blocking mat, and rustproof pins for blocking.
Optional for a pearl version: Small smooth beads with holes wide enough for sewing thread, plus a fine needle.
Gauge
This is important for getting the right finished size. Your target mesh gauge, lightly blocked, should be:
I recommend working at least 12 rows of the triangle as a gauge swatch. Wet block it, let it dry completely, then measure through the center. If your triangle is too dense, go up a hook size. If it’s too open and floppy, go down a hook size.
Abbreviations and Stitch Definitions
Before we dive in, let’s make sure we’re speaking the same language. This pattern uses US crochet terminology.
ch = chain: Yarn over, pull through the loop on your hook.
sl st = slip stitch: Insert hook, yarn over, pull through both the stitch and the loop on your hook in one motion.
sc = single crochet: Insert hook, yarn over and pull up a loop (2 loops on hook), yarn over and pull through both loops.
hdc = half double crochet: Yarn over, insert hook, yarn over and pull up a loop (3 loops on hook), yarn over and pull through all 3 loops.
dc = double crochet: Yarn over, insert hook, yarn over and pull up a loop (3 loops on hook), yarn over and pull through 2 loops (2 loops remain), yarn over and pull through remaining 2 loops.
tr = treble crochet: Yarn over twice, insert hook, yarn over and pull up a loop (4 loops on hook), [yarn over and pull through 2 loops] three times.
st = stitch
sp = space
Arch: One ch-5 loop.
Picot: Ch 3, sl st in the first of those 3 chains.
Bobble: [Yarn over, insert hook in indicated stitch, draw up a loop, yarn over and pull through 2 loops] five times in that same stitch. Yarn over and pull through all 6 loops. Ch 1 to close.
Note: Brackets [ ] enclose a repeat. The turning ch 1 never counts as a stitch in this pattern.
Section 01: Increasing Mesh Triangle
This is the main body of your headscarf. You’ll start at the bottom point and work upward, adding one chain arch each row.
Foundation: With Color A (teal), ch 4 and sl st to the first ch to make a ring.
Row 1: Ch 1, sc in ring, ch 5, sc in ring. (1 arch, 2 sc total) Place a stitch marker in the ring to mark this as your lower point.
Row 2: Ch 1, turn. Sc in first sc, ch 5, sc in the ch-5 arch, ch 5, sc in last sc. (2 arches, 3 sc total) Important: Work into the open arch itself, not into its individual chains.
Row 3: Ch 1, turn. Sc in first sc, [ch 5, sc in next arch] twice, ch 5, sc in last sc. (3 arches, 4 sc total)
Rows 4 through 24: Ch 1, turn. Sc in first sc, [ch 5, sc in next arch] across all arches, ch 5, sc in last sc.
Each row gains one arch and one sc. Row n will have n arches and n+1 sc.
Checkpoints to verify your count:
The newest row is always the widest edge (your top/forehead edge). The starting ring remains the bottom tip.
Sizing note: After row 24, lightly block and measure. You’re aiming for a top edge of 48 cm and a depth of 30 cm. If you need more width, simply continue adding rows using the same increase rule. Every additional row adds approximately 2 cm of width and 1.25 cm of depth at target gauge. Write down your final row count for the edging section.
Section 02: Edge and Ties
Now we’ll finish the edges and add the ties.
Top edge foundation: Ch 1, turn. Work 1 sc in each existing sc and 5 sc into every ch-5 arch across the top edge. With 24 arches, your total should be 25 sc (from the original sc stitches) plus 120 sc (from the arches) = 145 sc total. Don’t pull this row tight.
First sloping side: Continue around without turning. Work 2 sc around each row-end segment down the first diagonal side.
Bottom point: Work 3 sc into the starting ring at the tip.
Second sloping side: Work 2 sc around each row-end segment up the second diagonal side.
Join to the first top-edge sc with a sl st. Adjust only if needed for a flat edge, and record your count.
Tie 1: With Color B (seafoam), join at the first upper corner. Ch 71. Working back toward the scarf, sc in second ch from hook and each remaining ch (70 sc). Sl st securely into the corner. Fasten off.
Tie 2: Repeat at the opposite upper corner.
Tip: Measure your ties rather than stretching them. They should be approximately 25 cm each. Add or remove starting chains before working back if necessary.
Section 03: Border and Center Fans
Scalloped border: With Color B (seafoam), work along each sloping side in groups of 6 edge stitches: [skip 2 sts, 5 dc in next st, skip 2 sts, sl st in next st]. If 1 to 5 stitches remain near the point, work sc in them, then 3 sc at the tip. Mirror on the other side.
Fan motifs (make 8 in Color A/teal): Ch 4, sl st to first ch to form a ring. Ch 3 (this counts as the first dc for this motif only), 6 dc in ring. (7 dc total) Do not close the fan into a circle. Fasten off, leaving a 20 cm tail for sewing. Gently spread each fan into a semicircle shape.
Arranging and attaching the fans: Position your 8 fans in a centered column running from about 3 cm below the top edge to about 3 cm above the tip. Point the straight edges of each fan downward and overlap neighboring fans slightly.
Using the yarn tails, sew each fan’s base to the mesh at the intersections where stitches meet. Then tack down the outer corners of each fan. Be careful not to pull the mesh arches together as you sew.
Optional tip medallion: Ch 4, join to form a ring. Ch 3 (counts as dc), 11 dc in ring, join with sl st. (12 dc total) Fasten off. Sew this medallion over the lowest fan base at the tip. This is purely decorative and won’t affect the triangle’s shape.
Section 05: Blocking, Fitting, and Finishing
Weave in your ends in at least two directions through nearby solid stitches for security.
Blocking: Soak the headscarf according to your yarn label instructions. Press excess water into a towel (don’t wring). Lay flat on a blocking mat and pin the top edge to approximately 48 cm and the lower tip to approximately 30 cm depth. Pin both diagonal edges symmetrically.
Open the mesh gently with your fingertips, keeping each chain arch similar in size. Don’t stretch so hard that stitches lose their shape. Let dry completely before removing pins.
Trying it on: Place the headscarf over the crown of your head with the longest edge across your front hairline. Tie the two corner ties at the nape of your neck, beneath your hair. The center point should hang down the middle of your hair. Adjust the tie position for comfort without pulling the mesh tight.
Care instructions: Follow your cotton yarn label for washing. Re-block after laundering to maintain shape.
Troubleshooting Common Issues
Curling top edge: This usually means your sc tension is too tight. Try relaxing your hands on the edging round.
Flared sides: You may have too many edging stitches. Try reducing the number of sc per row-end segment.
Unequal sides: This typically indicates a missed arch or an extra repeat somewhere. Count your arches row by row to find where the count went wrong. Undo to the last correct row and restore its arch count.
Final Thoughts
This Ocean Shell Headscarf is one of those satisfying projects where the finished piece looks far more complicated than it actually is to make. The increasing mesh creates that beautiful triangle shape almost automatically, and sewing on the fan motifs afterward means you can adjust their placement until everything looks just right.
It’s perfect for keeping hair back at the beach, the farmers market, or just puttering around the garden on a warm day. And because it uses such a small amount of yarn, it’s an ideal way to use up those special skeins of cotton you’ve been saving for the right project.
I hope you enjoy making your own Ocean Shell Headscarf as much as I enjoyed designing it. If you give this pattern a try, I’d absolutely love to see your finished piece. Tag me on Instagram or share in our Facebook group. And if you want to come back to this pattern later, go ahead and pin it to your Pinterest boards so it’s easy to find when you’re ready. Drop a comment below and let me know what colors you’re planning to use. Happy crocheting!
Want a Quick & Easy Printable Version?
Get a clean, beautifully formatted PDF of this pattern — easy to follow step by step, ready to print or save on any device. No scrolling, no distractions, just the pattern.
Get the Printable PDF →