
I don’t know about you, but I absolutely melt when I see a little one in a handmade dress. There’s something about tiny fingers reaching for a twirly skirt that makes every hour of crocheting completely worth it.
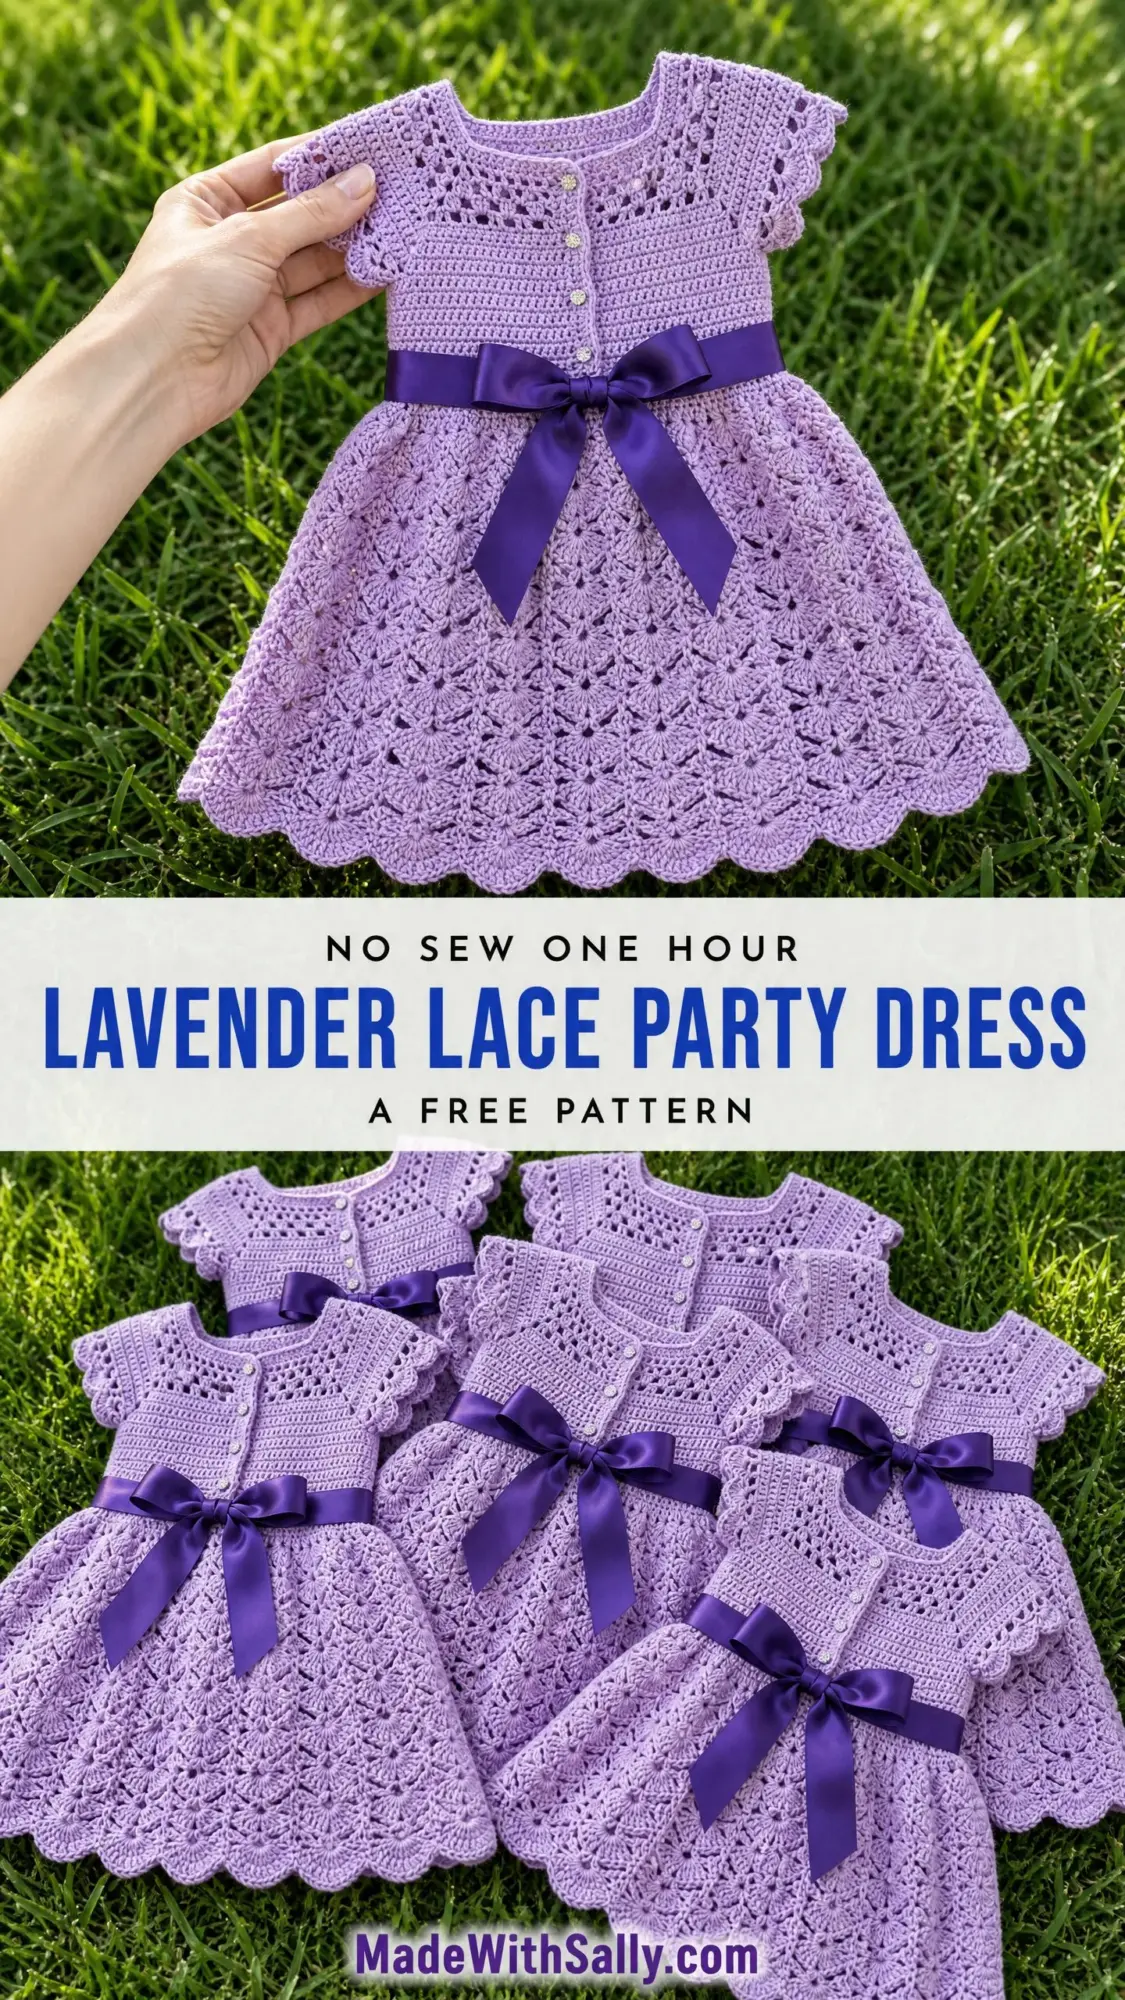
This lavender lace party dress has been living in my head rent-free ever since I first sketched it out. The combination of delicate mesh at the yoke, that beautiful fan-and-shell skirt, and a deep purple satin bow at the waist? It’s the kind of dress that makes grandmas tear up at birthday parties.
If you’ve been wanting to try your hand at a garment project that looks impressive but won’t leave you pulling your hair out, this crochet pattern is calling your name. The construction is logical, the stitch counts are manageable, and the end result is pure magic on a hanger.
About This Crochet Pattern
This heirloom-quality girls party dress features three distinct sections that work together beautifully. You’ll start with a lace yoke worked in joined rounds from the neckline down. Then comes a solid fitted bodice band that gives the dress structure. Finally, the dramatic fan-and-shell lace skirt flares into a gorgeous scalloped hem.
The cap sleeves form naturally as an extension of the yoke lace. They’re finished with a scalloped edging that matches the hem perfectly. A satin ribbon threads through an eyelet waistline to create that empire-style bow at center front. Small decorative buttons run down the center front bodice panel, and there’s a small keyhole opening at the back neckline for easy dressing.
This dress is sized for a toddler or young child and makes an ideal occasion garment or flower girl dress. Trust me when I say the recipient’s parent will probably cry.
Skill Level
I’d call this Advanced Beginner to Intermediate. The yoke requires working in rounds and following a lace repeat. The skirt uses a fan-and-shell repeat that becomes intuitive once you get the rhythm going.
Here’s the good news: the seamless top-down construction means no shoulder or side body seaming. The only finishing involves the optional back closure and button bands. If you’re comfortable with chains, single crochet (sc), half double crochet (hdc), double crochet (dc), and basic shaping, you can absolutely complete this project with careful attention to stitch counts.
Time Estimate
Plan for 12 to 18 hours depending on your speed and yarn familiarity. Here’s how that breaks down:
Don’t rush the skirt section. That’s where all the drama happens, and it’s worth taking your time to keep your fan shells even and pretty.
Finished Measurements
Size: 3T to 4T (fits chest 21 to 22 inches / 53 to 56 cm)
Size Customization Tips
Want to go bigger or smaller? You have options. Change your hook and yarn weight to shift gauge, or add or subtract one full fan repeat from the skirt foundation round. Each fan repeat adds or removes approximately 1.25 inches / 3.2 cm of circumference.
To lengthen the skirt, add additional fan rounds before working the final scallop edging. Each additional fan round adds approximately 0.75 inches / 1.9 cm of length.
To adjust bodice height, add or remove rows in the straight bodice section only. Leave the yoke lace section as written. Check that the ribbon waistline row falls at the natural waist position before continuing.
Materials Needed
Yarn: Approximately 400 to 500 yards / 366 to 457 meters of light worsted weight (category 3) or heavy DK weight yarn in lavender. The yarn must have good stitch definition to show the lace pattern clearly.
Ribbon: 1 yard / 91 cm of 1-inch / 2.5 cm wide satin ribbon in deep purple or violet
Hook: US size E-4 / 3.5 mm (adjust to meet gauge)
Notions:
Yarn Suggestions
Option 1: Lion Brand Pound of Love in Pastel Purple. This 100 percent acrylic baby-weight yarn holds up to washing and has excellent stitch definition.
Option 2: Paintbox Yarns Simply DK in Dusty Lilac. A smooth, affordable DK yarn with clean stitch definition. Widely available.
Option 3: Cascade 220 Superwash Sport in a lavender colorway. This superwash merino gives beautiful drape and a slightly elevated hand for a true occasion garment. Hand wash or machine wash cold gentle.
Substitution Note: Choose any smooth yarn with good stitch definition in DK or light worsted weight. Avoid hairy or textured yarns that will obscure the lace fan pattern. When substituting, purchase yarn based on yardage, not weight of skein. Always swatch first.
Gauge
Using US size E-4 / 3.5 mm hook:
Gauge is essential for a fitted garment. Work a 6-inch swatch, wash and block it, then measure in the center before starting. Adjust hook size as needed. This step takes 20 minutes and saves hours of frustration. I promise.
Abbreviations (US Terms)
Let me walk you through every abbreviation you’ll encounter. If you’re newer to crochet patterns, bookmark this section.
Special Stitches
These are the techniques that give this dress its gorgeous texture. Read through them before starting so you know what to expect.
Fan Shell (used in skirt)
Work (5 dc, ch 1, 5 dc) all into the same stitch or chain space. This creates a 10-dc shell with a center chain-1 peak. It sounds complicated, but once you do it a few times, your hands will remember.
Shell Increase Fan (used at skirt transition)
Work (5 dc, ch 2, 5 dc) into designated space to create a slightly wider opening for scallop expansion rows.
Scallop Edging
Skip 2 sts, work 5 dc into next stitch, skip 2 sts, sl st into next stitch. Repeat across. This forms the curved shell edging at cap sleeves and hem.
Bobble (used decoratively at yoke)
Yarn over, insert hook into stitch, yarn over and pull up loop, yarn over and pull through 2 loops (this is an incomplete double crochet). Repeat 4 more times in same stitch so you have 5 incomplete dc on your hook. Yarn over, pull through all 6 loops on hook. Bobble complete.
Picot
Chain 3, slip stitch into first chain made. Used at tips of sleeve edging for a delicate finish.
V-Stitch Lace (used in yoke upper section)
Work (dc, ch 2, dc) all into same stitch or space.
3-dc Cluster
Yarn over, insert hook into indicated stitch, yarn over and pull up loop, yarn over and pull through 2 loops. Repeat twice more in same stitch (3 incomplete dc on hook). Yarn over, pull through all 4 loops.
Joined Round
Work all stitches in round, end with slip stitch to first stitch of round, chain as indicated, do not turn. All rounds are worked with right side facing unless noted otherwise.
Important Pattern Notes
Read these before you start. They’ll save you from having to frog (that’s unravel, for newer crocheters) later.
All rounds are worked right side facing unless specifically noted as wrong side rows during the flat bodice band section.
The yoke is worked in joined rounds from the neckline down. After the yoke, the bodice band is split and worked flat in rows (front and back separately) to create slight shaping and the back keyhole opening.
The skirt is worked in joined rounds from the waist down. The waistline eyelet round allows the satin ribbon to be woven through.
Place stitch markers at: both shoulder points (2 markers), center front, center back, and both underarm join points. This helps you keep track of where you are in the construction.
The turning chain at the beginning of a double crochet row counts as 1 dc throughout unless explicitly stated otherwise.
After blocking, the fan lace in the skirt opens significantly. Work the skirt to the stated round count and stitch count before blocking rather than to a pre-blocking length measurement. The transformation during blocking is pretty dramatic and very satisfying.
For the button band, the buttons are decorative and sewn to the right side of center front after finishing. The back opening is the functional closure. If you prefer, work 5 small buttonholes into the back button band by replacing every 7th sc with (ch 1, sk 1 sc) to accommodate 3/8-inch buttons.
Crochet Pattern Instructions
Construction Order
Here’s how this dress comes together: neckline chain, yoke worked in rounds (top-down), front bodice and back bodice worked flat in rows with waistline eyelet row, skirt worked in joined rounds from waist down, cap sleeve edging added, ribbon inserted, buttons sewn.
Take it one section at a time. Don’t let the full pattern intimidate you.
Part 1: Yoke (Worked Top-Down in Joined Rounds)
Foundation: Ch 60, sl st to first ch to form a ring, being careful not to twist. (60 ch)
Sizing note: 60 chains at gauge equals approximately 13.3 inches. This is the combined neckline circumference including ease. For a 3T to 4T child’s neckline of approximately 11 inches plus approximately 2 inches ease equals 13 inches. 60 chains is correct.
Round 1 (Neckline Edge): Ch 1, sc in each ch around, sl st to first sc. (60 sc)
Round 2 (Neckline Picot Edge): Ch 1, sc in first sc, (ch 3, sc in same sc, sc in each of next 2 sc) 19 times, ch 3, sc in same sc, sc in next sc, sl st to first sc. 20 picots worked. (60 sc, 20 ch-3 picots)
Round 3 (Establish Yoke Mesh): Ch 4 (counts as dc plus ch-1), sk next sc, (dc in next sc, ch 1, sk next sc) 29 times, sl st to 3rd ch of beg ch-4. 60 sc divided by 2 equals 30 dc posts with 30 ch-1 spaces. (30 dc, 30 ch-1 spaces)
Round 4 (Yoke Mesh Row 2): Ch 4, (dc in next dc, ch 1) 29 times, sl st to 3rd ch of beg ch-4. Working into dc posts only, skipping ch-1 sps. (30 dc, 30 ch-1 spaces)
Round 5: Ch 1, (sc in next dc, sc in ch-1 sp) 29 times, sc in last dc, sl st to first sc. (60 sc)
Round 6 (Increase Round 1): Ch 1, (sc in each of next 4 sc, 2 sc in next sc) 12 times, sl st to first sc. (72 sc)
Round 7 (Yoke Mesh Row 3): Ch 4 (counts as dc plus ch-1), sk next sc, (dc in next sc, ch 1, sk next sc) 35 times, sl st to 3rd ch of beg ch-4. 72 divided by 2 equals 36 units. (36 dc, 36 ch-1 spaces)
Round 8 (Yoke Mesh Row 4): Ch 4, (dc in next dc, ch 1) 35 times, sl st to 3rd ch of beg ch-4. (36 dc, 36 ch-1 spaces)
Round 9 (Fill Round): Ch 1, (sc in next dc, sc in ch-1 sp) 35 times, sc in last dc, sl st to first sc. (72 sc)
Round 10 (Increase Round 2): Ch 1, (sc in each of next 5 sc, 2 sc in next sc) 12 times, sl st to first sc. (84 sc)
Round 11 (Yoke Mesh Row 5): Ch 4, sk next sc, (dc in next sc, ch 1, sk next sc) 41 times, sl st to 3rd ch of beg ch-4. 84 divided by 2 equals 42 units. (42 dc, 42 ch-1 spaces)
Round 12 (Yoke Mesh Row 6): Ch 4, (dc in next dc, ch 1) 41 times, sl st to 3rd ch of beg ch-4. (42 dc, 42 ch-1 spaces)
Round 13 (Fill Round): Ch 1, (sc in next dc, sc in ch-1 sp) 41 times, sc in last dc, sl st to first sc. (84 sc)
Round 14 (Increase Round 3): Ch 1, (sc in each of next 6 sc, 2 sc in next sc) 12 times, sl st to first sc. (96 sc)
Round 15 (Yoke Mesh Row 7): Ch 4, sk next sc, (dc in next sc, ch 1, sk next sc) 47 times, sl st to 3rd ch of beg ch-4. 96 divided by 2 equals 48 units. (48 dc, 48 ch-1 spaces)
Round 16 (Yoke Mesh Row 8): Ch 4, (dc in next dc, ch 1) 47 times, sl st to 3rd ch of beg ch-4. (48 dc, 48 ch-1 spaces)
Round 17 (Fill Round): Ch 1, (sc in next dc, sc in ch-1 sp) 47 times, sc in last dc, sl st to first sc. (96 sc)
Round 18 (Increase Round 4, Final Yoke Increase): Ch 1, (sc in each of next 7 sc, 2 sc in next sc) 12 times, sl st to first sc. (108 sc)
At gauge: 108 stitches at 4.5 sc per inch equals 24 inches circumference. Target chest of 22 inches plus 2 inches ease equals 24 inches. This is correct.
Checkpoint
After Round 18, your yoke should measure approximately 5 inches / 12.7 cm from the neckline edge to the current working round. The circumference should be approximately 24 inches / 61 cm laid flat as a ring.
If your piece is shorter, your gauge is tight. Go up a hook size. If your piece is wider, go down a hook size.
Sleeve Division (After Round 18)
Mark the 108 sc as follows. Place markers at these positions counting from the beginning of the round join point:
This gives you: Back equals 18 stitches (stitches 1 to 18), Left Sleeve section, Front section, and Right Sleeve section. The sleeve stitches will be set aside while you work the bodice, then you’ll return to add the scalloped edging.
Finishing Your Lavender Lace Party Dress
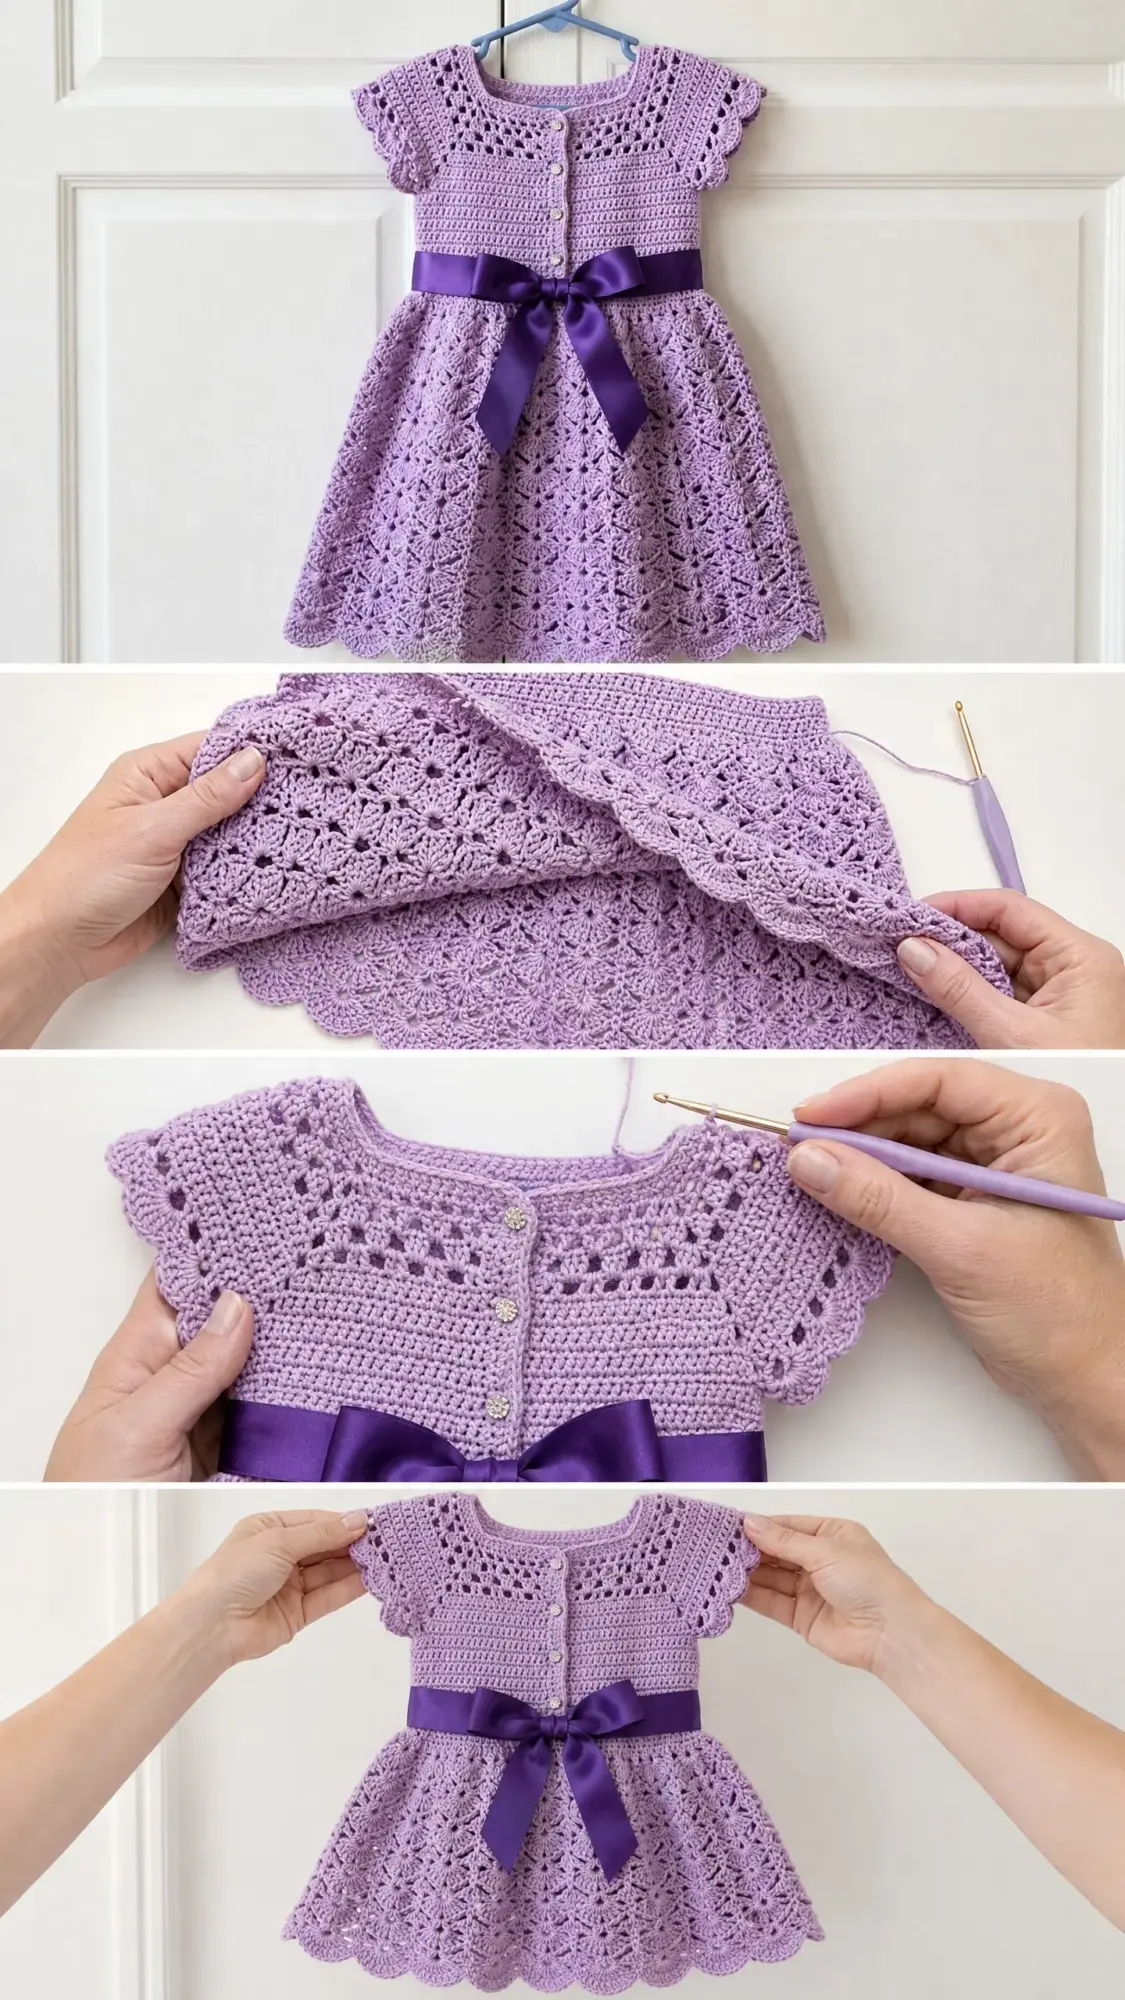
Once all sections are complete, weave in all ends securely. Block the dress by soaking it in cool water for 15 minutes, gently pressing out excess water (never wring), and pinning it to blocking mats to the finished measurements. Pay special attention to opening up those fan shells in the skirt. Let it dry completely before unpinning.
Thread your satin ribbon through the waistline eyelet row, centering it at the front. Tie in a bow and trim the ends at an angle to prevent fraying. You can also seal the ribbon ends with a small amount of clear nail polish or fray check.
Sew your decorative buttons to the center front bodice panel, spacing them evenly. These are purely decorative, so no buttonholes needed on the front.
Tips for Success
Work your gauge swatch. I know, I know. But this is a fitted garment. Twenty minutes of swatching now prevents tears later.
Count your stitches at the end of every round. The stitch counts are provided for a reason. Getting off by even one or two stitches compounds over time.
Use stitch markers liberally. They’re your friends. Mark the beginning of rounds, increase points, and the center front and back.
Block before judging. The lace looks rumpled and sad before blocking. After blocking, it transforms into something worthy of a special occasion. Trust the process.
I really hope you love making this lavender lace party dress as much as I loved designing it. There’s nothing quite like watching a little one twirl in something you made with your own hands.
If you make this dress, I would absolutely love to see it. Save this pattern to your Pinterest boards so you can find it when you’re ready to start, and please leave a comment below to let me know how it turns out. Your photos and feedback genuinely make my day.
