
Oh my goodness, THIS IS THE ONE. If you have been searching for a baby cardigan pattern that makes people gasp when they see it, you just found it. Those little bear ears! The sweet bumblebee! The daisy buttons! I am genuinely thrilled to share this pattern with you today.
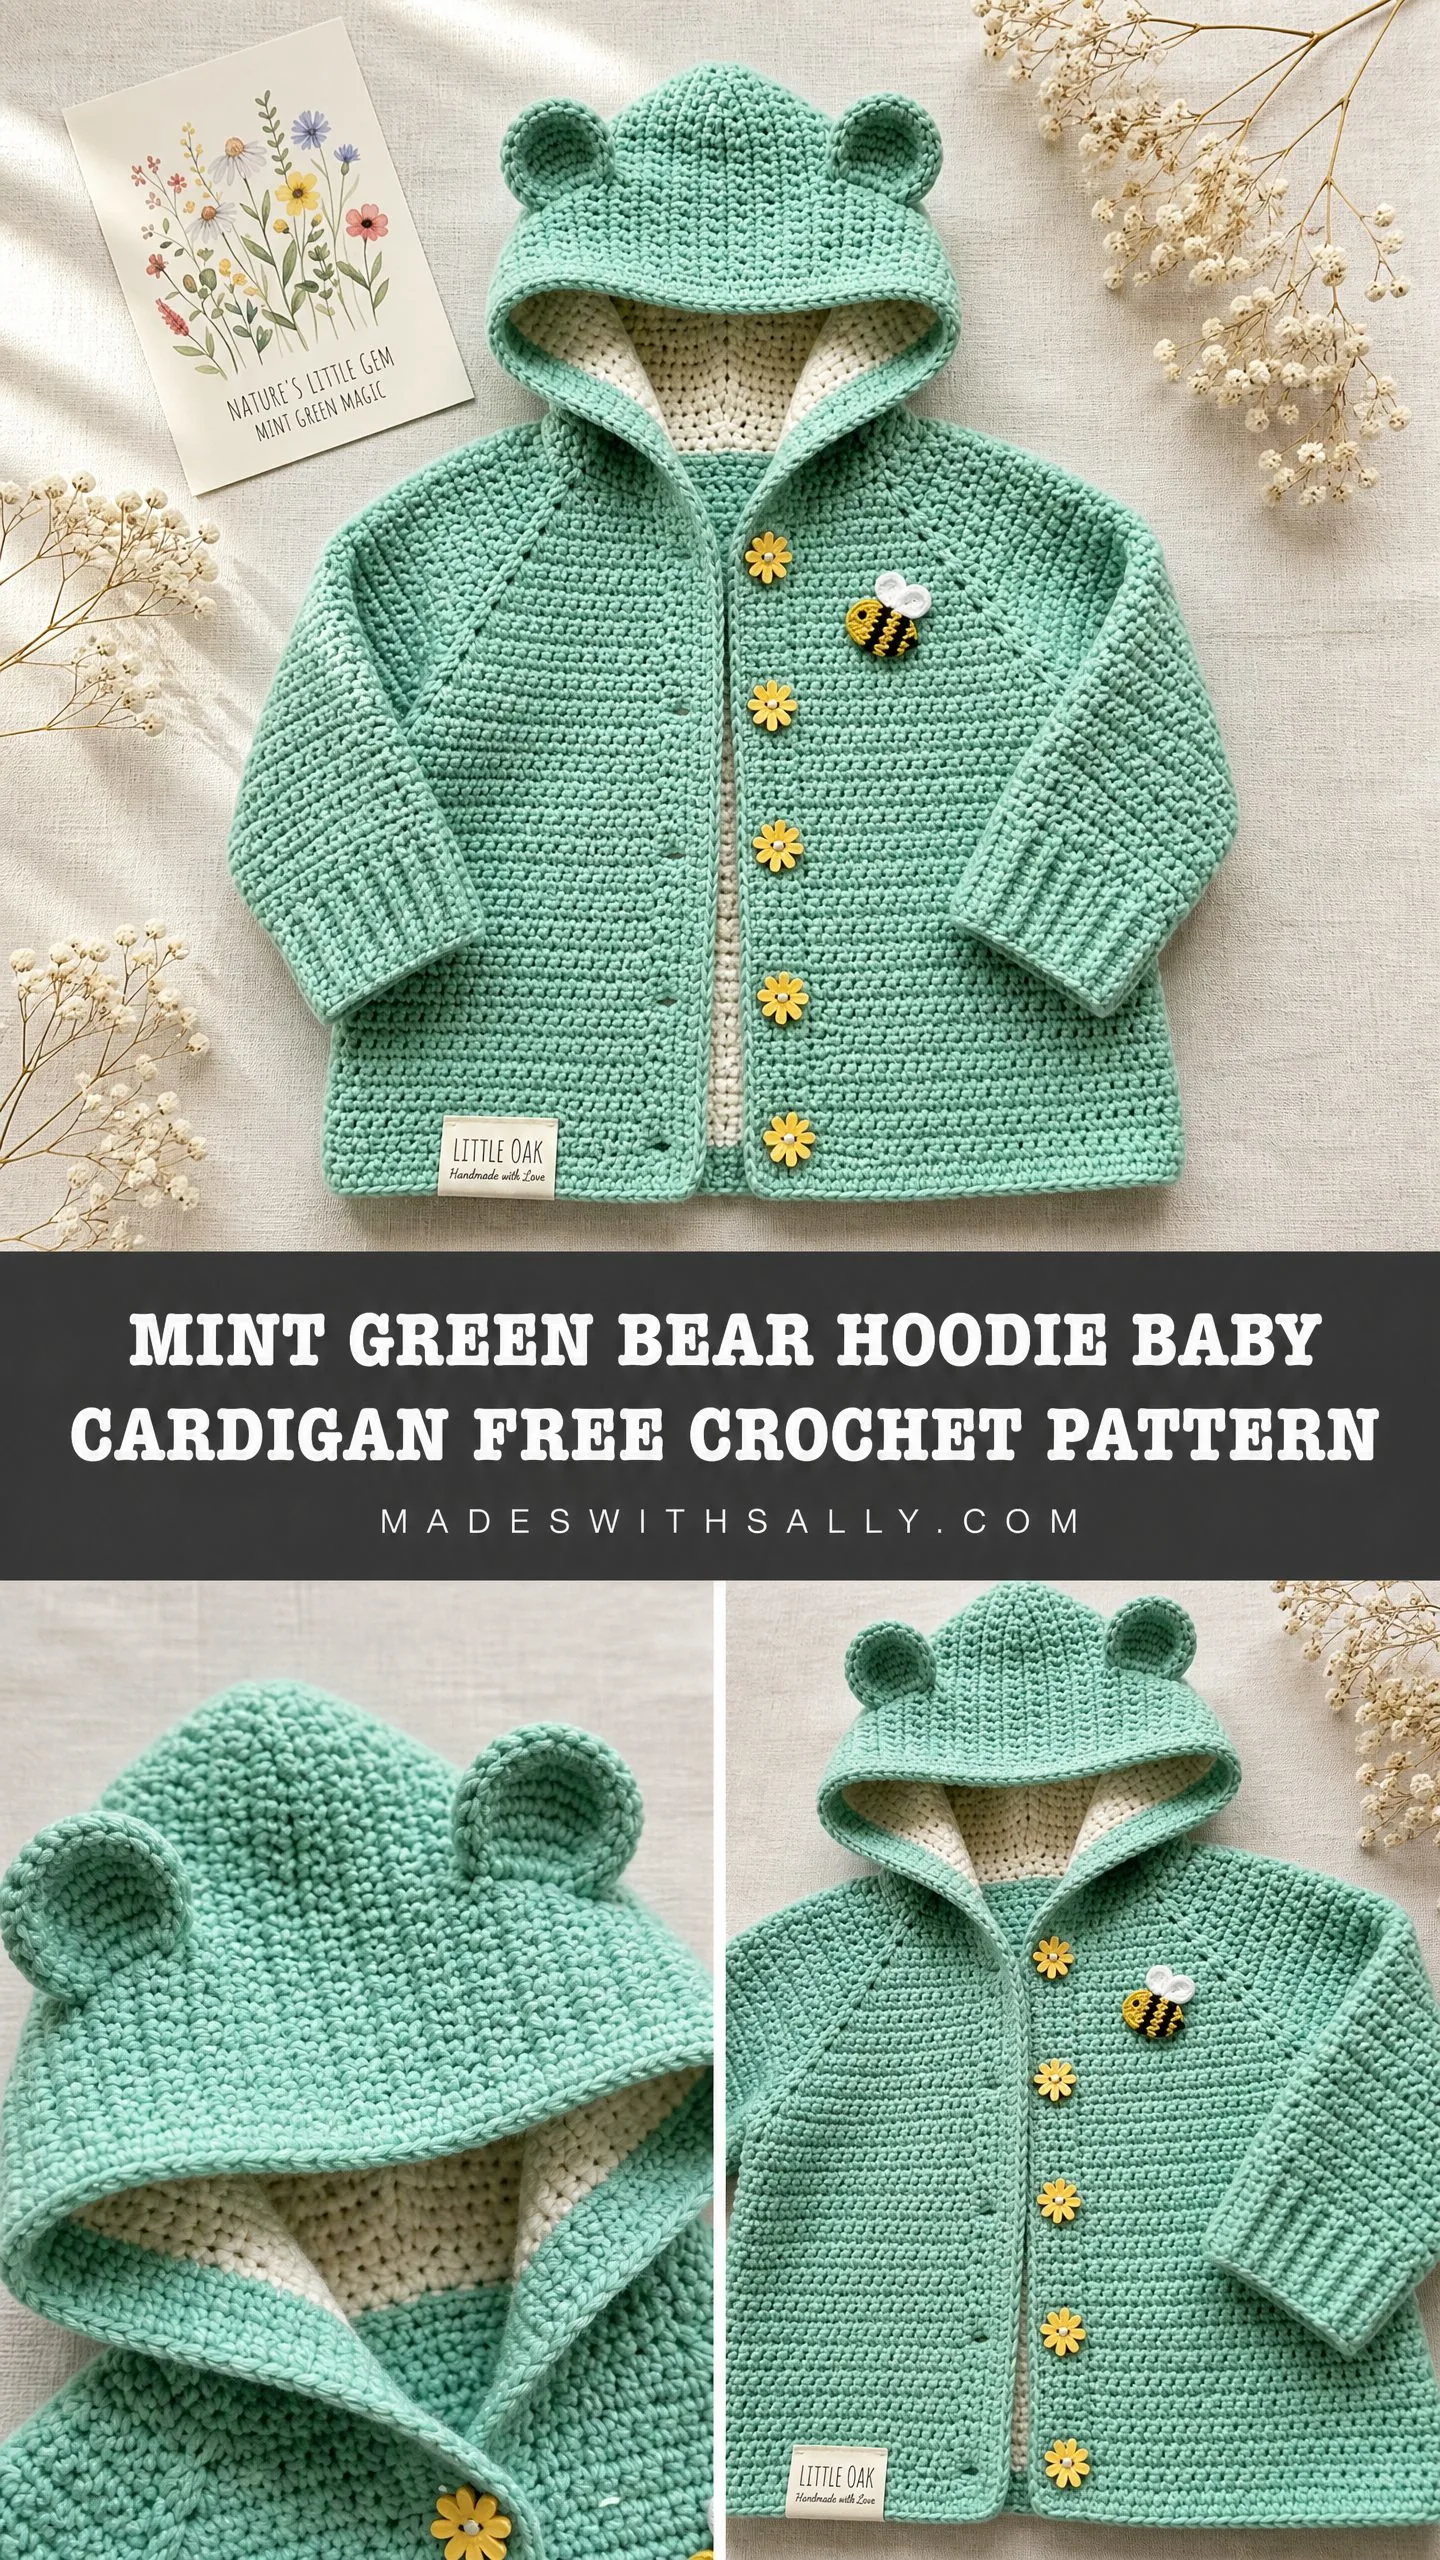
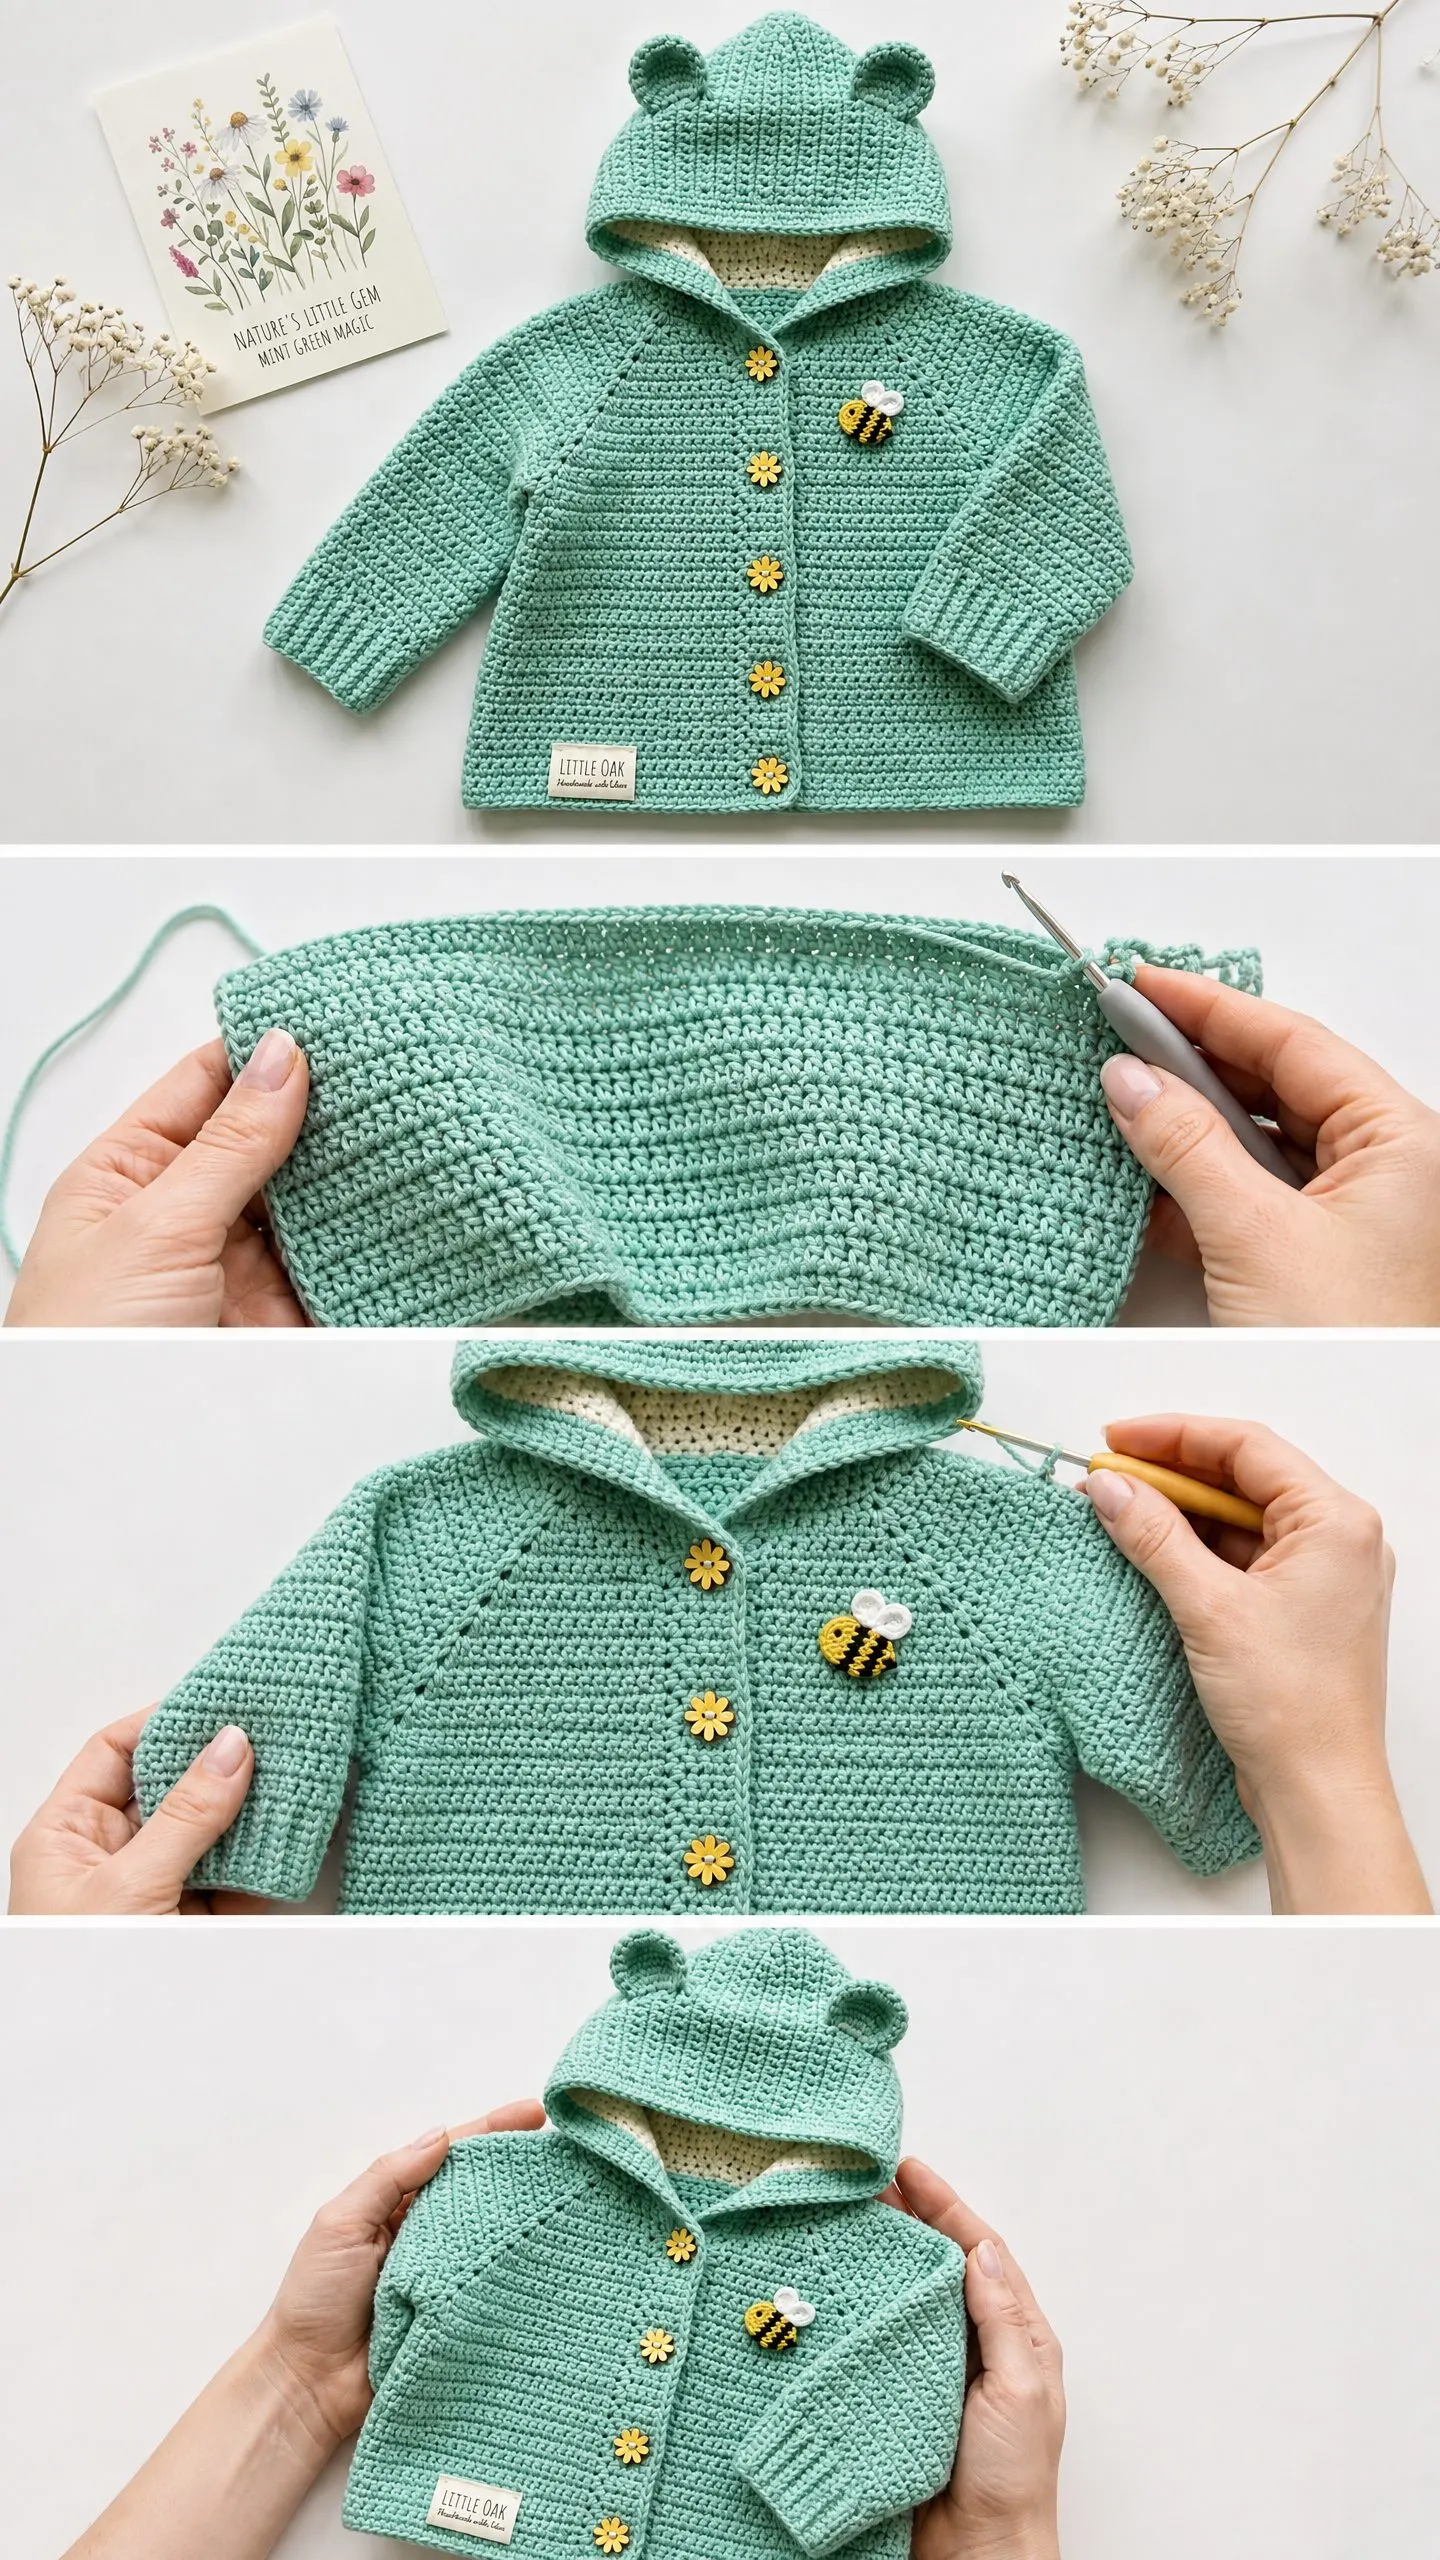
This mint green bear hoodie baby cardigan is one of those projects that looks incredibly impressive but breaks down into totally manageable steps. You will work from the top down using a raglan construction, which means minimal seaming and a professional finish. The whole thing takes about 12 to 18 hours for an experienced intermediate crocheter.
Whether you are making this for a baby shower gift, your own little one, or a special grandchild, this cardigan delivers that handmade luxury that store-bought items simply cannot match. The cream-lined hood adds a beautiful contrast when it falls open around baby’s face. Let’s get started!
Why This Baby Cardigan Pattern Works So Well
The construction method on this cardigan is what sets it apart from basic baby sweater patterns. You begin at the neckline and work your way down, shaping the yoke with raglan increases. This creates those beautiful diagonal seam lines you see running from the neckline to the underarms.
Working top-down means you can try the cardigan on as you go. Well, on a doll or stuffed animal of similar size. This lets you catch sizing issues before you have invested hours into the body and sleeves.
The half double crochet (hdc) stitch creates the dense, even fabric you see throughout the body. This stitch is simply a yarn over, insert hook, yarn over, pull up a loop, yarn over, pull through all three loops. It sits between single crochet and double crochet in height, giving you a fabric that works up faster than single crochet but stays warmer and more structured.
Finished Measurements
This pattern is written for size 6 to 12 months.
Finished chest circumference (buttoned): approximately 20 inches / 51 cm
Finished length (back neck to hem): approximately 11 inches / 28 cm
Sleeve length (underarm to cuff): approximately 6.5 inches / 16.5 cm
Hood height (from neckline pickup to top of hood): approximately 6.5 inches / 16.5 cm
Materials Needed for This Crochet Baby Cardigan
Yarn: Worsted weight yarn (weight category 4), approximately 300 to 350 yards / 275 to 320 meters in Mint Green (Color A), and approximately 40 yards / 37 meters in Cream (Color B) for the hood lining.
Hook: US size H-8 / 5.0 mm crochet hook
Notions:
Yarn Suggestions
Lion Brand Pound of Love in Pastel Green and Fisherman works beautifully here. This 100 percent acrylic yarn is machine washable, baby-soft, and widely available. The large skeins make it economical for baby projects.
Paintbox Yarns Simply DK held as a light worsted is another excellent choice. Their Spearmint Green and Vanilla colorways are a near-perfect match for the photos. This yarn has smooth stitch definition that really shows off the texture.
Any worsted weight yarn that achieves the stated gauge may be substituted. Choose something labeled machine washable and baby-safe, as this is a garment intended for infants. Avoid novelty or textured yarns because the clean stitch texture is essential to the finished look.
Gauge
16 hdc x 11 rows = 4 inches / 10 cm, worked in rows, blocked.
I cannot stress this enough: gauge is mandatory for this garment. Even small deviations will significantly change the chest circumference and length. Swatch with the exact yarn and hook you plan to use, then wash and block the swatch before measuring.
If your swatch is too big, go down a hook size. If it is too small, go up a hook size.
Abbreviations Used
beg = beginning
BLO = back loop only
ch = chain
ch-sp = chain space
hdc = half double crochet (yarn over, insert hook, yarn over, pull up loop, yarn over, pull through all 3 loops)
hdc2tog = half double crochet two together, a decrease stitch
inc = increase (2 hdc in same stitch)
pm = place marker
rep = repeat
RS = right side
sc = single crochet
sk = skip
sl st = slip stitch
st(s) = stitch(es)
WS = wrong side
yo = yarn over
Special Stitches
Half Double Crochet Two Together (hdc2tog)
This is your decrease stitch. Yarn over, insert hook into next stitch, yarn over, pull up a loop (3 loops on hook), yarn over, insert hook into following stitch, yarn over, pull up a loop (5 loops on hook), yarn over, pull through all 5 loops. One stitch decreased.
Raglan Increase Point
Work 2 hdc into the stitch immediately before the marked stitch, place or move marker into next stitch (the raglan seam stitch), work 2 hdc into the stitch immediately after the marked stitch. This places 2 increases on either side of each raglan seam stitch, adding 8 total stitches per increase row across 4 raglan points.
Pattern Notes Before You Begin
The turning chain (ch 1, turn) begins each row throughout this pattern. The turning chain does not count as a stitch.
The right side is the outside of the garment facing out when worn.
Four raglan seam stitches are marked and maintained throughout the yoke. These 4 stitches are not increased into. The increases happen on either side of them.
After the yoke, sleeves are separated onto holders and the body is worked in one piece back and forth down to the hem.
Step-by-Step Instructions for the Crochet Cardigan
Yoke
The yoke is worked flat, back and forth in rows, beginning at the back neck edge and working downward.
Foundation Chain: Ch 39.
Row 1 (RS): Hdc in 2nd ch from hook and in each ch across. (38 hdc)
Raglan Setup: Mark stitches 5, 14, 25, and 34 as raglan seam stitches.
Your sections are now: Right Front = sts 1-4 (4 sts), Seam = st 5 (1 st), Right Sleeve = sts 6-13 (8 sts), Seam = st 14 (1 st), Back = sts 15-24 (10 sts), Seam = st 25 (1 st), Left Sleeve = sts 26-33 (8 sts), Seam = st 34 (1 st), Left Front = sts 35-38 (4 sts). Total = 4+1+8+1+10+1+8+1+4 = 38. Confirmed.
Row 2 (WS): Ch 1, turn. Work across to 1 st before first seam st, 2 hdc in next st, hdc in seam st (move marker up), 2 hdc in next st, work to 1 st before second seam st, 2 hdc in next st, hdc in seam st (move marker up), 2 hdc in next st, work to 1 st before third seam st, 2 hdc in next st, hdc in seam st (move marker up), 2 hdc in next st, work to 1 st before fourth seam st, 2 hdc in next st, hdc in seam st (move marker up), 2 hdc in next st, hdc to end. (46 hdc)
Row 3 (RS): Ch 1, turn. Hdc in each st across, placing 2 hdc in the st immediately before each seam st and 2 hdc in the st immediately after each seam st, hdc in each seam st. (54 hdc)
Row 4 (WS): Ch 1, turn. Work increase row as established. (62 hdc)
Row 5 (RS): Ch 1, turn. Work increase row as established. (70 hdc)
Row 6 (WS): Ch 1, turn. Work increase row as established. (78 hdc)
Row 7 (RS): Ch 1, turn. Work increase row as established. (86 hdc)
Row 8 (WS): Ch 1, turn. Work increase row as established. (94 hdc)
Row 9 (RS): Ch 1, turn. Work increase row as established. (102 hdc)
Row 10 (WS): Ch 1, turn. Work increase row as established. (110 hdc)
Row 11 (RS): Ch 1, turn. Work increase row as established. (118 hdc)
Checkpoint: After Row 11, your piece should measure approximately 4 inches / 10 cm from the top neck edge to the bottom of the yoke row. Each front panel is 14 stitches wide, the back is 30 stitches wide, and each sleeve section is 28 stitches wide (not counting seam stitches).
Divide for Body and Sleeves
Row 12 (WS): Work hdc across first 14 Right Front sts. Skip the next seam st. Place 28 Right Sleeve sts plus the two flanking seam sts on a holder or length of scrap yarn (30 sts total held). Ch 2 to bridge the underarm. Work hdc across 30 Back sts. Skip the next seam st. Place 28 Left Sleeve sts plus the two flanking seam sts on a holder (30 sts total held). Ch 2 to bridge the underarm. Work hdc across 14 Left Front sts. (62 sts)
Body
Rows 13 through 30: Ch 1, turn. Hdc in each st across. (62 hdc each row)
Continue working even rows of hdc until body measures approximately 6.5 inches / 16.5 cm from the underarm row.
Checkpoint: After completing the body rows, your piece should measure approximately 11 inches / 28 cm from the back neck chain to the bottom hem edge.
Sleeves (Make 2)
Transfer held sleeve stitches to hook. You have 30 sts on the holder plus you will pick up 2 sts across the underarm bridge chains for a total of 32 sts.
Setup Round: Join Color A with sl st at the center of the underarm bridge. Working in the round, work 1 hdc in each of the 2 underarm chain sts, then hdc in each of the 30 held sleeve sts. Join with sl st to first hdc. (32 hdc)
Rnds 2 through 10: Ch 1, hdc in each st around, join with sl st. (32 hdc each round)
Sleeve Decrease Rnd 11: Ch 1, hdc2tog, hdc to last 2 sts, hdc2tog, join with sl st. (30 hdc)
Rnds 12 through 14: Ch 1, hdc in each st around, join with sl st. (30 hdc each round)
Sleeve Decrease Rnd 15: Ch 1, hdc2tog, hdc to last 2 sts, hdc2tog, join with sl st. (28 hdc)
Rnds 16 through 18: Ch 1, hdc in each st around, join with sl st. (28 hdc each round)
Fasten off and leave a tail for weaving in.
Cuff Ribbing
The cuff ribbing creates those beautiful vertical ribs visible in the photos. It is worked as perpendicular short rows joined to the sleeve edge.
With Color A and RS facing, attach yarn to any stitch at the cuff edge.
Ch 6.
Row 1: Sc in 2nd ch from hook and each ch across. (5 sc)
Row 2: Ch 1, turn. Sc BLO in each sc across. (5 sc)
Row 3: Ch 1, turn. Sc BLO in each sc across. Sl st into next 2 sts of sleeve cuff edge to anchor.
Rep Rows 2 and 3 until all sleeve edge stitches have been joined (approximately 14 ribbing segments for 28 sts).
Seam the ribbing short edges together to close the cuff.
Hood
The hood is worked flat in turned rows and seamed along the top.
With Color A, ch 57.
Row 1 (RS): Hdc in 2nd ch from hook and in each ch across. (56 hdc)
Rows 2 through 26: Ch 1, turn. Hdc in each st across. (56 hdc each row)
Fold the hood panel in half with right sides together. Seam the top edge using a sl st seam or mattress stitch through both layers across all 56 sts to close the top of the hood.
Turn hood right side out.
Hood Lining
With Color B (cream), ch 57.
Rows 1 through 26: Work identically to the hood outer shell. (56 hdc, 26 rows)
Fold and seam the top edge in the same manner as the outer hood.
Place the lining inside the hood with wrong sides together. The cream lining will be visible when the hood falls open at the face. Using Color B, slip stitch the lining to the hood along the front face-opening edge, going through both layers.
Bear Ears (Make 2)
With Color A, make a magic ring.
Rnd 1: Ch 1, 6 sc into ring, join with sl st to first sc. (6 sc)
Rnd 2: Ch 1, 2 sc in each sc around, join with sl st. (12 sc)
Rnd 3: Ch 1, (sc in next sc, 2 sc in next sc) 6 times, join with sl st. (18 sc)
Fasten off, leaving a long tail.
Fold each ear slightly to create a cupped shape. Position each ear on top of the hood, approximately 1.5 inches / 4 cm from the center seam. Using the yarn tail, sew each ear securely to the hood.
Attaching Hood to Cardigan
Pin the bottom edge of the hood around the neckline of the cardigan, matching center back of the hood to center back of the neckline. Distribute the 56 hood stitches evenly across the neckline.
Using Color A, seam the hood to the neckline using a whipstitch or sl st seam on the WS.
Button Bands
Left Front Button Band (no buttonholes):
With RS facing, attach Color A at the bottom left hem edge. Working upward along the left front opening edge, sc evenly along the edge, approximately 52 sc up the front edge.
Row 1: Ch 1, turn. Sc in each sc across. (52 sc)
Row 2: Ch 1, turn. Sc in each sc across. (52 sc)
Row 3: Sl st across to secure. Fasten off.
Right Front Buttonhole Band:
With RS facing, attach Color A at the top right neck edge. Working downward, sc evenly (approximately 52 sc total).
Row 1: Ch 1, turn. Sc in each sc across. (52 sc)
Row 2 (Buttonhole Row): Ch 1, turn. Sc in first 3 sc, (ch 2, sk 2 sc, sc in next 7 sc) 4 times, ch 2, sk 2 sc, sc in last 4 sc. (5 buttonholes placed evenly)
Row 3: Ch 1, turn. Sc in each sc and 2 sc in each ch-2 sp across. (52 sc)
Fasten off. Weave in ends.
Finishing Your Bear Hoodie Baby Cardigan
Weave in all remaining ends from yoke, body, sleeves, and hood sections.
Block the entire garment by wet-blocking or steam-blocking according to yarn fiber content. Lay flat and pin to measurements. Allow to dry completely.
Sew 5 daisy-shaped buttons to the left front button band, aligning each button with a buttonhole.
Sew or embroider one bumblebee applique to the upper left chest panel, approximately 2 inches below the neckline and 2 inches from the center front opening edge.
Optional Mini Bee Applique
With black yarn, make a magic ring.
Rnd 1: 6 sc into ring, join. (6 sc)
Rnd 2: (2 sc in next sc, sc in next sc) 3 times. (9 sc)
Switch to yellow.
Rnd 3: Sc in each sc around. (9 sc)
Switch to black.
Rnd 4: Sc in each sc around. (9 sc)
Fasten off, stuff lightly, close opening. Cut two small white teardrop shapes from felt for wings and sew to the body. Sew bee to garment.
Care Instructions
For acrylic yarns, machine wash cold on gentle cycle and lay flat to dry. Do not tumble dry if the yarn label advises against it. Remove and reattach buttons before washing if they are not heat or water safe.
Thank you so much for choosing this pattern for your next crochet project! I hope you absolutely love making this sweet little cardigan. If you create one, I would be thrilled to see it. Tag me on Instagram or share a photo in my Facebook group.
This is definitely a pattern worth saving! Pin it to your crochet board on Pinterest so you can find it when you are ready to start. And if you make this adorable bear hoodie cardigan, please drop a comment below. I love hearing how your projects turn out and seeing which color combinations you choose!
