
Last winter, I found myself standing in my closet, staring at a sea of boring black and gray cardigans, and I thought, "Why does staying warm have to be so dull?" I wanted something that felt like a cozy hug but looked like I actually put thought into my outfit. You know that feeling when you see someone wearing something that makes you stop and say, "Wait, where did you get that?"
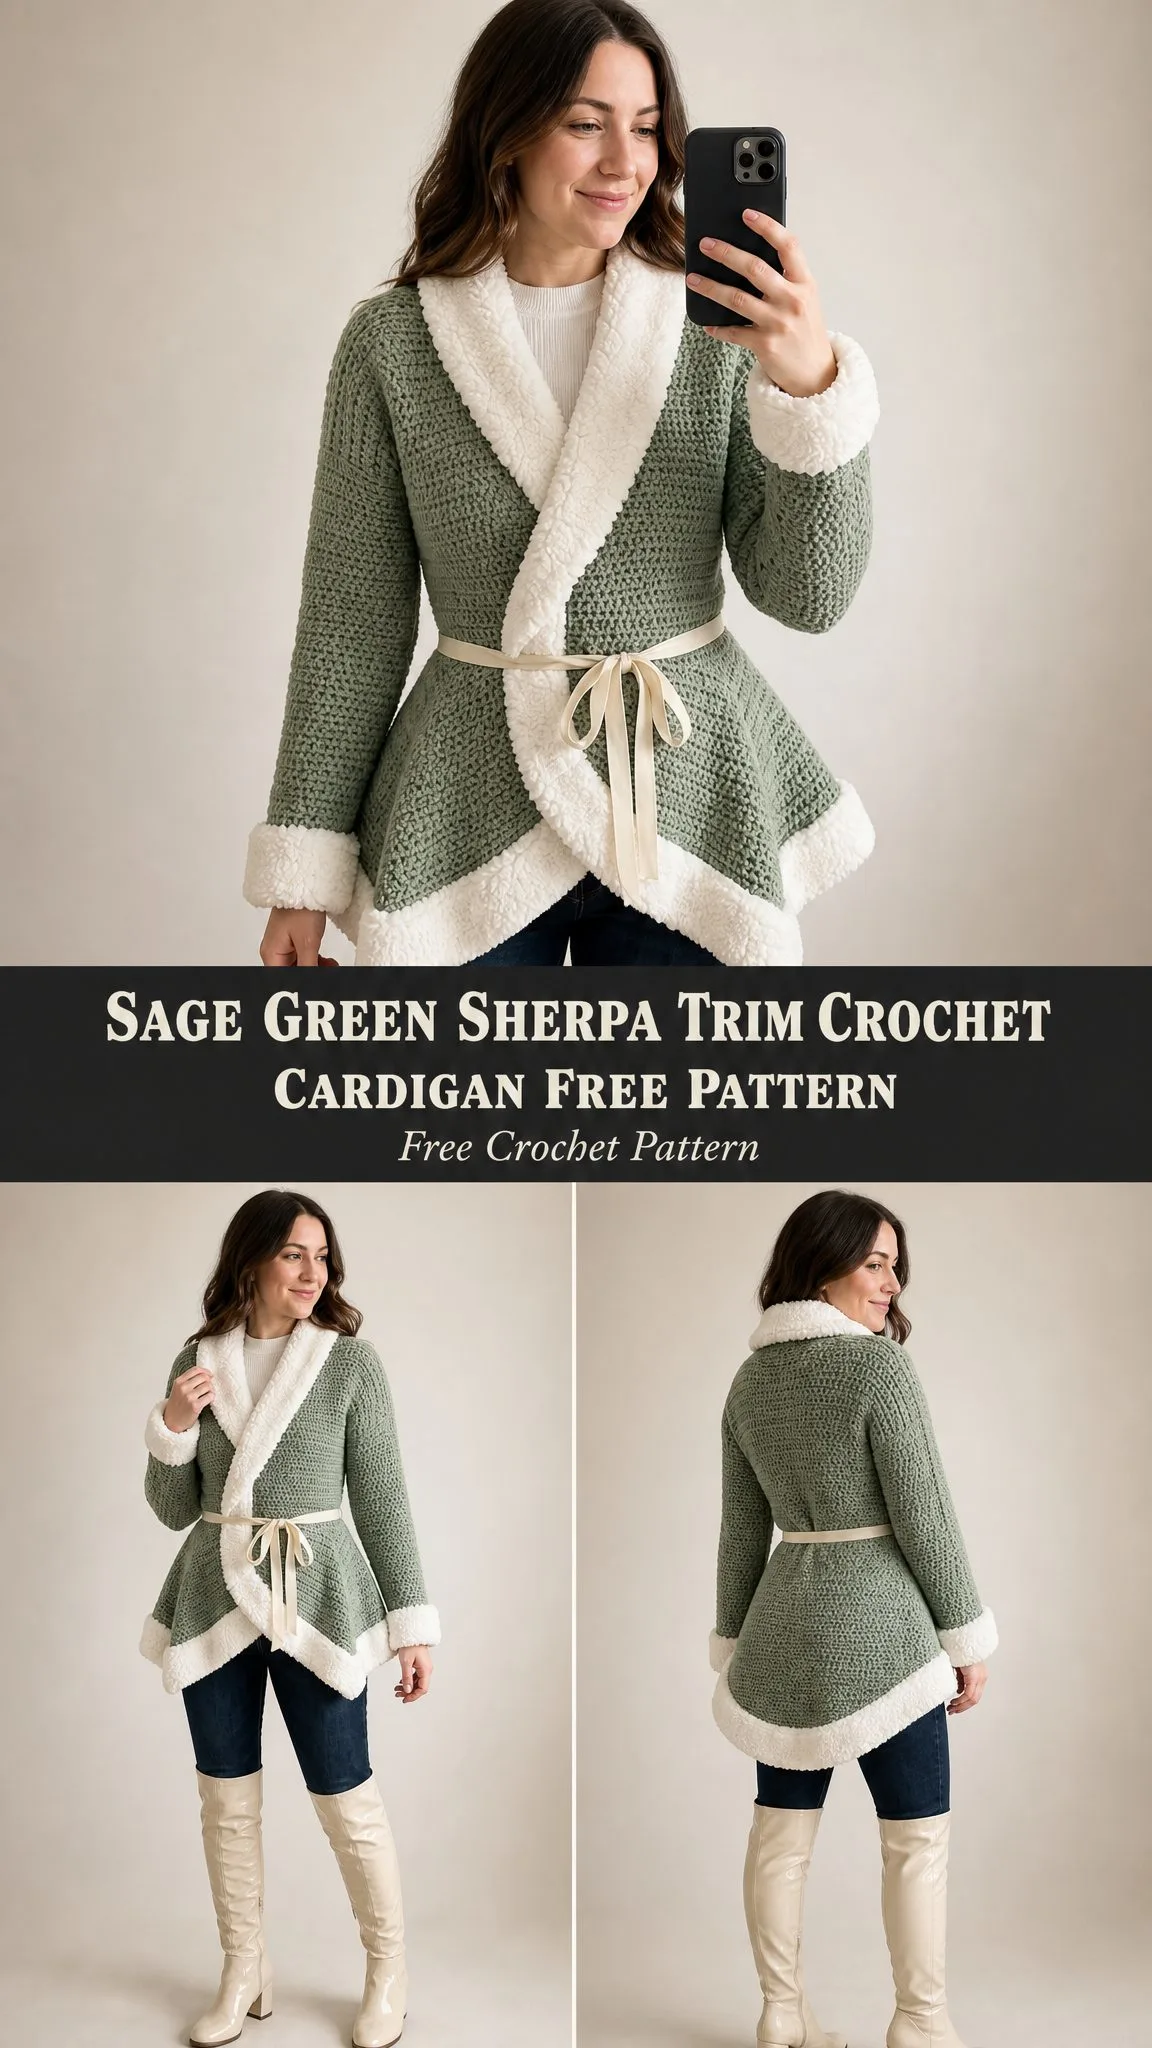
That’s exactly what I set out to create with this cardigan. The sage green caught my eye first, but it was the sherpa trim that sealed the deal. It gives the whole piece that luxe, boutique-quality look without any complicated techniques. The wrap front and ribbon tie at the waist? Chef’s kiss.
I’m genuinely proud of how this one turned out, and I think you’re going to love making it. Whether you’re looking for a statement piece for your winter wardrobe or a thoughtful handmade gift, this pattern delivers. Let me walk you through everything you need to know.
Why This Crochet Cardigan Pattern Works
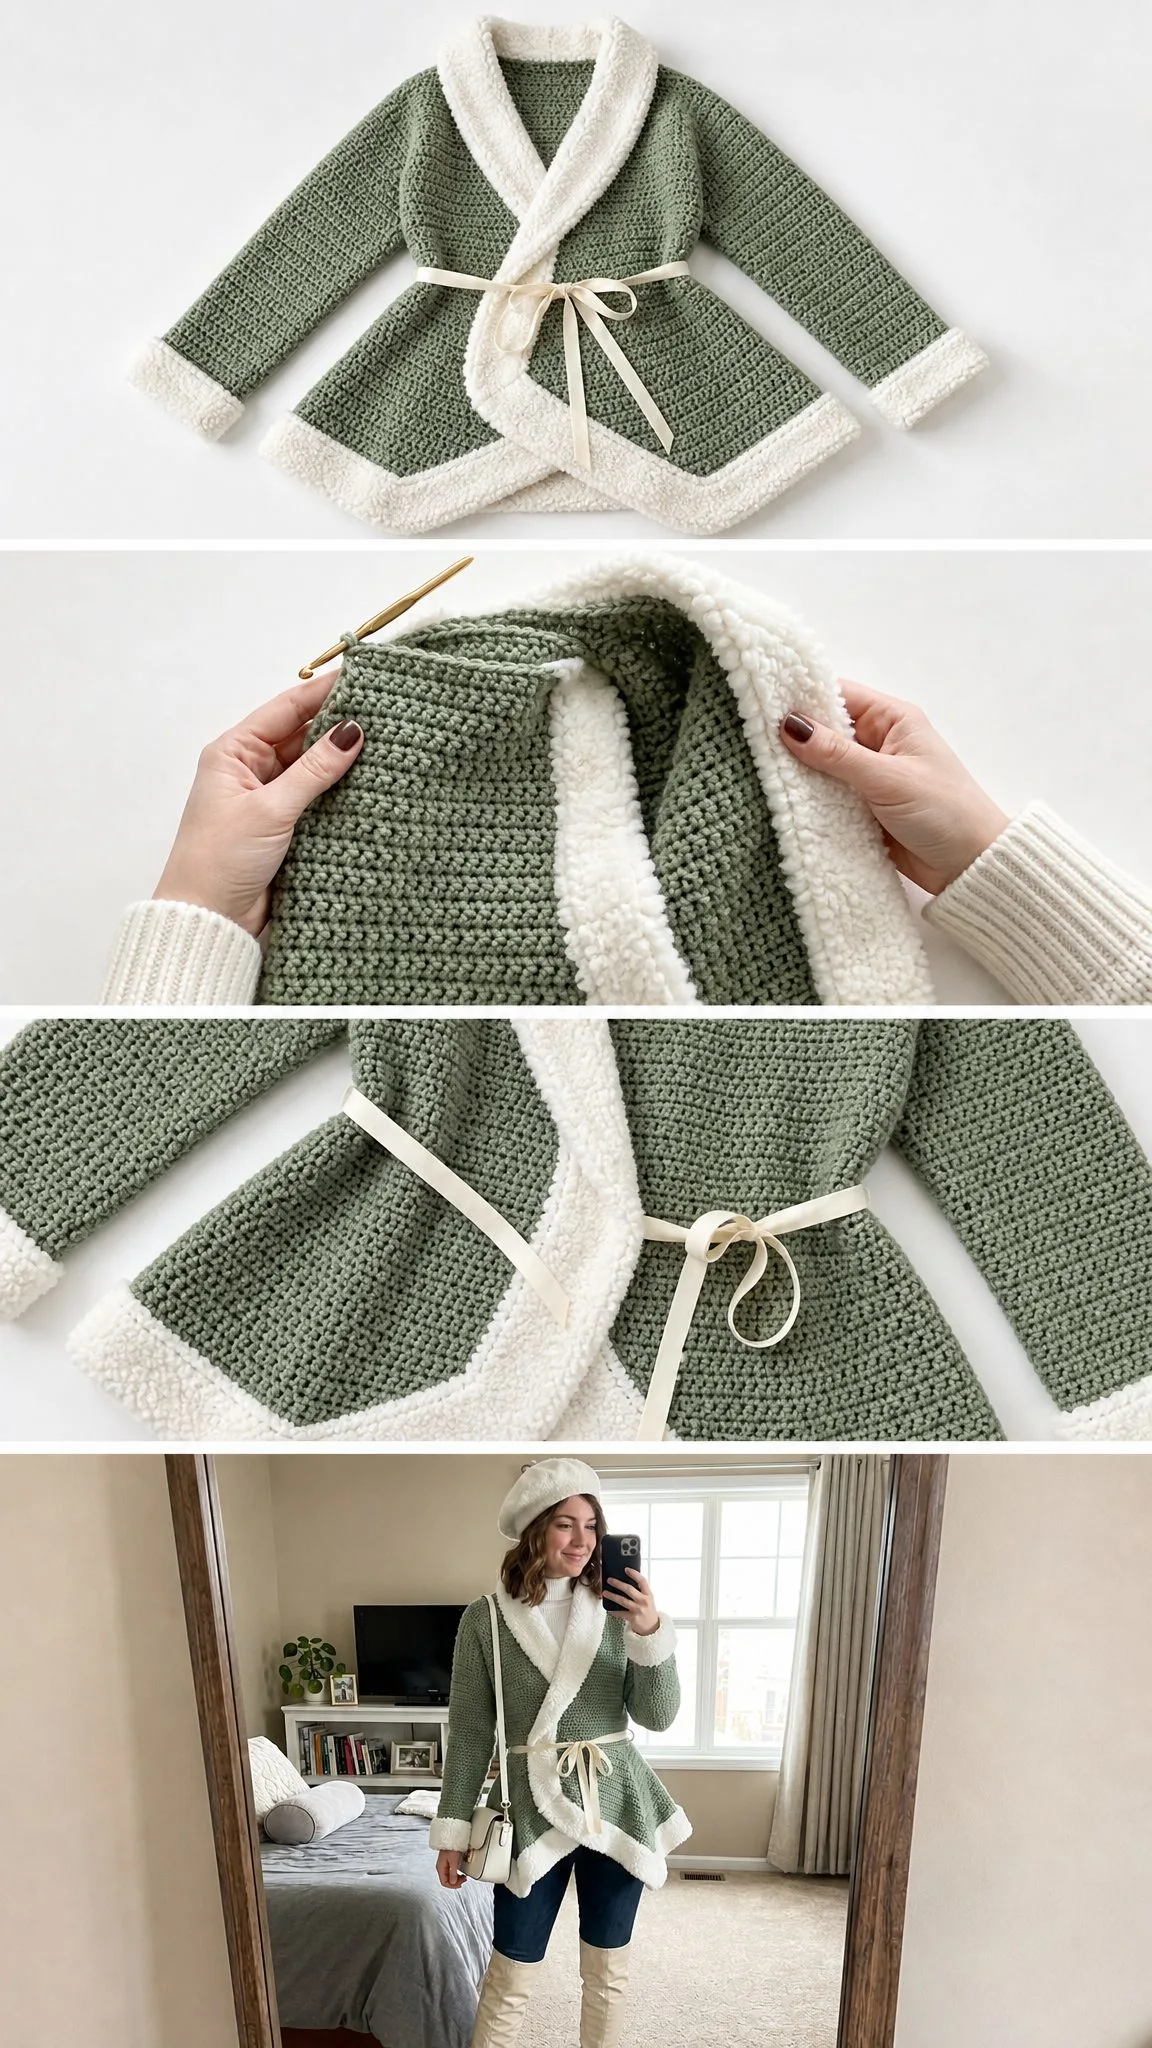
This sage green sherpa trim crochet cardigan combines a classic silhouette with modern details that make it truly special. The wrap-style front creates a flattering asymmetrical drape, while the cream sherpa trim along the lapels, hem, and cuffs adds visual interest and warmth without overwhelming the design.
The construction is smarter than it looks. You’ll work the body from the top down in one flat piece, which means minimal seaming and a satisfying sense of progress as you watch it grow. The sleeves are worked separately and attached later. This approach keeps things manageable even though the finished piece looks incredibly sophisticated.
The textured stitch pattern creates that beautiful woven appearance you see throughout the body. It’s essentially an alternating pattern of single crochets and chain spaces that builds up into something much more interesting than plain rows. And the best part? Once you get the rhythm, it practically works itself.
Skill Level and Time Commitment
I’d call this an intermediate project. You should feel comfortable with top-down construction, raglan shaping, working flat with increases at multiple points, and attaching contrast edging in a different yarn. If those terms made you nervous, take a breath. None of it is as scary as it sounds.
Raglan shaping simply means you’re increasing at four specific points to create the shoulder slope. Think of it like drawing four diagonal lines from your neck to your underarms. You’ll place markers at those points and increase there on every right side row. Easy once you see it in action.
Plan for approximately 20 to 30 hours of work for a size Medium. That might sound like a lot, but remember, you’re creating a wearable piece of art. Break it into sessions and enjoy the process.
Materials You’ll Need
Yarn
Main Color (MC): Worsted weight yarn in sage green. You’ll need approximately 900 yards for size XS, 850 yards for size S, 950 yards for size M, 1050 yards for size L, 1150 yards for size XL, or 1300 yards for size 2X. Look for a smooth, medium-twist yarn with good stitch definition.
Contrast Color (CC): Bulky-weight bouclé or sherpa-style yarn in cream or off-white. You’ll need approximately 200 yards for sizes XS and S, 220 yards for size M, 240 yards for size L, 260 yards for size XL, or 290 yards for size 2X.
Yarn suggestions that work beautifully:
Lion Brand Heartland in Shenandoah makes an excellent main color choice. It’s 100% acrylic, smooth, durable, and shows off textured stitches perfectly.
For natural fiber lovers, WeCrochet Wool of the Andes Worsted in Semolina or Aloe Heather offers beautiful drape with that wool warmth we all love.
For the sherpa trim, Lion Brand Go for Faux Thick and Quick in Polar Bear gives you that fluffy, dimensional look that mimics real sherpa fleece.
Important note: Avoid fuzzy or hairy yarns for the main body. They’ll obscure your beautiful stitch texture. Save the fluff for the trim.
Hooks and Notions
Hook for MC: US Size J / 6 mm
Hook for CC: US Size K / 6.5 mm
You’ll also need:
Gauge
Getting gauge right matters for garments. Please swatch before diving in.
Main Color gauge with J hook:
14 single crochet stitches by 16 rows equals 4 inches, worked flat in the alternating stitch pattern.
Contrast Color gauge with K hook:
12 single crochet stitches by 14 rows equals 4 inches, worked flat in single crochet.
If your swatch is too big, go down a hook size. Too small? Go up. Your future self wearing this cardigan will thank you.
Finished Sizes
The pattern includes six sizes with approximately 2 inches of positive ease at the bust:
Instructions are written for size S with changes for other sizes in parentheses in this order: XS, S, M, L, XL, 2X.
Abbreviations and Stitch Definitions
Let me break down every abbreviation you’ll encounter:
Special Stitches Explained
Alternating Stitch Pattern
This creates the gorgeous textured, woven appearance throughout the cardigan body and sleeves.
Row 1 (RS): Ch 1, sc in first st, (ch 1, sk next st, sc in next st) across to last st, sc in last st. Turn.
Row 2 (WS): Ch 1, sc in first st, (ch 1, sk next ch-1 sp, sc in next sc) across to last st, sc in last st. Turn.
Repeat Row 2 for pattern. Each chain space sits above a single crochet, and each single crochet sits above a chain space. This creates a checkerboard texture that looks far more complex than it is.
Counting tip: Count only the single crochet stitches for your stitch count. The chain-1 spaces are not counted as stitches.
Raglan Increase Row
At each of 4 raglan points, work 2 sc in the same stitch, chain 1, then 2 sc in the following stitch. This places a decorative chain-1 spine at each raglan seam and increases your stitch count by 2 stitches at each of the 4 points. That’s 8 stitches increased per raglan increase row.
Step by Step Crochet Tutorial
Yoke Section
The yoke is worked flat from the back neck edge down, with raglan increases placed at 4 points to separate the back, two fronts, and two sleeves.
With MC and J hook, ch 39 (39, 41, 43, 45, 49).
Foundation Row (WS): Sc in 2nd ch from hook, (ch 1, sk 1 ch, sc in next ch) across. Turn.
Your stitch breakdown across the chain:
Place markers at each of the 4 raglan divide points. Working stitch count after Foundation Row: 32 (32, 34, 36, 38, 42) sc plus 4 raglan chain-1 markers.
Raglan Increase Row (RS): Ch 1, work in alternating stitch pattern to first raglan marker, 2 sc in st before marker, ch 1 (raglan spine), 2 sc in st after marker, continue in pattern to second raglan marker, repeat the increase sequence, continue to third raglan marker, repeat, continue to fourth raglan marker, repeat, continue in pattern to end. Turn.
Plain Row (WS): Ch 1, work in established alternating stitch pattern across, treating raglan spine chain spaces as chain-1 spaces in pattern. Turn.
Work Raglan Increase Row on every RS row 14 (15, 16, 17, 18, 20) times total.
After all raglan increase rows:
Section breakdown for size S after 15 increase rows:
Checkpoint: The yoke measured flat from shoulder to underarm should be approximately 7 (7.5, 8, 8.5, 9, 9.5) inches.
Body Separation
On the next RS row, you’ll place the sleeve stitches on hold and join the body sections.
Separation Row (RS): Ch 1, work in pattern across Left Front stitches, ch 4 (4, 4, 5, 5, 6) for underarm bridge, skip Left Sleeve stitches and place on stitch holder or scrap yarn, work in pattern across Back stitches, ch 4 (4, 4, 5, 5, 6) for second underarm bridge, skip Right Sleeve stitches and place on holder, work in pattern across Right Front stitches. Turn.
Body stitch count after separation:
Body Section
Work even in alternating stitch pattern across all body stitches for 4 rows. No increases or decreases.
Ribbon Channel Row (RS): Ch 1, sc in first st, (ch 1, sk 1 st, sc in next st) across to last st, sc in last st. Turn.
This row creates the channel for your waist ribbon. It should sit approximately 9 inches below the back neck edge.
Continue in alternating stitch pattern for 10 (10, 11, 11, 12, 12) more rows even below the ribbon channel.
Checkpoint: The body below the underarm to the bottom of the last even row should measure approximately 13 (13, 13.5, 13.5, 14, 14) inches.
Wrap Front Shaping
This is where the magic happens. The right front panel extends lower than the left to create that beautiful diagonal wrap.
Right Front Extension (short rows):
Short Row 1 (WS): Ch 1, work in pattern across Right Front stitches only (first 19 (18, 20, 21, 23, 25) sts from right edge), turn.
Short Row 2 (RS): Ch 1, work in pattern across. Turn.
Short Row 3 (WS): Ch 1, work in pattern across. Turn.
Short Row 4 (RS): Ch 1, work in pattern across. Turn.
Repeat Short Rows 1 through 4 twice more for 3 total repeats (6 additional rows on right front).
Fasten off right front short row yarn and rejoin to work the hem across all stitches.
Left Front Diagonal Shaping:
The left front panel is shaped with a diagonal decrease along the front edge. On every RS row, sc2tog at the beginning of the row once. Apply this decrease for 6 RS rows total.
Hem Curve
The back hem is shaped to be slightly longer at the sides than at center back.
Short Hem Row A (WS): Work in pattern to 8 (8, 8, 9, 9, 10) sts before end of back section. Turn.
Short Hem Row B (RS): Work in pattern to 8 (8, 8, 9, 9, 10) sts before end of back section on opposite side. Turn.
Short Hem Row C (WS): Work in pattern across all stitches. Turn.
Work 1 final RS row across all stitches. Fasten off MC on body. Weave in end.
Checkpoint: The full body length at center back from the back neck chain should be approximately 24 (24, 24.5, 25, 25.5, 26) inches.
Sleeves (Make 2)
Return held sleeve stitches to hook. With RS facing, rejoin MC at center of underarm bridge.
Setup Row: With RS facing, sc across all sleeve stitches plus underarm bridge stitches. Turn.
Work even in alternating stitch pattern for 4 rows.
Sleeve Decrease Row (RS): Ch 1, sc2tog, work in pattern to last 2 sts, sc2tog. Turn. (Decrease 2 sts)
Work Sleeve Decrease Row every 6th row, 5 (5, 5, 6, 6, 6) times total.
After all sleeve decreases:
Work even in pattern until sleeve measures 17 (17, 17.5, 17.5, 18, 18) inches from underarm, ending with a WS row.
Cuff Edging Row (RS): Ch 1, sc in each st across. Turn. Fasten off MC.
Seam each sleeve flat with WS together using slip stitch seam or mattress stitch along the underarm line.
Sherpa Trim Bands
All bands are worked with CC yarn and K hook in plain single crochet, then hand-sewn to the finished cardigan. The sherpa bands are approximately 2.5 inches wide.
Lapel and Front Band:
This runs along the full right front diagonal edge, around the shawl collar, and down the left front diagonal edge in one continuous strip.
Total length needed: 54 (55, 56, 58, 60, 62) inches.
With CC and K hook, ch 9.
Row 1: Sc in 2nd ch from hook and in each ch across. Turn. (8 sc)
Row 2: Ch 1, sc in each st across. Turn. (8 sc)
Repeat Row 2 until band reaches required length. Fasten off with a 36-inch tail for sewing.
Pin band along front edges and collar with RS of band facing RS of cardigan body. Whip stitch or mattress stitch in place.
Hem Band:
Measure the full bottom hem circumference: 32 (34, 36, 38, 40, 44) inches.
Work the same as the lapel band until hem band measures required length.
Cuff Bands (Make 2):
Measure cuff circumference: 8 (8.5, 9.5, 10, 10.5, 12.5) inches.
Work the same as above until cuff band measures required length. Join short ends into a ring with slip stitch. Sew each cuff band around the wrist opening.
Ribbon Tie
Thread the ribbon horizontally through the ribbon channel row at the waist. Start at the center front right panel, weave in and out through each chain-1 space across the full waist, and exit at the center front left panel. Tie in a bow at the center front. Trim ribbon ends at a 45-degree angle to prevent fraying.
Size Customization Tips
To lengthen the body: Work additional even rows before the hem curve. Add approximately 2 rows per half inch of length.
To widen the body: Add 4 stitches to the starting chain. Each 4 additional stitches adds approximately 1.1 inches of width.
To lengthen the sleeves: Work additional even rows before the cuff edging row.
To shorten the sleeves: Work decrease rows every 4th row instead of every 6th row.
To adjust the wrap depth: Work more or fewer short rows in the Right Front Extension section.
Finishing and Blocking
Weave in all ends securely on the WS, running each tail through at least 4 stitches in multiple directions.
Hand wash the finished cardigan in cool water with a small amount of wool wash or gentle soap. Press out excess water gently without wringing. Roll in a clean dry towel and press firmly.
Lay flat on blocking mats and pin to finished measurements. Pay special attention to the diagonal front edges, smoothing them into straight lines. Pin the sherpa bands flat.
Allow to dry completely before unpinning. This takes approximately 24 to 48 hours.
Do not steam block the CC sherpa trim. Heat may damage the fluffy texture or cause matting. If the MC body needs light steaming, hold the iron 1 inch above the surface and use steam only.
Care Instructions
For acrylic yarn, machine wash cold on gentle cycle. Lay flat to dry. Do not tumble dry.
For wool or natural fiber yarn, hand wash only. Lay flat to dry.
Do not iron directly on the sherpa trim. Store folded, not hung, to prevent stretching.
Wrapping Up This Cozy Crochet Project
This sage green sherpa trim crochet cardigan is the kind of project that reminds you why you fell in love with crochet in the first place. It’s challenging enough to keep you engaged, rewarding enough to make you proud, and gorgeous enough to make everyone ask where you bought it.
Thank you so much for choosing this pattern. I truly hope you enjoy every stitch of the journey. When you finish yours, I would absolutely love to see it. Tag me on Instagram or share a photo in our Facebook group. Seeing your creations genuinely makes my day.
If this pattern inspired you, go ahead and save it to your Pinterest boards so you can find it whenever you’re ready to start. And please drop a comment below if you make one. I love hearing about your yarn choices, any modifications you tried, and how it turned out. Happy crocheting, friend!
