
I don’t know about you, but I’ve always wanted a summer dress that feels handmade in the best possible way. Something with that unmistakable "I made this" quality that store-bought clothes just can’t match. All the charm of vintage crochet with none of the scratchy, stiff fabric your grandmother might remember.
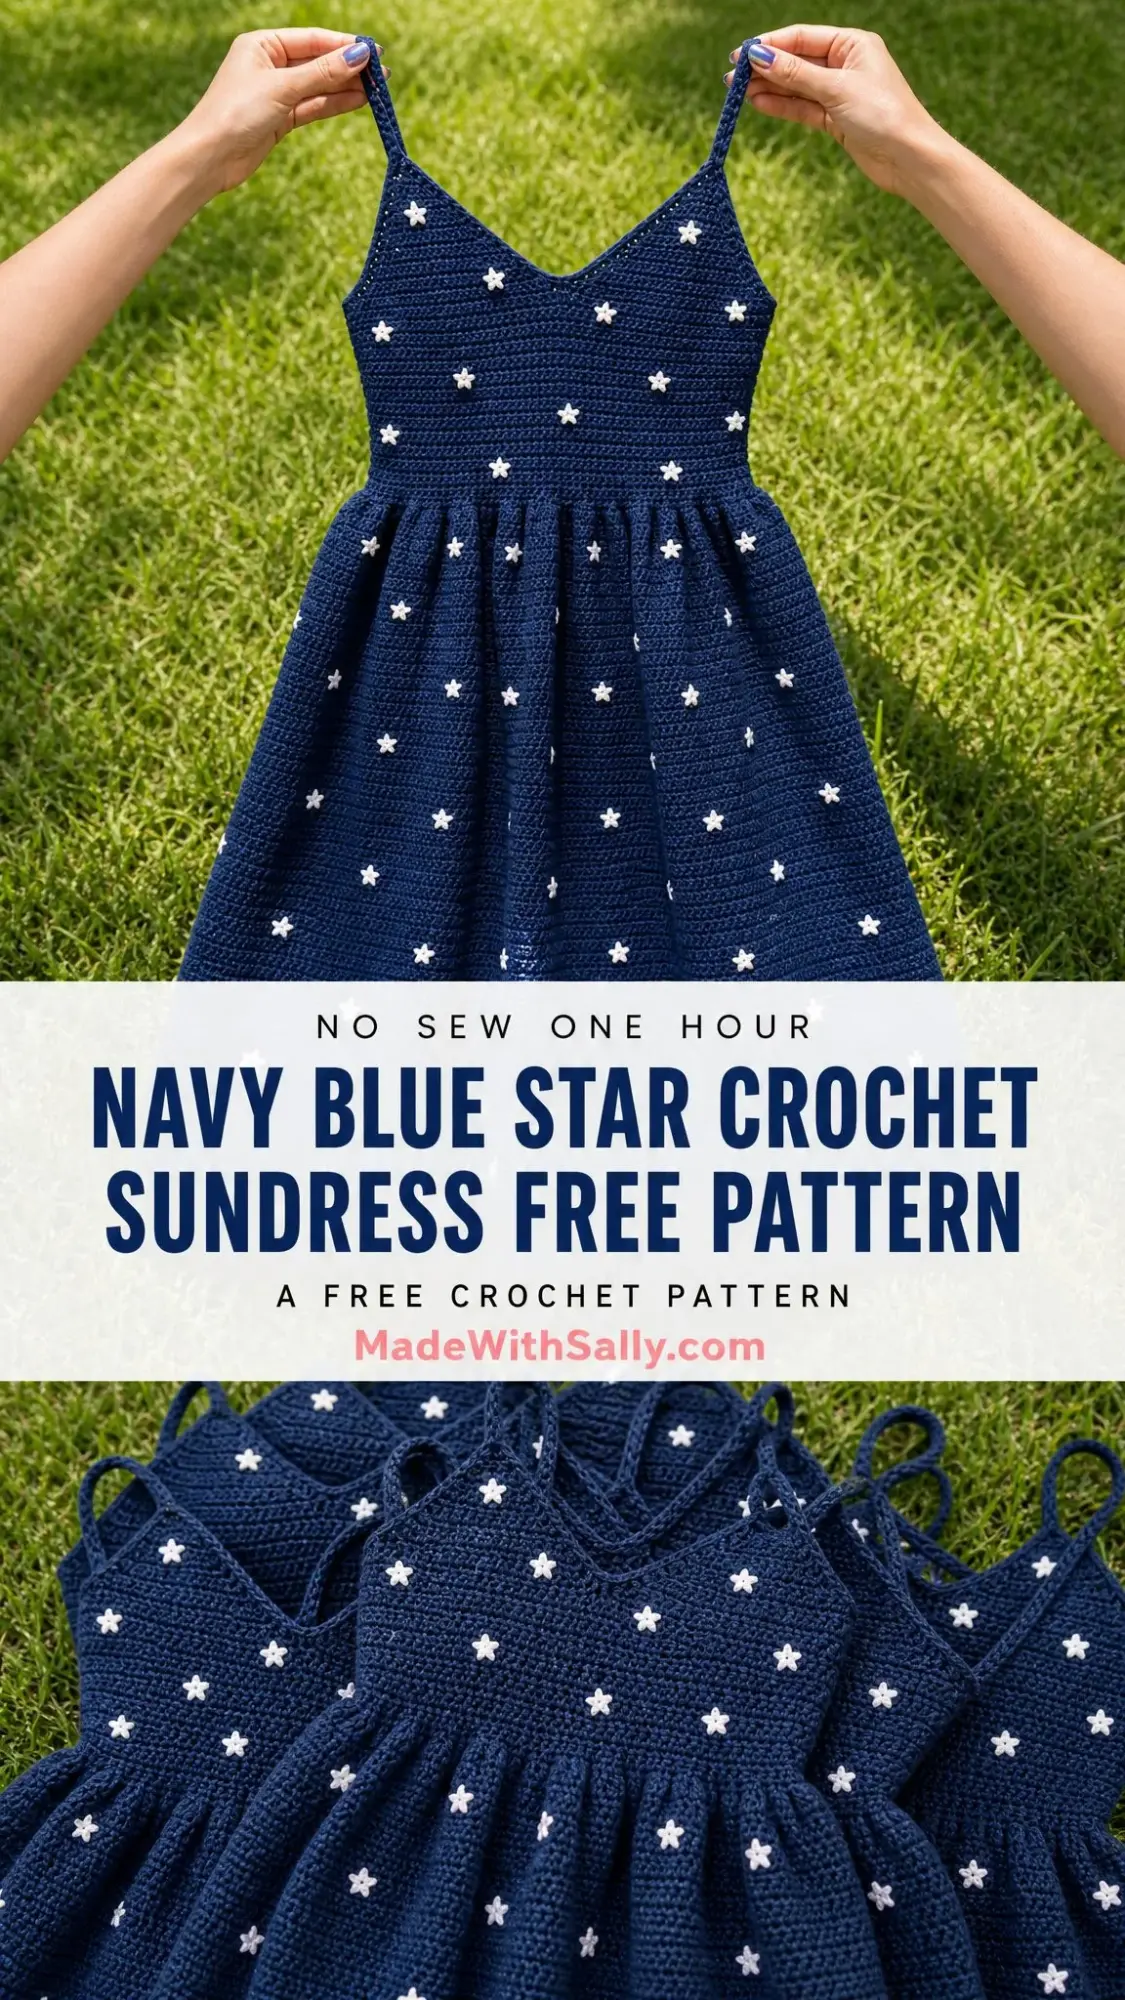
This navy blue star sundress is exactly that kind of project. A fitted bodice with delicate spaghetti straps flows into a dreamy full skirt that swishes when you walk. And those little white stars scattered across the fabric? Pure magic for summer nights, picnics, and basically any occasion where you want to feel like the main character.
Fair warning: this is an intermediate project that will take you somewhere between 35 and 50 hours to complete. But every single one of those hours is worth it. You’ll end up with a wearable piece of art that fits like it was made for you. Because it literally was.
Why This Sundress Pattern Works So Well
The construction of this dress is clever in all the right ways. Instead of trying to crochet a fitted bodice in the round (which can be tricky to get right), you work flat panels that shape naturally into a V-neck. The waistband uses back loop only stitches to create that gorgeous ribbed texture you see in the photos. And the skirt? It doubles in fullness right at the waist, giving you that beautiful gathered effect without any complicated stitch patterns.
Single crochet (sc) carries this entire dress. That’s the most basic stitch most crocheters learn first. You insert your hook, yarn over, pull through, yarn over again, and pull through both loops. Simple and reliable. The special texture comes from where you place those stitches and how you shape the pieces, not from complicated stitch combinations.
The star embroidery happens after the dress is completely finished and blocked. This means you can adjust placement as you go, spacing them randomly for that scattered night sky effect. No stress about getting them perfect during construction.
Materials You’ll Need
Yarn:
Hooks:
Notions:
Yarn Suggestions:
Lion Brand 24/7 Cotton in Navy works beautifully here. You’ll need about 8 skeins for the main color and 1 skein for the contrast. The mercerized cotton gives crisp stitch definition and washes like a dream.
Paintbox Yarns Simply DK in Nautical Navy is a budget-friendly alternative. It’s 100% acrylic with excellent color saturation. You’ll need approximately 6 skeins for the main color.
Whatever you choose, stick with tightly plied yarn that has good stitch definition. Fuzzy or halo yarns will obscure your star embroidery.
Gauge (Please Don’t Skip This)
Using your G-6 / 4.0 mm hook and main color:
18 stitches and 22 rows = 4 inches / 10 cm in single crochet, blocked
I know gauge swatches feel tedious. But this is a fitted garment. If your gauge is off by even half a stitch per inch, your finished dress could be two sizes too big or uncomfortably tight. Swatch in the round, block your swatch, let it dry completely, then measure.
For the waistband with the smaller E-4 / 3.5 mm hook:
20 stitches and 28 rows = 4 inches / 10 cm in back loop only single crochet ribbing
Finished Measurements (Size Small, US 4-6)
Abbreviations and Stitch Definitions
Important note: The ch 1 at the beginning of each row does NOT count as a stitch throughout this pattern.
Section 1: Front Bodice Panels (Make 2)
Each front panel starts at the widest point near the waist and tapers up toward the strap attachment. You’ll make two identical pieces.
Using G-6 hook and MC, ch 20.
Row 1 (WS): Sc in 2nd ch from hook and in each ch across. Turn. (19 sc)
Row 2 (RS): Ch 1, sc across. Turn. (19 sc)
Row 3: Ch 1, sc across. Turn. (19 sc)
Row 4: Ch 1, sc2tog over first 2 sts, sc to end. Turn. (18 sc)
Row 5: Ch 1, sc to last 2 sts, sc2tog. Turn. (17 sc)
Row 6: Ch 1, sc across. Turn. (17 sc)
Row 7: Ch 1, sc2tog, sc to end. Turn. (16 sc)
Row 8: Ch 1, sc across. Turn. (16 sc)
Row 9: Ch 1, sc to last 2 sts, sc2tog. Turn. (15 sc)
Row 10: Ch 1, sc across. Turn. (15 sc)
Row 11: Ch 1, sc2tog, sc to end. Turn. (14 sc)
Row 12: Ch 1, sc across. Turn. (14 sc)
Row 13: Ch 1, sc to last 2 sts, sc2tog. Turn. (13 sc)
Row 14: Ch 1, sc across. Turn. (13 sc)
Row 15: Ch 1, sc2tog, sc to end. Turn. (12 sc)
Row 16: Ch 1, sc across. Turn. (12 sc)
Row 17: Ch 1, sc2tog, sc to end. Turn. (11 sc)
Row 18: Ch 1, sc across. Turn. (11 sc)
Row 19: Ch 1, sc2tog, sc to end. Turn. (10 sc)
Row 20: Ch 1, sc across. Turn. (10 sc)
Row 21: Ch 1, sc2tog, sc to end. Turn. (9 sc)
Row 22: Ch 1, sc across. Turn. (9 sc)
Row 23: Ch 1, sc2tog, sc to end. Turn. (8 sc)
Row 24: Ch 1, sc across. Turn. (8 sc)
Row 25: Ch 1, sc2tog, sc to end. Turn. (7 sc)
Row 26: Ch 1, sc across. Turn. (7 sc)
Row 27: Ch 1, sc2tog, sc to end. Turn. (6 sc)
Rows 28 through 33: Ch 1, sc across. Turn. (6 sc each row)
Fasten off, leaving a 12-inch tail for seaming. Make a second identical panel.
Checkpoint: Each front panel should measure approximately 3.5 inches wide at the bottom, 1.5 inches wide at the top, and 6 inches tall.
Section 2: Back Bodice Panels (Make 2)
The back panels are nearly identical but slightly shorter to create a comfortable lower back neckline.
Using G-6 hook and MC, ch 20.
Rows 1 through 3: Same as front bodice panel rows 1 through 3. (19 sc)
Row 4: Ch 1, sc2tog, sc to end. Turn. (18 sc)
Row 5: Ch 1, sc to last 2 sts, sc2tog. Turn. (17 sc)
Rows 6 through 25: Follow front bodice panel rows 6 through 25 exactly. (ending at 7 sc)
Row 26: Ch 1, sc2tog, sc to end. Turn. (6 sc)
Rows 27 through 29: Ch 1, sc across. Turn. (6 sc each row)
Fasten off, leaving a 12-inch tail for seaming. Make a second identical panel.
Checkpoint: Each back panel should measure approximately 3.5 inches at the widest and approximately 5.5 inches tall.
Section 3: Assembling the Bodice
Step 1: Place the two front panels with right sides facing each other. Align the sloped edges (where you made the decreases). Using your yarn needle and MC, whip stitch or mattress stitch these edges together from waist to strap top. This creates your V-neck seam.
Step 2: Repeat with the two back panels.
Step 3: With right sides together, align the straight side edges of the front and back assemblies. Seam the left side and right side from waist edge to underarm, leaving the top open.
Step 4: Turn right side out. You now have a tube with a V-neck at front, a lower opening at back, and an open bottom for the waistband.
Checkpoint: The assembled bodice should measure 34 inches circumference at the bust.
Section 4: Waistband
The waistband is worked flat in back loop only ribbing, then joined into a ring. This creates those beautiful horizontal ridges.
Using E-4 hook and MC, ch 13.
Row 1: Sc in 2nd ch from hook and in each ch across. Turn. (12 sc)
Row 2: Ch 1, BLsc in each st across. Turn. (12 sc)
Repeat Row 2 until the piece measures 27 inches from the beginning, approximately 189 rows.
Do not fasten off. Fold the strip so the short ends meet and sl st them together to form a ring. Fasten off and weave in ends.
Checkpoint: The waistband ring should measure 27 inches circumference and 2.5 inches deep.
Section 5: Attaching Bodice to Waistband
Pin the bottom edge of the bodice to the top edge of the waistband ring with right sides facing. Align the waistband seam with the left side seam.
Using G-6 hook and MC, work a joining round of sc through both layers simultaneously around the full circumference.
Joining Round: With RS facing, sc evenly around, picking up 1 st from the bodice and 1 st from the waistband for each sc. Join with sl st to first sc. (153 sc)
Section 6: Skirt
The skirt is worked in continuous rounds from the waistband down. No joining at the end of each round, just keep spiraling. Use a stitch marker to track your rounds.
Setup Round: With G-6 hook, MC, and RS facing, join yarn to the bottom edge of the waistband at the left side seam. Ch 1. Sc in each st around the bottom edge of the waistband. Place stitch marker at first st. Do not join. (153 sc)
Round 1: Inc in every st around. (306 sc)
This doubling is what gives the skirt its gorgeous fullness.
Rounds 2 through 6: Sc in each st around. (306 sc)
Checkpoint: After Round 6, the circumference should measure approximately 68 inches. You should see the skirt flare visibly from the waist.
Rounds 7 through 165: Sc in each st around. (306 sc each round)
Continue until the skirt measures 29.5 inches from the bottom of the waistband.
Final Round (Hem): Ch 1, sc in each st around, sl st to first sc to join. (306 sc)
Fasten off and weave in ends.
Section 7: Straps (Make 2)
Each strap is approximately 14 inches long. You can adjust this during attachment.
Using E-4 hook and MC, ch 65.
Row 1: Sc in 2nd ch from hook and in each ch across. Turn. (64 sc)
Row 2: Ch 1, sc in each st across. (64 sc)
Fasten off, leaving a 12-inch tail on each end.
To attach: Locate the 6-stitch column at the top of each front bodice panel. Sew one end of each strap to the top of each front panel, centering it on those 6 stitches.
For the back, try the dress on or use a dress form. Bring each strap over the shoulder and pin to the back bodice top edge, adjusting length as needed. Sew securely.
Section 8: Star Embroidery
This is my favorite part. The surface embroidery stars transform the dress from lovely to absolutely magical.
How to make each star:
Thread your yarn needle with approximately 18 inches of CC yarn. Do not knot the end.
1. Bring the needle up through the fabric at the center point of where you want a star.
2. Insert the needle back down directly beside that entry point, leaving a small loop on the right side.
3. Bring the needle up approximately 4 mm away from center in the direction of the first point, passing through the loop.
4. Insert the needle back down just beyond the loop end to anchor the petal. One point complete.
5. Repeat four more times, spacing the 5 points evenly around the center at roughly 72-degree intervals.
6. Weave all ends securely into the wrong side.
Each finished star measures approximately three-eighths of an inch in diameter.
Suggested distribution:
Space stars between 1.5 and 2.5 inches apart. Vary placement to avoid uniform rows. You want a scattered starfield effect, not polka dots.
Blocking and Finishing
Wet blocking is essential for this dress, especially with cotton yarn.
1. Weave in all yarn ends securely, leaving at least 1 inch of woven tail.
2. Submerge the dress in cool water. Let it soak for 15 minutes.
3. Lift the dress supporting its full weight. Never lift by the straps alone.
4. Gently press out excess water in a towel. Do not wring.
5. Lay flat on a blocking mat. Smooth to finished measurements.
6. Pin the hem flat and allow to dry completely, usually 24 to 48 hours.
7. Work the star embroidery AFTER blocking.
Size Customization Tips
Bust adjustment: Each bodice panel should begin with your bust measurement divided by 4, multiplied by your gauge stitches per inch, plus 1. For a 38-inch bust at 4.5 stitches per inch: 38 divided by 4 equals 9.5 inches, times 4.5 equals approximately 43 stitches. Chain 44 to start.
Waist adjustment: Work the waistband strip to your exact waist measurement plus half an inch of ease.
Length adjustment: Each additional round adds approximately 0.18 inches. To add 2 inches, work about 11 more rounds.
Care Instructions
Hand wash in cool water with gentle detergent. Do not wring. Lay flat to dry. If using acrylic yarn, you can machine wash on delicate in a mesh bag, but still lay flat to dry. Never tumble dry. If pressing is needed, turn inside out and use a cool iron with a pressing cloth, avoiding direct contact with the embroidered stars.
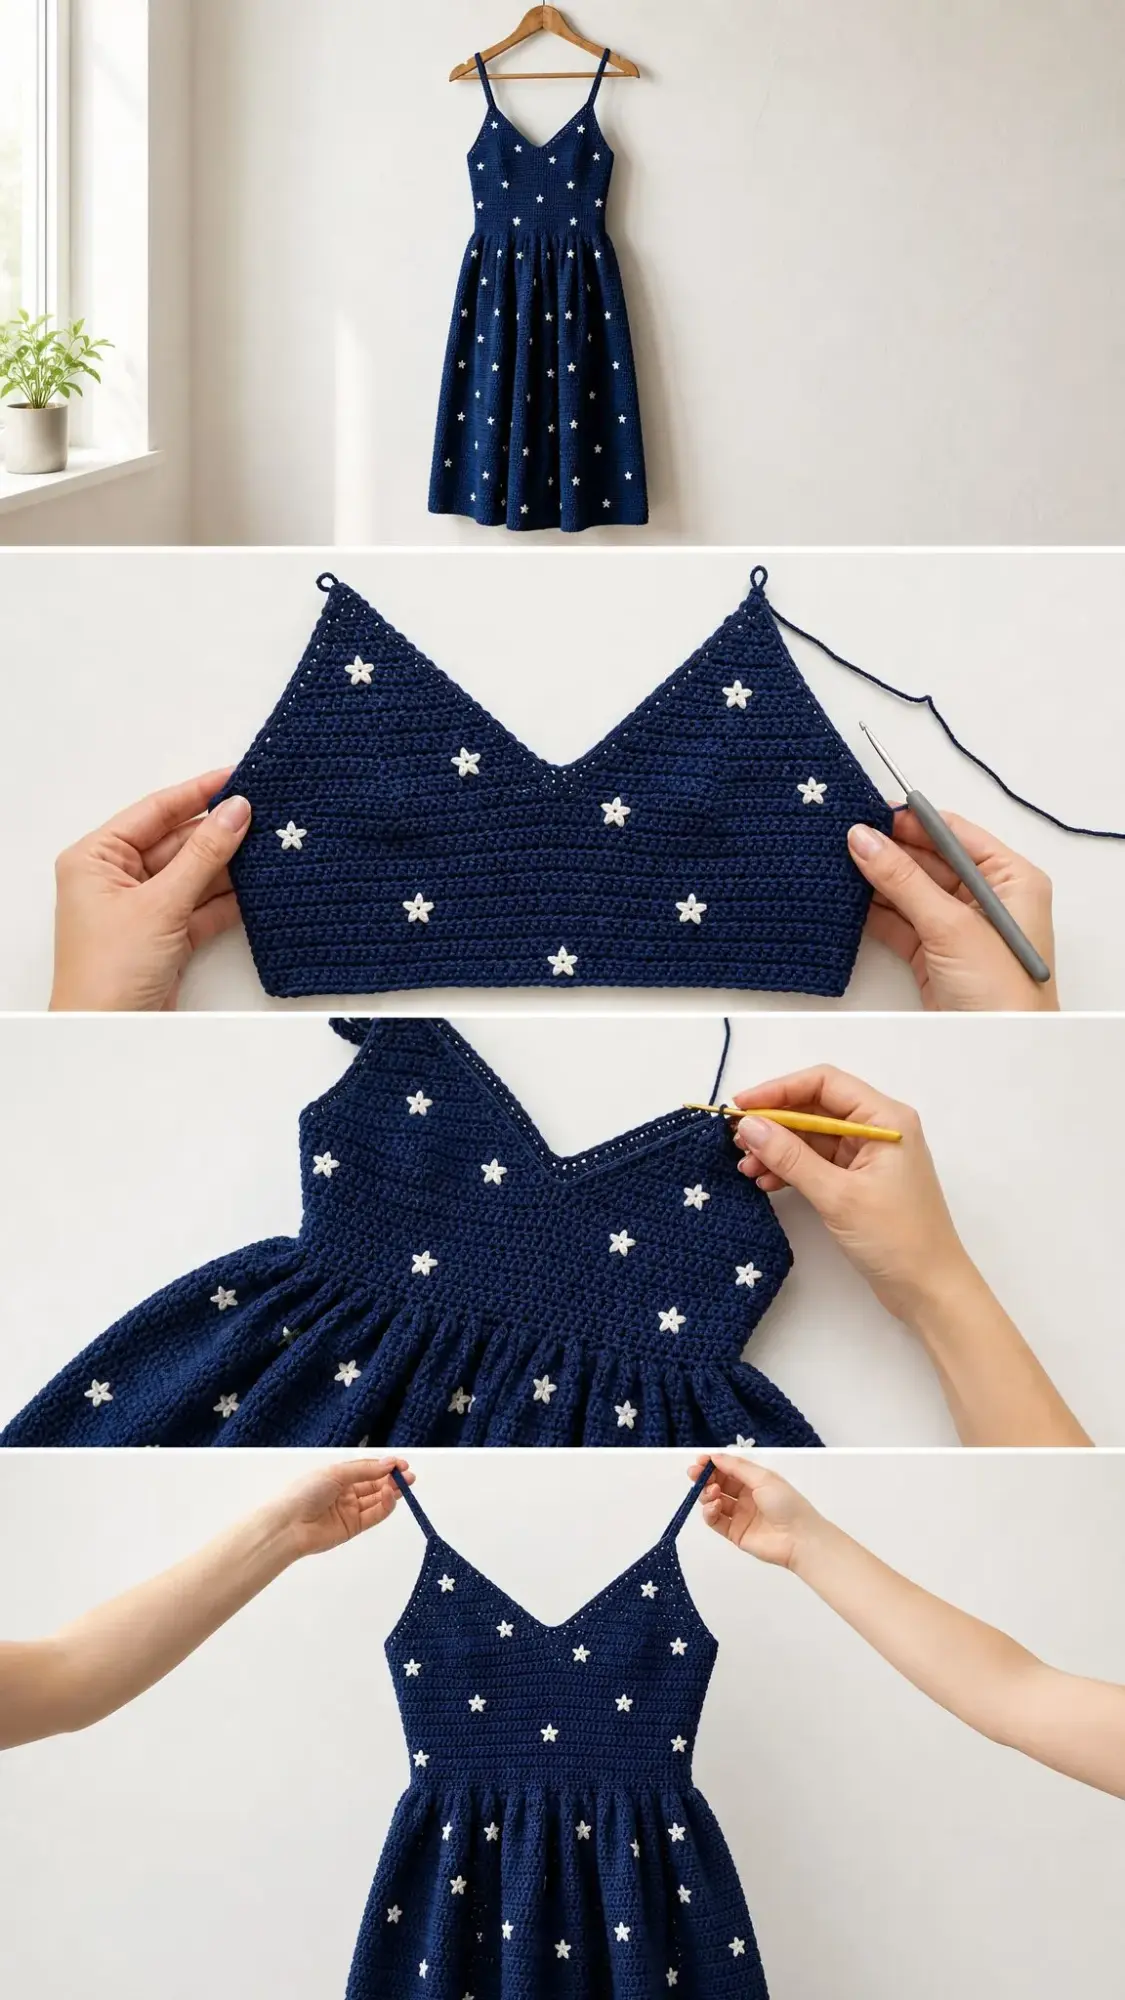
You Did It!
This navy blue star crochet sundress is truly a statement piece. The kind of project you’ll be proud to wear and even prouder to say you made yourself. Whether you’re wearing it to summer weddings, backyard parties, or just a Tuesday because you feel like it, this dress will turn heads.
Thank you so much for choosing this pattern for your next crochet adventure. I genuinely can’t wait to see your finished dresses. Tag me on Instagram or share in our Facebook group. Seeing your versions is honestly the best part of designing.
If this pattern caught your eye, go ahead and save it to your Pinterest boards so you can find it when you’re ready to cast on. And if you make this sundress, please drop a comment below. I love hearing how projects turn out and seeing what color combinations you choose!
