
Okay, yarn lovers. This is your sign to dig into that stash and pull out those beautiful blush and dusty rose skeins you’ve been saving for something special. This Rose Garden Flower Baby Dress crochet pattern is exactly the kind of project that deserves your prettiest cotton yarn.
Get the Ad-Free PDF Pattern
You can find the free pattern below, or you can purchase the ad-free printable PDF from my shop.
Get the Printable PDF →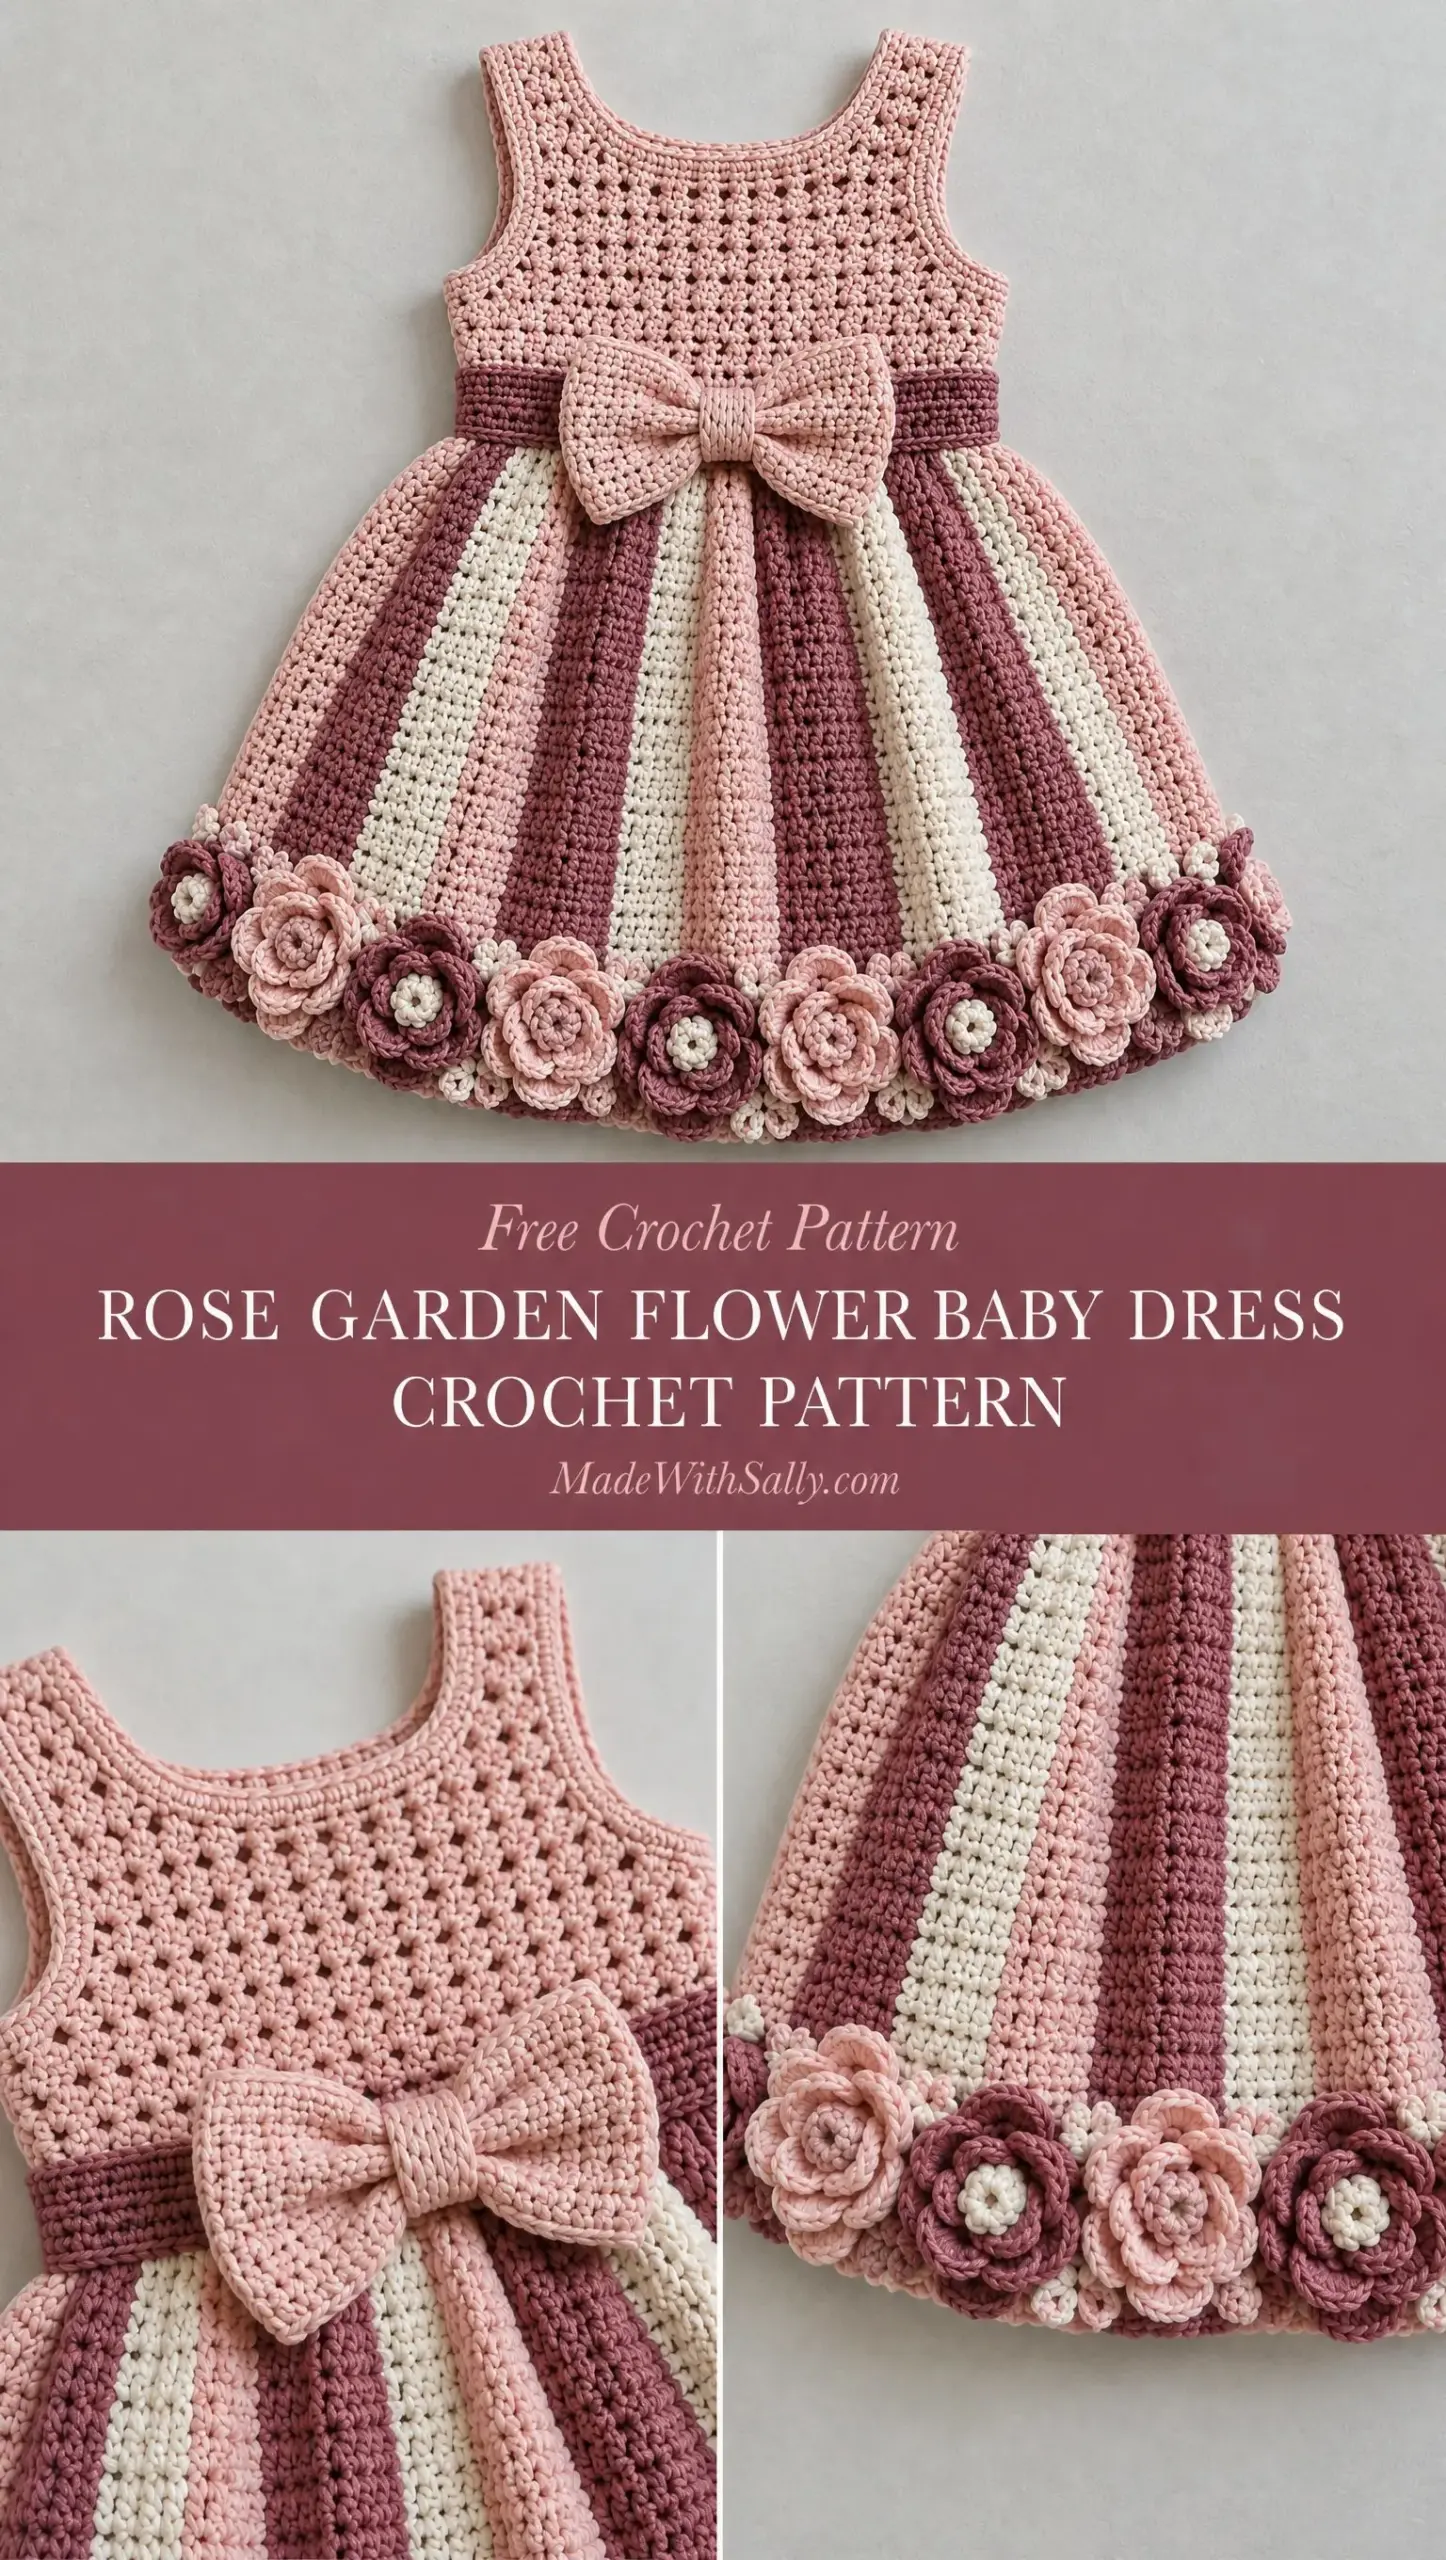
The construction here is genuinely interesting. You’ll work top-down from a raglan yoke, separate for armholes, add a contrasting waistband, then build out a striped A-line skirt with vertical color changes. The whole thing finishes with hand-rolled spiral roses along the hem. It sounds like a lot, but each section builds naturally on the last.
I’ll be honest with you. This is an intermediate-level project. If you’re comfortable with half double crochet (hdc), working in the round, and basic color changes, you can absolutely do this. The flowers are made separately and sewn on, so even those are manageable once you get the hang of the spiral technique.
Pattern Overview and Finished Size
This adorable baby dress fits approximately 6 to 12 months. You can adjust the size by changing your starting chain count and adding more increase rounds to the yoke and skirt sections.
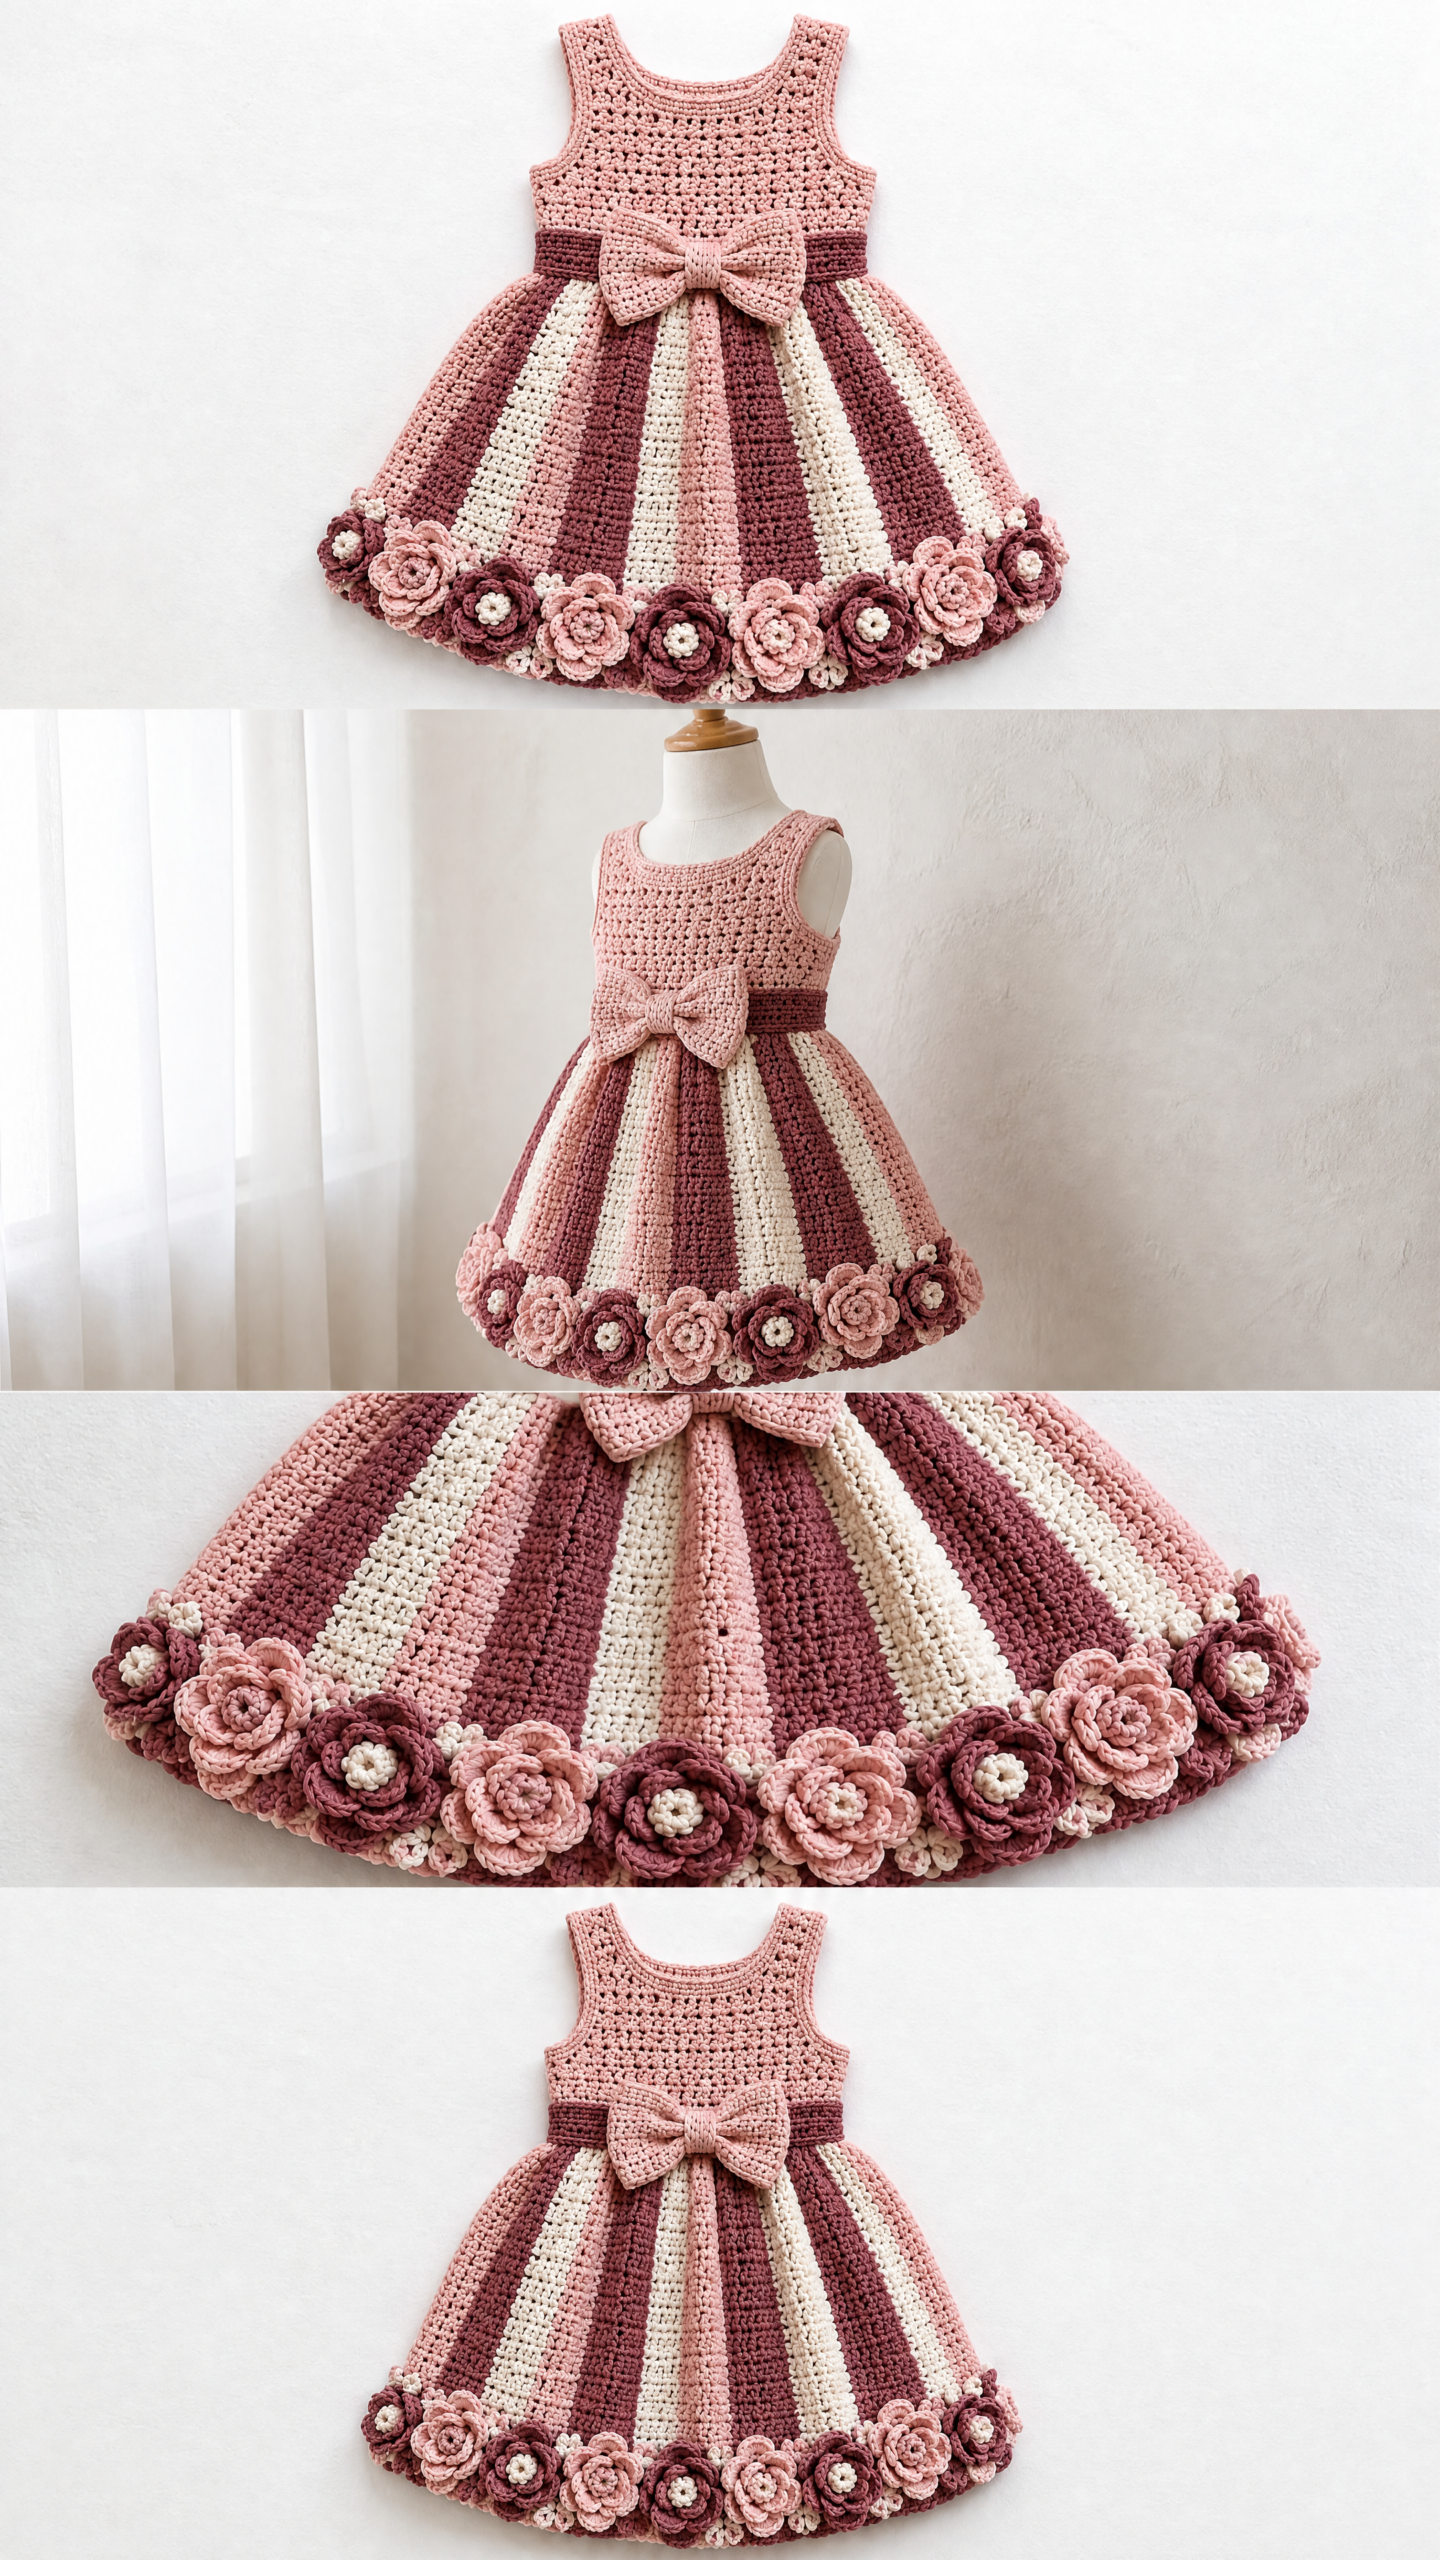
The dress features a sleeveless bodice with a textured blush pink yoke, a slim mauve waistband, a full A-line striped skirt in vertical stripes, a sweet crocheted bow at center front, and a gorgeous rose flower border along the entire hem. Looking at the finished piece, you can see how the vertical stripes fan out beautifully from waist to hem, creating that classic full skirt silhouette that makes baby dresses so charming.
Materials You’ll Need
Before you start, gather everything so you’re not hunting for supplies mid-project.
Yarn:
You’ll need DK weight cotton yarn in four coordinating colors:
Cotton works beautifully for baby garments because it’s breathable, washable, and holds stitch definition well. The vertical stripes in the skirt really pop when you use colors with good contrast between them.
Tools:
Gauge
Getting gauge right matters here because this is a fitted garment. You want the bodice to fit snugly while the skirt flows freely.
22 half double crochet stitches x 16 rows = 10 cm (4 inch) square
Take time to make a gauge swatch before starting. If your swatch is too big, go down a hook size. Too small? Go up a hook size. This five minutes of checking will save you from a dress that doesn’t fit.
Abbreviations and Stitch Definitions
Let me walk you through every stitch you’ll use in this pattern.
ch = chain: The foundation stitch. Yarn over, pull through the loop on your hook.
sc = single crochet: Insert hook into stitch, yarn over and pull up a loop (two loops on hook), yarn over and pull through both loops. This creates a short, tight stitch.
hdc = half double crochet: Yarn over, insert hook into stitch, yarn over and pull up a loop (three loops on hook), yarn over and pull through all three loops at once. This is your main stitch for the entire dress. It’s slightly taller than single crochet and creates a nice dense fabric.
dc = double crochet: Yarn over, insert hook into stitch, yarn over and pull up a loop, yarn over and pull through two loops, yarn over and pull through remaining two loops. You’ll use this for the roses.
sl st = slip stitch: Insert hook into stitch, yarn over and pull through both the stitch and the loop on your hook in one motion. Used for joining rounds.
inc = increase: Work two stitches into the same stitch. This adds width to your fabric.
st = stitch
sk = skip: Pass over a stitch without working into it.
Dress Construction Overview
Understanding how this dress comes together will help everything make sense as you work.
You’ll start at the neckline and work downward. The yoke is created first using raglan shaping, which means you increase at four evenly spaced points every round. This creates the natural slope from neck to shoulders. Once the yoke is deep enough, you’ll separate the front, back, and arm sections. The arm stitches get set aside (this dress is sleeveless, so you won’t work them further). You’ll join the underarms and continue working the bodice in rounds.
After the bodice, you’ll add a contrasting waistband in mauve. Then the skirt begins, worked in continuous rounds with increases every third round for that gorgeous A-line flare. The vertical stripes are created by changing colors every 8 to 12 stitches as you work around.
Finally, you’ll make individual spiral roses and sew them around the hem, plus create a sweet bow for the center waist.
Yoke Pattern
Using blush pink yarn and your 3.5 mm hook, let’s build the yoke.
Step 1: Chain 56. Join with a slip stitch to form a ring, being careful not to twist your chain. This is your neckline.
Step 2 (Round 1): Chain 2 (this counts as your first hdc), work half double crochet into each chain around. Join with a slip stitch to the top of your beginning chain 2. You should have 56 hdc.
Step 3 (Round 2): Place stitch markers at both shoulder points. You’ll increase before and after each marker to create four raglan increase points. Work hdc around, making increases (2 hdc in one stitch) at each of these four points.
Step 4: Continue working hdc rounds, increasing at all four raglan points every round. Keep your markers in place and move them up as you work. Continue until your yoke measures approximately 11 cm deep from the neckline.
Step 5 (Texture Rows): Now add some visual interest to the yoke. Work alternating raised clusters using hdc stitches worked around the post of previous stitches. This creates that lovely textured pattern you can see in the bodice. Continue until your bodice length reaches the underarm.
Helpful tip: If you’ve never worked post stitches before, you’re simply inserting your hook around the vertical part of the stitch below instead of into the top loops. It pushes that stitch forward and creates dimension.
Armhole and Bodice
Time to separate for armholes and continue the bodice.
Step 1: Fold your work along the raglan points to identify your front section, back section, and two arm sections. You’ll be setting the arm stitches aside.
Step 2: Skip over the arm stitches on each side and join the underarms with chains. The number of chains depends on how much ease you want under the arms. Usually 4 to 6 chains works well for baby sizes.
Step 3: Work hdc rounds evenly around the body, now working only the front and back sections plus your underarm chains.
Step 4: Finish the armholes and neckline with two rounds of single crochet for a neat, polished edge. This tightens up those openings and gives them a professional look.
Waist Band
Switch to your mauve yarn for this section.
Step 1: Work 4 to 5 rounds of hdc around the waist.
Step 2: Keep your tension firm here. You want this section to pull in slightly and create a slim belt effect that defines the waist before the skirt flares out.
Step 3 (Optional): If you’d like to add buttons for easy dressing, create a small opening at center back during one of these rounds by chaining over a few stitches instead of working into them.
A-Line Skirt
This is where the dress really comes to life with those beautiful vertical stripes.
Step 1: Begin skirt rounds directly from the waist band, continuing to work in the round.
Step 2 (Round 1): Work hdc evenly around.
Step 3: Every 3rd round, increase evenly around the skirt. This gradual increase creates the A-line shape without any sudden flaring.
Step 4: Continue increasing until your skirt has a full flare. You’ll see it start to fan out naturally.
Step 5 (Creating Vertical Stripes): This is the fun part. Change colors every 8 to 12 stitches as you work around. Your color sequence is:
Then repeat the sequence. Because you’re working in rounds and changing colors at the same points each round, the stripes build vertically rather than spiraling.
Color change tip: When switching colors, complete your last hdc until you have three loops on your hook, then pull through with your new color. Carry the unused colors loosely along the wrong side, or cut and rejoin if you prefer fewer floats.
Step 6: Continue working rounds with increases and color changes until you reach your desired skirt length. For a 6 to 12 month size, the skirt typically measures about 15 to 18 cm from waist to hem.
Hem Flower Border
Now for the roses. You’ll make these individually and sew them on.
For each rose:
Step 1: Using dusty rose or mauve yarn, chain 30.
Step 2: Work dc clusters into the chain. This creates a ruffled strip.
Step 3: Roll the strip into a spiral rose shape, starting from one end and coiling it around itself.
Step 4: Sew the base securely using your yarn needle. Make sure to catch all the layers so your rose holds its shape.
Step 5: Using cream yarn, make a small crochet circle for the center. Chain 4, join with slip stitch, work 8 to 10 sc into the ring, fasten off. Sew this to the center of your rose.
Step 6: Attach roses evenly around the hem. Looking at the finished dress, you’ll want them close together for a lush garden effect. Alternate between your dusty rose and mauve flowers, with blush pink scattered throughout.
Blush Bow
The bow adds that perfect finishing touch at the waist.
Step 1: Using blush pink, chain 35 for the bow panel.
Step 2: Work hdc rows back and forth until you have a rectangle approximately 8 cm wide by 12 cm long.
Step 3: Pinch the rectangle in the center to create the bow shape. Crochet a narrow strip (chain 10, work 3 to 4 rows of sc) and wrap it tightly around the center.
Step 4: Sew the bow securely to the center front waist, right where the bodice meets the skirt.
Finishing Your Rose Garden Baby Dress
Almost done! These final steps make all the difference.
Customization Tips for Different Sizes
Want to make this dress larger? Here’s how to adjust:
For a newborn size, reduce your starting chain and work fewer yoke rounds. For an 18 to 24 month size, add 8 to 10 chains at the start and add 2 to 3 extra increase rounds in both the yoke and skirt.
Care Instructions
This cotton baby dress deserves gentle care to keep it looking beautiful.
Hand wash in cool water with a mild detergent. Avoid wringing or twisting. Lay flat to dry on a clean towel, reshaping the skirt as needed. Avoid high heat from dryers or irons, which can damage the cotton fibers and distort your beautiful stitches.
With proper care, this dress will stay gorgeous through multiple wearings and makes a wonderful keepsake or hand-me-down.
Final Thoughts on This Crochet Baby Dress Pattern
This Rose Garden Flower Baby Dress crochet pattern brings together so many lovely techniques in one project. From the textured raglan yoke to the vertical striped skirt to those sweet spiral roses along the hem, every element works together beautifully. Yes, it takes some time and attention, but the result is absolutely worth it.
Whether you’re making this for your own little one, a baby shower gift, or a special order, this dress is guaranteed to get compliments. The color palette feels timeless and elegant, and the construction is solid enough for real-world baby wear.
Thank you so much for choosing this pattern. I really hope you enjoy making it as much as I enjoyed creating it. If you make this dress, I would absolutely love to see it! Tag me on Instagram or share a photo in my Facebook group. Seeing your finished projects is genuinely the best part of sharing patterns.
If you loved this Rose Garden Flower Baby Dress pattern, save it to your Pinterest boards so you can find it when you’re ready to start. And please drop a comment below if you make one. I’d love to hear which color combination you chose!
Want a Quick & Easy Printable Version?
Get a clean, beautifully formatted PDF of this pattern — easy to follow step by step, ready to print or save on any device. No scrolling, no distractions, just the pattern.
Get the Printable PDF →