
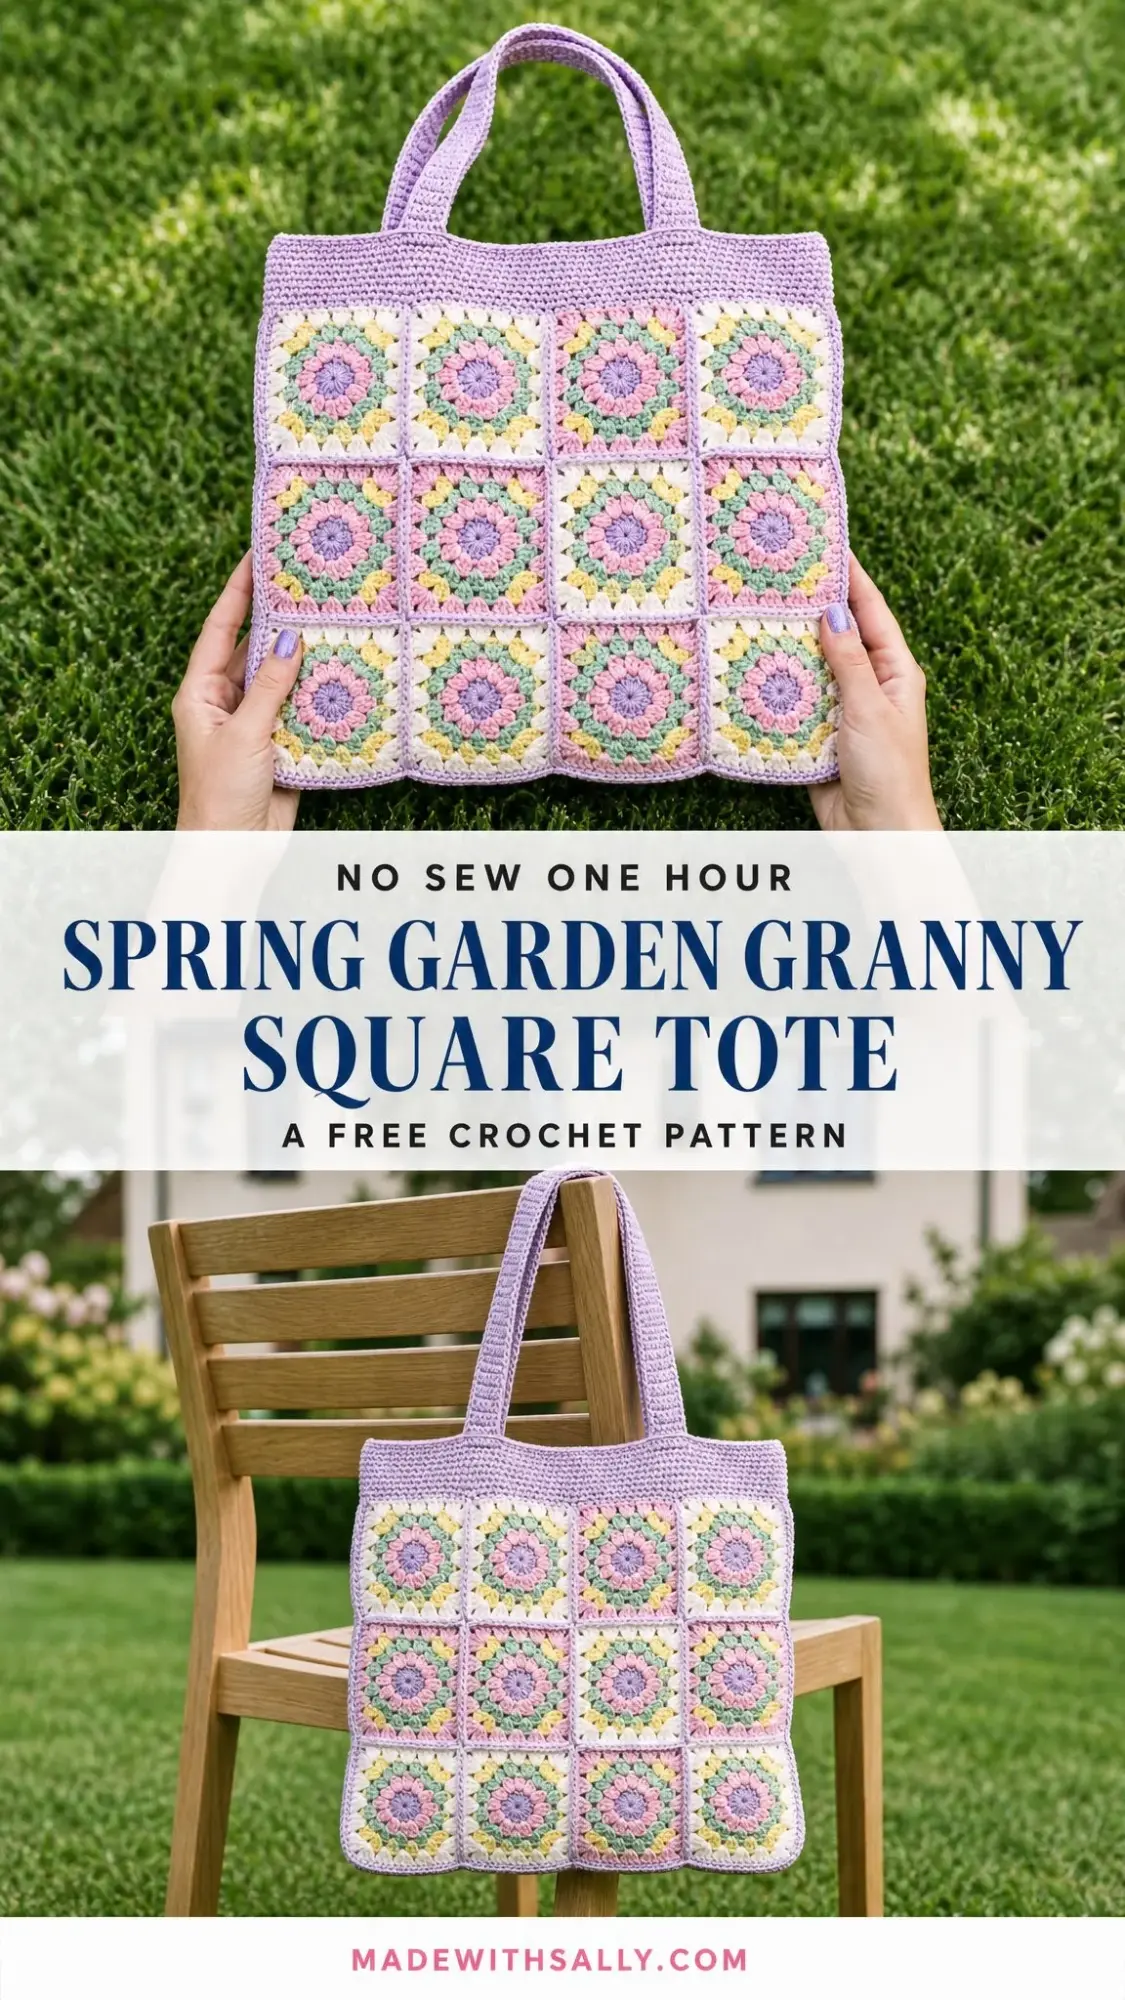
This granny square tote uses basic stitches, soft pastel cotton yarn, and a simple four-round flower motif. You will make 30 squares, join them into panels, add a solid top band, and attach two sturdy handles. The whole bag comes together in about 12 to 16 hours, and the result is a market-ready tote with serious handmade charm.
If you can work a magic ring, double crochet clusters, and single crochet rows, you have everything you need. The construction is straightforward. The color play is where the fun lives.
Let me walk you through the full pattern below, including materials, gauge, the blossom square instructions, assembly, handles, and finishing tips.
What You Will Make
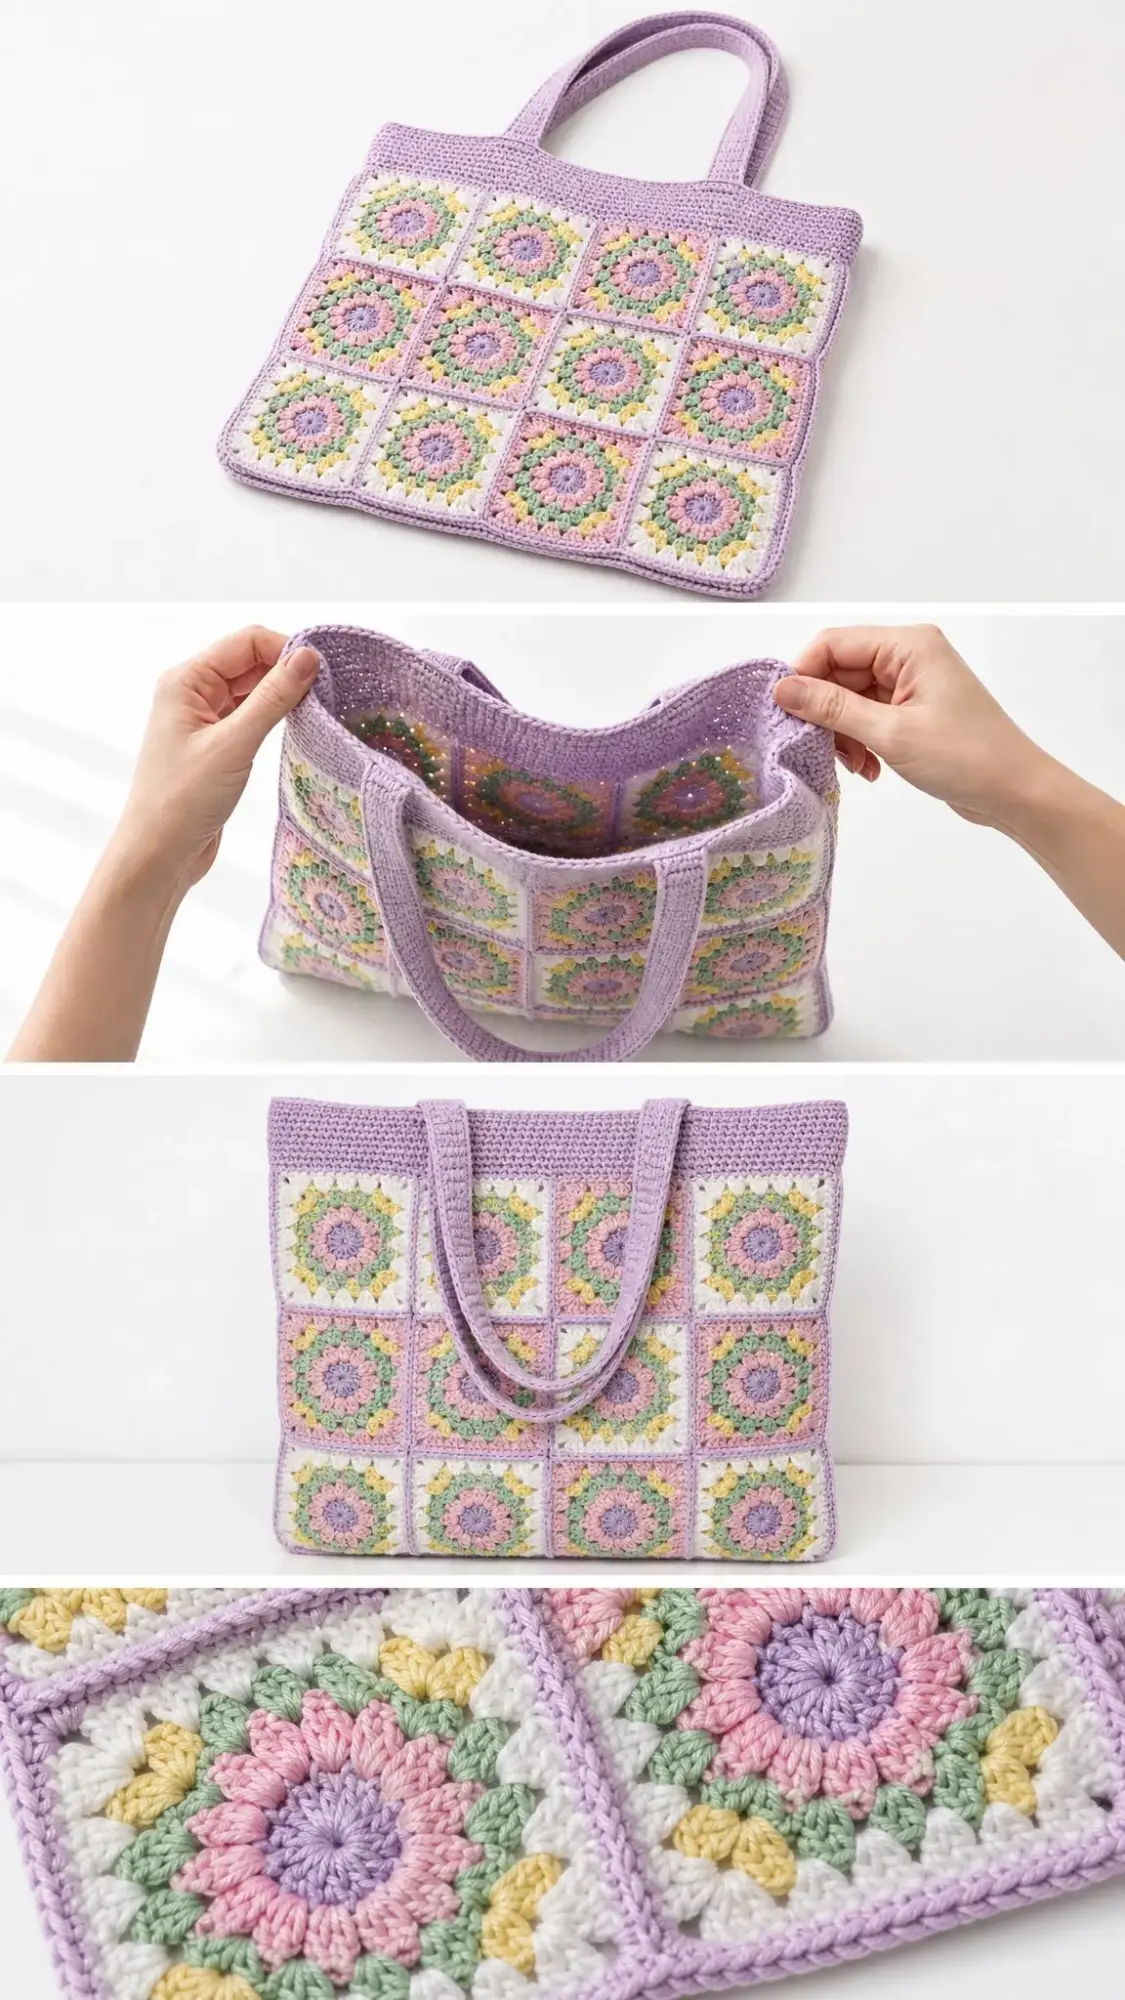
The Spring Garden Granny Square Tote is a structured bag built from 30 blossom granny squares. The front and back panels each have 12 squares arranged in a 4 by 3 grid. Two slim side panels of 3 squares each give the tote its depth. A smooth lilac top band and double-thick handles finish the piece.
Finished size: 14 inches wide by 13.5 inches tall (36 cm by 34 cm), excluding handles
Handle drop: 9 inches (23 cm), comfortable for shoulder carry
Skill level: Confident beginner
Materials and Yarn
You will need worsted weight cotton yarn (CYC 4) in six colors:
Yarn Suggestions
1. Paintbox Yarns Cotton DK held double or their Aran Cotton for crisp stitch definition and a wide pastel range
2. Lily Sugar’n Cream (worsted cotton) for wide availability and excellent structure
3. Drops Paris (Aran cotton) for smooth, matte pastels that show the blossom centers cleanly
Tools and Notions
Gauge
One finished blossom granny square measures 3.5 inches (9 cm) square after light blocking, using a 5.0 mm hook.
In the top band, 16 single crochet stitches and 18 rows equal 4 inches (10 cm).
Important: Matching the square size matters more than row gauge. Block one square and check before making all 30.
Abbreviations (US Terms)
UK Crocheters
US single crochet (sc) equals UK double crochet (dc). US double crochet (dc) equals UK treble (tr). Substitute throughout.
Special Stitches
3-dc group (cluster): Work 3 dc into the same stitch or space. This is the building block of every granny round.
Corner: Work (3 dc, ch 2, 3 dc) all in one ch-2 space. This forms the square’s corner.
Invisible join: Finish a round by threading the tail under the first stitch of the round for a seamless close.
Pattern Notes Before You Begin
The Blossom Granny Square Pattern
Make 30 squares total. Each square is four quick rounds. Begin every square with a magic ring. The ch-3 counts as the first dc on dc rounds.
Round 1: Center (Soft Mauve)
Into a magic ring: ch 3 (counts as first dc), work 11 dc into the ring. Pull the ring closed and join with sl st to the top of the beg ch-3. Fasten off Mauve. (12 dc)
Round 2: Petals (Blush, Sage, or Butter)
Join your petal color in any st. Ch 3, 2 dc in same st (first 3-dc grp). Skip next st. [3 dc in next st, skip next st] around. You will have 6 groups total. Join to top of beg ch-3. Fasten off. (18 dc / 6 groups)
Color tip: Rotate Blush, Sage, and Butter through the petal round square by square for the scattered-bloom look in the photos. Each square keeps the same Cream outer round and Mauve center so the grid reads as one unified garden.
Round 3: Shaping (Cream)
Join Cream in the gap before any 3-dc grp. [(3 dc, ch 2, 3 dc) in next gap to form a corner, then 3 dc in the following gap] around. Alternate corner and side through all 6 gaps so the round resolves into 4 corners and 2 side groups. Ch 1 between groups. Join. (8 groups, 4 corners)
Round 4: Border (Lilac / MC)
Join Lilac in any corner ch-2 sp. [(3 dc, ch 2, 3 dc) in corner sp, then 3 dc in each ch-1 sp along the side] around all four sides. Ch 1 between groups. Join with sl st and fasten off, leaving a 12 inch (30 cm) tail for seaming. (12 groups, 4 corners)
Square Check
A finished square has three 3-dc groups along each side plus a corner at each point. Steam-block to a true 3.5 inches (9 cm) square before joining.
Square Layout and Color Placement
Lay your blocked squares out before joining. Each face is a 4 by 3 grid. Scatter the Blush, Sage, and Butter petals so no two neighbors share the same petal color. Keep Cream and Mauve constant for a unified look.
Square count:
Make a couple of spare squares if you want to audition color placement before committing.
Joining the Panels
Step 1: Build the Front and Back
With Lilac and a tapestry needle, whip stitch squares into rows of 4, working through back loops only. Then join the three rows to form a 4 by 3 panel. Repeat for the back. (2 panels of 12)
Step 2: Make the Side Strips
Join 3 squares end-to-end into a vertical strip. Make two. These become the slim gussets that give the tote its depth. (2 strips of 3)
Step 3: Assemble the Body
Seam a side strip between the front and back panels along each side edge, matching square to square. Then seam across the bottom, joining front to back through the base. Leave the top open. (Open-top box shape)
Step 4: Even the Rim
With Lilac, work 1 rnd of sc evenly around the entire top opening. Work roughly 3 sc across each square’s edge and 1 sc in each seam. Join. This sets a firm base for the band. (Approximately 160 sc)
Seam tip: Keep seam tension relaxed and even. Pulling tight puckers the grid. Matching corner stitches square-to-square keeps every blossom aligned.
Top Band Instructions
Work the top band in Lilac (MC) using your 5.0 mm hook.
Round 1
Join Lilac to the rim. Ch 1, sc in each st around. Join. (160 sc)
Rounds 2 through 9
Ch 1, sc in each st around. Join each round. Repeat for 8 rounds total to build a smooth band about 2 inches (5 cm) tall. Do not fasten off after Round 9. (160 sc each round)
Handle Instructions (Make 2)
Switch to your G-6 (4.0 mm) hook for firmer handles.
Row 1
With Lilac, ch 9. Sc in 2nd ch from hook and each ch across. Turn. (8 sc)
Rows 2 through 90
Ch 1, sc in each st across. Turn. Repeat to a length of about 22 inches (56 cm), or your preferred drop. Fasten off, leaving a long tail. (8 sc per row)
Attaching the Handles
Pin each handle end to the inside of the band, about 4 squares apart and centered over the front and back. Whip stitch firmly through both band layers, reinforcing each end with an extra pass. (2 handles set)
Stronger straps option: For heavier loads, fold each handle lengthwise and seam into a tube, or crochet around a length of cotton cord before attaching.
Finishing and Blocking
Weave in Ends
Thread every remaining tail onto a tapestry needle and weave at least 1.5 inches (4 cm) along stitches of the same color. Snip close.
Block the Body
Lightly steam the assembled tote, gently squaring the corners and smoothing the band. Let it dry fully before use.
Optional Lining
Cut cotton fabric to the inside dimensions plus a 0.5 inch (1.3 cm) seam allowance. Stitch into a pouch and hand-sew it just below the band. This adds structure and stops small items from slipping through the openwork.
Final Press
Give the handles a gentle steam so they hang straight and even.
Care Instructions
Customizing Your Tote
Bigger tote: Add a column or row of squares per panel, or size up to a 5.5 mm hook and Aran cotton for a roomier bag.
Mini tote: Work a 3 by 3 front and back with shorter handles for a sweet child-size version.
Crossbody: Lengthen the handles to about 40 inches (100 cm) and attach as a single strap.
Deeper bag: Widen the side strips to two squares across for extra room.
Whatever you change, keep all squares to one blocked measurement so the grid stays even and the panels line up cleanly.
Quick Reference Summary
| Detail | Measurement |
|---|---|
| Finished size | 14 in × 13.5 in (36 cm × 34 cm) |
| Handle drop | 9 in (23 cm) |
| Square size (blocked) | 3.5 in (9 cm) |
| Total squares | 30 |
| Main hook | US H-8 (5.0 mm) |
| Handle hook | US G-6 (4.0 mm) |
| Time to make | 12 to 16 hours |
You Did It!
Thank you so much for choosing this pattern for your next project. I hope you love making your Spring Garden Granny Square Tote as much as I loved designing it. There is something deeply satisfying about watching those pastel blossoms come together into a bag you will actually use.
If you make this tote, I would absolutely love to see it! Tag me on Instagram or share a photo in my Facebook group. Seeing your finished projects is honestly the best part of my day.
Save this crochet pattern to your Pinterest boards so you can find it when you are ready to start stitching. And if you make this tote, please drop a comment below. I love hearing which color combinations you choose and how yours turns out!
